- 44 -
3.4. ADJUSTING THE PRINTING POSITION
This section explains how to ensure the printed message appears in the right position on the product.
The figure below will help you understand the print position. The large arrow shows the direction in which
product moves. In this example, there is a fixed distance (C) between the marking head (A) and the
photocell (B) that detects the edge of the product. This distance is the same for all products and messages.
The distance is zero for some installations. The installation technician enters this measurement into the
Laser Marker during installation, but you can change the value.
In this figure, the trigger signal from the sensor (photocell) occurs at the edge of the product, although
the label (E) is not at the edge of the product. The distance between the sensor position and the print
position (E) is the Print Delay or Photocell Distance (D).
Touch Screen:
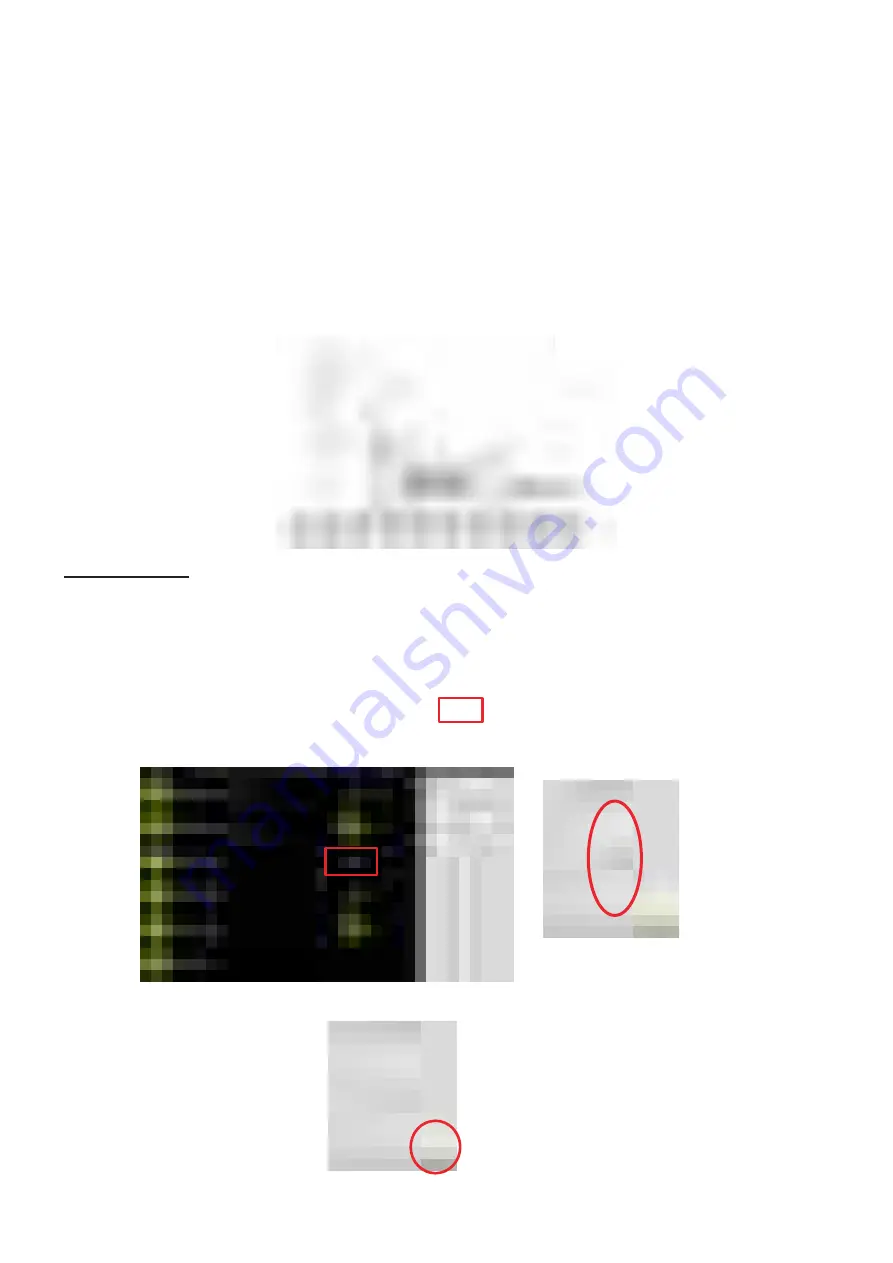
To adjust the print interval using the Touch Screen follow the procedure below.
Access level is "Maintenance".
(1) Select "SETTINGS" on the main screen.
(2) Select "DYNAMIC & PHOTOCELL" at the top left of the screen.
(3) Scroll to select "Offset (mm):" and press area
in the “Offset (mm)”
.
Change the value with the arrow keys.
[NOTE]
When "Static" is selected in "Mode:", "Offset (ms):" is displayed.
(4) Press "RETURN" to save the changes and return to the previous screen.
Direction of
movement
Содержание LM-C300 Series
Страница 67: ... 67 4 2 3 DIMENSIONS LM C330S P LM C310S P ...
Страница 68: ... 68 LM C311P LM C331S P ...


