DVR User Manual
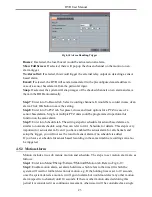
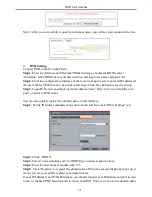
Step 3: After you successfully request your domain name, you will see your domain in the list.
DVR Setting
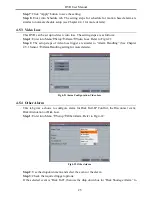
Connect DVR to the Network Client.
Step 1
: Enter into Main menu
Network
Other Settings, checkmark DDNS, select
“dvrdydns” at the DDNS Sever pull down list box and input user name and password.
Step 2
: Enter into configuration interface of the router to map the server port and IP address (if
the user enables UPnP function, he can skip this step). Click Save button to save the setting
Step 3
: Login IE browser and input registered domain name “http://www.xxx.dvrdydns.com:
port”, connect to DVR client.
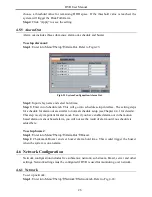
You can also quickly register the domain name in this interface.
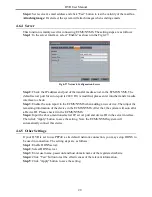
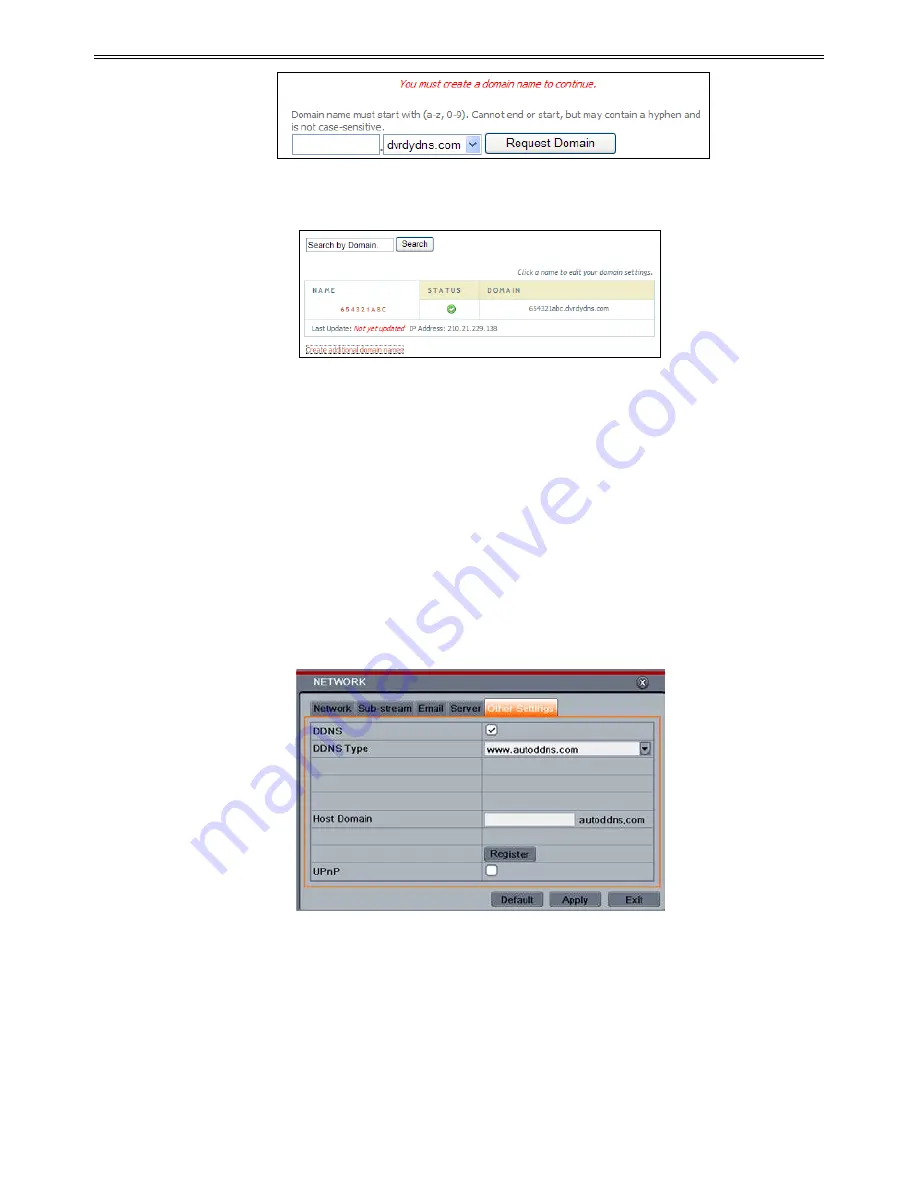
Step 1:
Set the IP address manually in the network tab and then click “Other Settings” tab.
Step 2
: Check “DDNS”.
Step 3
: Select “www.autoddns.com” in DDNS Type column as shown above.
Step 4
: Enter the host name at random, like 123.
Step 5
: Click “Register” to register the domain name. When the successful prompt pops up, it
means you are successfully register your domain name.
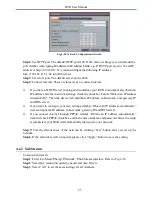
If your IP address is not WAN IP address, you should forward your IP address and port in your
router or enable UPNP function both in router and DVR. Then you can use the domain name
31
Содержание H.264
Страница 1: ...DVR User Manual For H 264 4 8 channel digital video recorder All rights reserved ...
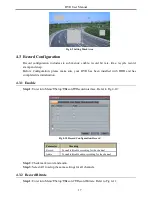
Страница 16: ...DVR User Manual Fig 3 3 Live Playback 11 ...
Страница 67: ...450011000460 A1 ...

