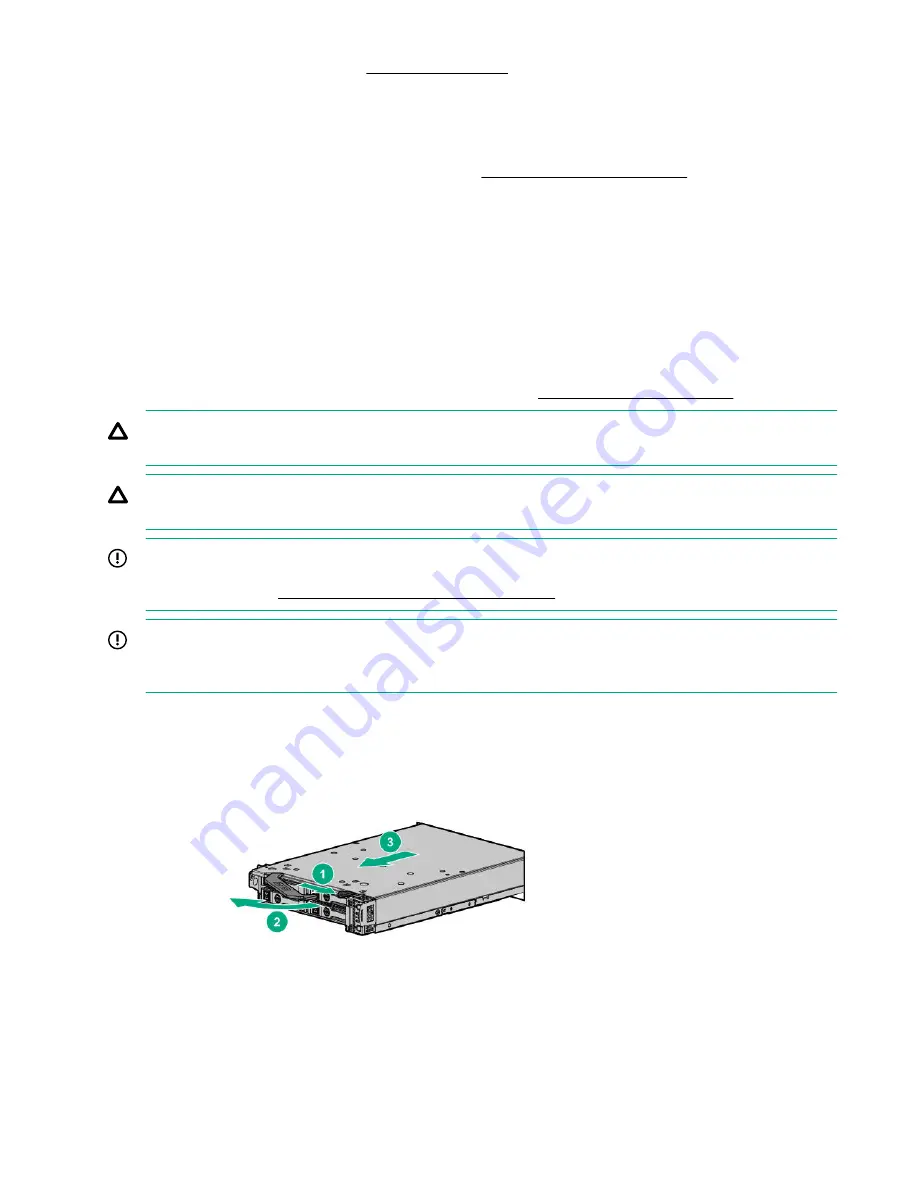
14.
Install the server into the chassis (
on page 14).
15.
Press the Power On/Standby button.
The server exits standby mode and applies full power to the system. The system power LED changes
from amber, to flashing green, and then to green.
16.
If applicable, install an I/O module into the chassis (
Installing an I/O riser module
on page 40).
Installing an I/O riser module
I/O modules are specific to each server and are installed in the rear of the chassis.
The server supports the HPE XL230k External I/O Module when one of the following options are installed:
• HPE XL230k x16 LP PCIe External I/O Riser Kit
• HPE XL230k x8 PCIe Internal-External I/O Riser Kit
For more information about product features, specifications, options, configurations, and compatibility, see the
product QuickSpecs on the Hewlett Packard Enterprise website (
).
CAUTION:
To prevent electrical damage, always power down the server associated with the I/O module
before installing the I/O module.
CAUTION:
Remove the server from the chassis before installing the I/O module. Failure to do so can
result in damage to both components. After the I/O module is installed, install the server.
IMPORTANT:
Microsoft Windows does not include native support for certain expansion cards that can
be installed in the I/O module. For more information about enabling support, see the Hewlett Packard
Enterprise website (
http://www.hpe.com/support/XL230k-io
).
IMPORTANT:
The left and right sides of the chassis are oriented 180° from each other. Components
that are installed on one side of the chassis must be turned 180° when they are installed on the opposite
side.
Procedure
1.
Power down the server associated with the I/O module.
2.
Remove the server from the chassis.
3.
At the rear of the chassis, remove the I/O module riser blanks.
40
Hardware options installation
Содержание HPE ProLiant XL230k Gen10
Страница 10: ...Chassis server bay numbering Chassis I O module bay numbering 10 Component identification...
Страница 43: ...4 Install the riser cover 5 Install the riser into the I O module Hardware options installation 43...
Страница 58: ...Cabling Front panel LED board assembly cabling SATA drive cabling 58 Cabling...


