


44
HMD8 DSP/
USER’S MANUAL
7. TROUBLESHOOTING
1. HMD8 DSP operating problems
If, when calibrating the system with
HMD8 DSP
connected to a laptop there are operating problems, try
disconnecting the laptop power supply cable.
With the laptop working on battery power you avoid a possible voltage difference in the USB ground between
the vehicle
(HMD8 DSP)
and the ground (PC).
2. Connection lost between HMD8 DSP and the PC
If, while calibrating the system with the PC connected to
HMD8 DSP
, the amplifier is turned off and back on again,
the connection is lost and the software cannot finalize the adjustments that were set. To avoid losing the
settings, proceed as follows:
a.
Save the setup to a file on the PC using the
Save
or
Save As
function.
b.
Exit the software.
c.
Turn
HMD8 DSP
on.
d.
Launch the software again.
e.
Load the setup file again that was saved using the
Open
function.
3. HMD8 DSP does not respond
If while calibrating the system with the PC connected to
HMD8 DSP
the latter does not respond to the commands,
proceed as follows:
a.
Turn off
HMD8 DSP
by disconnecting the Remote IN or even disconnecting the power cable for a second.
b.
Save the setup to a file on the PC using the
Save
or
Save As
function.
c.
Exit the software.
d.
Turn
HMD8 DSP
on.
e.
Launch the software again.
f.
Load the setup file again that was saved using the
Open
function.
4. Settings not saved
To successfully complete
HMD8 DSP
configuration and not lose the work done, remember to store the settings
that were made. From the management software menu select
“Finalize”
.
The device firmware can be updated using a specific application. Make sure the device is turned on and connected to the PC.
Run the application and follow the instructions.
7.1
SYNCHRONIZATION WITH A PC
7.2
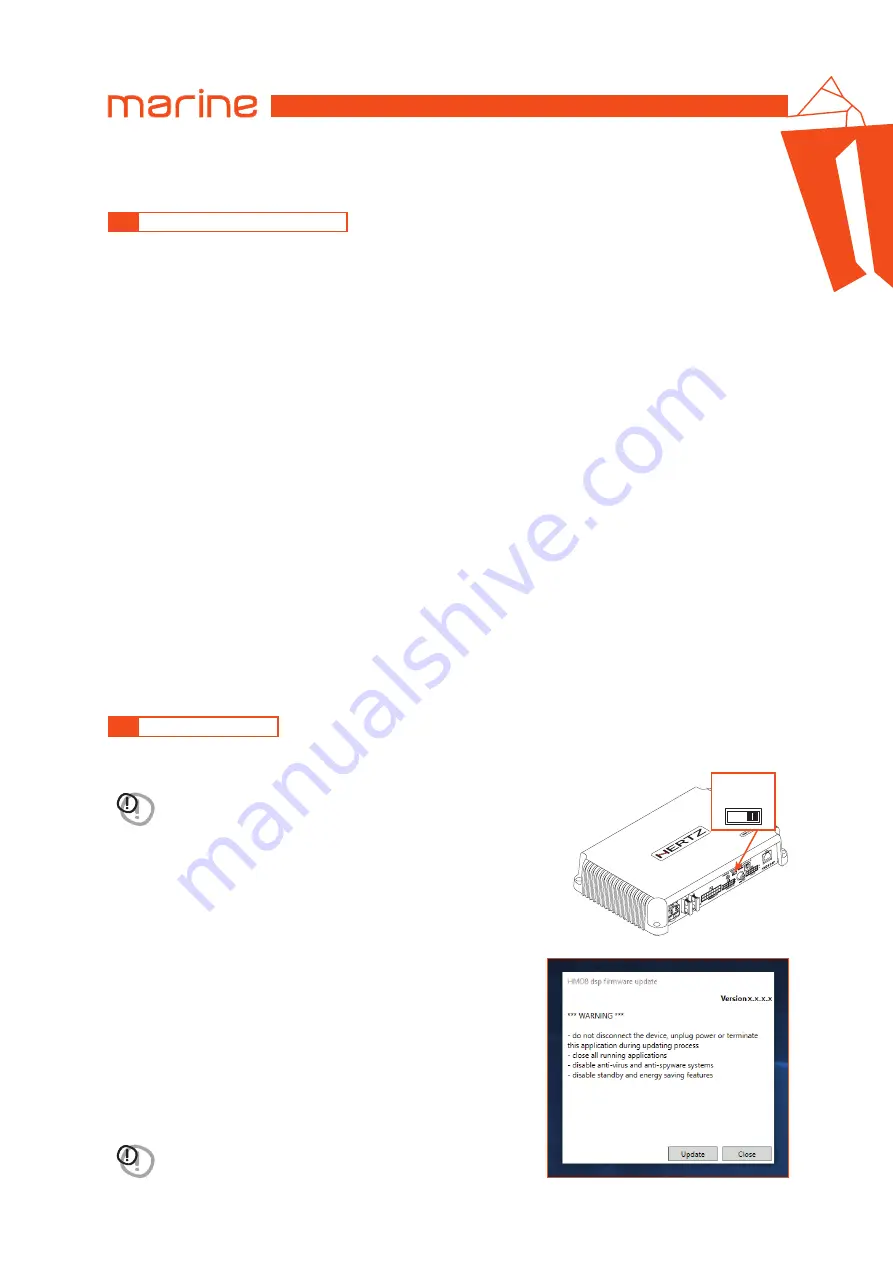
FIRMWARE UPDATE
WARNING:
if you are restoring the device from an error state and it doesn’t normally turn on,
move the upgrade switch to the
ON
position before supplying power. The logo will start
flashing and you will be ready to start the update.
WARNING:
do not disconnect or power down the device until the
procedure has been completed.
0 1
2
3
4
5
6
7
POWER - 12V
USB
OPTICAL SEL.
1 2 3 4 5
1 2 3 4 5 6
7
6
8
UPGRADE
PRESETS
SPEAKER
OUT
OPTICAL IN
DRC
SUB OUT
INPUTS
ASP
OFF ON
REM IN
REM OUT
MASTER ENABLE
30A
7


