


Model 691
2-19
2-18. REMOVAL OF SAFETY
VALVE (Continued)
Do not use a pipe wrench. Use thread sealant sparingly
2. Use a wrench to loosen the valve from the pipe tee; turn
counterclockwise to remove.
3. Clean the inside of the pipe tee with hot water.
Turn the safety relief valve towards the rear of the fryer
when reinstalling safety relief valve.
4. Immerse the safety relief valve in a soapy water solution
for 24 hours. Use a 1 to 1 dilution rate. The valve cannot
be disassembled. It is factory preset to open at 14-1/2
pounds (999 mbar) of pressure. If it does not open or close,
it must be replaced.
DO NOT DISASSEMBLE OR MODIFY THIS VALVE.
TAMPERING WITH THIS VALVE COULD CAUSE
SERIOUS INJURIES AND WILL VOID AGENCY
APPROVALS AND APPLIANCE WARRANTY.
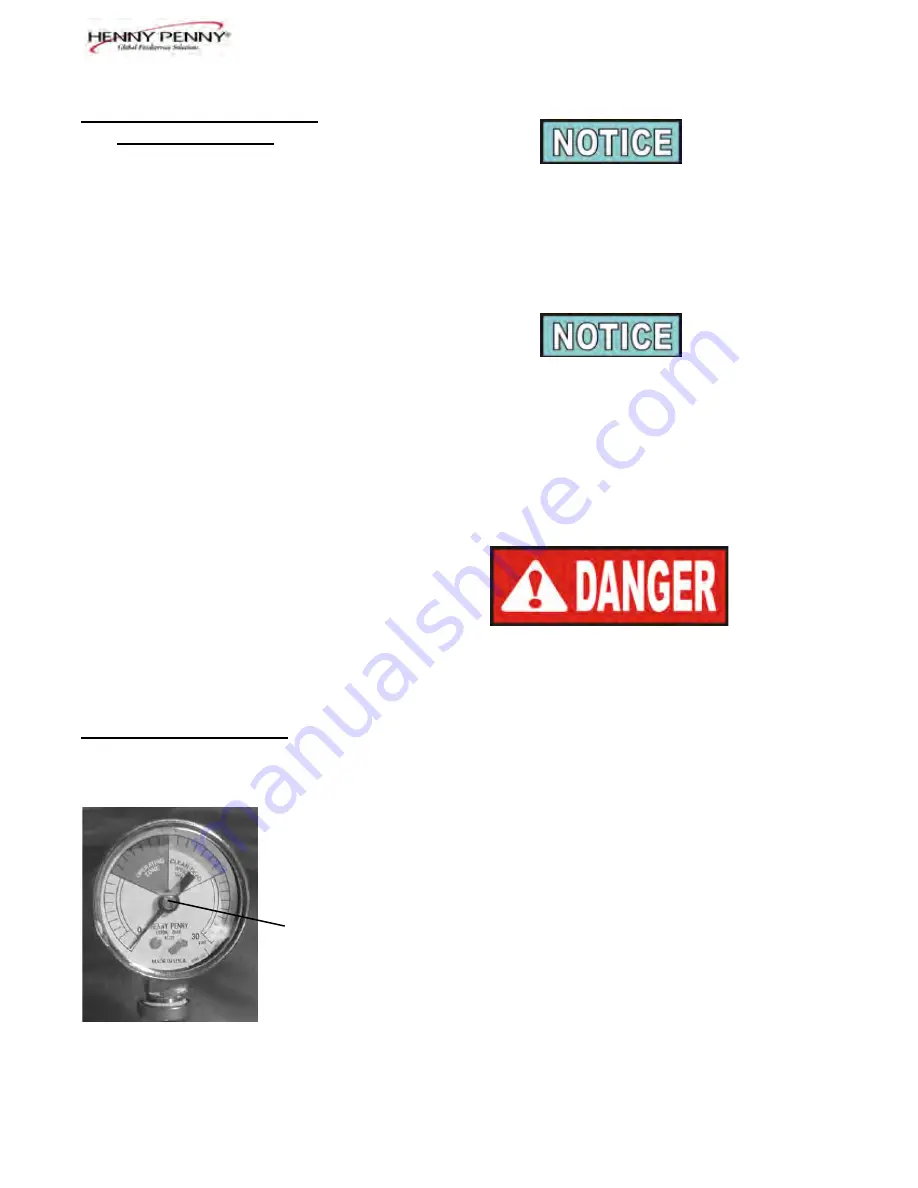
2-19. PRESSURE GAUGE
Calibration Steps
The pressure gauge can be recalibrated should it be out of
adjustment.
1. Remove the rim and glass.
2. If the indication hand shows a pressure or vacuum reading
when it should stand at “0”, turn the recalibrator screw
in the same direction in which the indicating hand is to
be moved until the hand stands at a proper “0” position.
3. Replace the rim and glass.
Cleaning Steps
1. Remove the gauge and check inside the pipe fittings from
deadweight body. Make certain fittings are clean and open.
2. Clean and reinstall the gauge.
ADJUSTING
SCREW
Oct. 2016
Содержание PFG-691
Страница 1: ...Henny Penny Pressure Fryer Model PFG 691 TECHNICAL MANUAL...
Страница 2: ......
Страница 52: ...Model 691 2 34 SN FH001JC ABOVE Aug 2004...
Страница 53: ...Model 691 2 35 SN FH001JC ABOVE Aug 2004...
Страница 54: ...Model 691 2 36 SN FH001JC ABOVE Aug 2004...
Страница 55: ...Model 691 2 37 BELOW SN FH001JC March 2004...
Страница 56: ...Model 691 2 38 BELOW SN FH001JC March 2004...
Страница 57: ...Model 691 2 39 BELOW SN FH001JC March 2004...
Страница 58: ...Model 691 2 40 BELOW SN FH001JC March 2004...
Страница 60: ......
Страница 62: ...Model 691 3 2 FIGURE 3 1 FRAME COVER ASSEMBLY Oct 2004...
Страница 68: ...Model 691 3 8 FIGURE 3 6 LID COVER ASSEMBLY March 2007...
Страница 70: ...Model 691 3 10 FIGURE 3 7 DRAIN PAN FILTER ASSEMBLY Aug 2010...
Страница 72: ...Model 691 3 12 FIGURE 3 8A FILTER PUMP ASSEMBLY SN LH028JC BELOW Aug 2010...
Страница 74: ...Model 691 3 14 FIGURE 3 8B FILTER PUMP ASSEMBLY SN LH029JC ABOVE Oct 2004...
Страница 77: ...Model 691 3 17 FIGURE 3 10 GAS BURNER ASSEMBLY May 2005...
Страница 79: ...Model 691 3 19 FIGURE 3 11 GAS PIPING CONTROLS Dec 2009...
Страница 84: ...Model 691 3 24 FIGURE 3 15 DEADWEIGHT SOLENOID ASSY SN AP0802029 ABOVE Aug 2010...
Страница 87: ...Model 691 3 27 FIGURE 3 16B STEAM BOX HOSE ASSEMBLY SN AP0802028 BELOW Aug 2010...
Страница 89: ...Model 691 3 29 FIGURE 3 17 FLUE ASSEMBLY BLOWER SN AP0802028 BELOW Dec 2009...
Страница 93: ...Model 691 3 33 FIGURE 3 18 SOLENOID VALVE ASSEMBLY Sept 2005...
Страница 95: ...Model 691 3 35 FIGURE 3 19 FRYPOT DRAIN PIPING Oct 2008...
Страница 97: ...Model 691 3 37 FIGURE 3 20 LIFT BEAM SHROUDS SN AP0802028 BELOW Aug 2010...
Страница 99: ...Model 691 3 39 FIGURE 3 21 COUNTERWEIGHT PULLEY SYSTEM SN AP0802028 BELOW Aug 2010...
Страница 124: ...Inspection 4 Rev A 1219 US 35 West P O Box 60 Eaton OH 45320 937 456 8400 Fax 937 456 8402 www hennypenny com...
Страница 139: ...Inspection 12 Rev A...
Страница 140: ...Inspection 12 Rev A...
Страница 141: ...Inspection 12 Rev A...
Страница 144: ...Inspection 15 Rev A...
Страница 145: ...Inspection 16 Rev A...
Страница 146: ...Inspection 16 Rev A...
Страница 159: ...Inspection 24 Rev A Figure 2 1...
Страница 160: ...Inspection 24 Rev A Figure 2 2...
Страница 183: ......


