Section 5-3
24
MLSM010601
Procedure O
- Back Panel Access
Back Panel Removal:
Provides access to all electrical and
mechanical components at the
back of the stove.
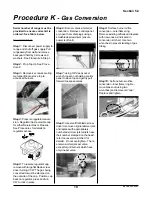
Step 1: Disconnect power supply
to range.
Step 2: Pull unit away from wall
(units are equipped with 2” diameter
teflon gliders). Please ensure stove
is attached to a flex line to allow the
unit to be pulled out for service)
Step 3: Remove outer row of
screws securing the back panel to
range (start with bottom screws and
work towards the screws near the
top).
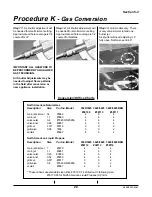
Step 4: When removing last screw,
hold on to panel to prevent
dropping.
Step 5: Gently pull panel back and
disconnect red and black wires to
cooling fan (do not forget to re-
attach these at the end of any
service work).
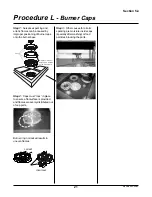
Side Panel Removal/Access
Provides access to electrical or gas
controls at the side of the stove.
Repeat Steps 1 and 2 above.
Step 6: Prop top up (see Procedure
p)
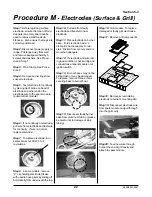
Step 13: Remove three screws from
the side panel near the bottom
Step 14: To access components,
swing side panel outwards.
Step 15: To replace panel, remove
one screw holding panel to range
front.
Step 16: Pull side panel up and
away from stove. Transfer screw
from old panel to new panel and
attach to stove front through
keyhole slot.


