Record Service
68
Vision
2
Instruction Manual
Record a video as follows:
1.
Enter a name for the recording in the Name text box.
2.
Select a category (folder) to record to.
3.
Click
Start
. Once a Manual Record is started, you cannot leave this screen until stopping the Record. If performing more than
one Manual Record at a time, login with a separate Browser tab.
NOTE:
You cannot record longer than 180 minutes.
4.
Click
Stop
to end the recording and save a copy of the recording to the archive.
Scheduled Recording
The Scheduled Record feature enables scheduling when to record a MPEG 2 Live Channel. Configure the Record Service in the same
way as for a Continuous Record, except choose Scheduled Record from the Recording Type drop down. After configuring the
Record service for scheduled recording and enabling the service, a Schedule section appears at the bottom of the screen. Click
Edit
to enter the Schedule Screen. Alternatively, go to
Video Recorders > Scheduled Recording
and select and load the Scheduled
Record Service to use.
Edit the Record Schedule as follows:
1.
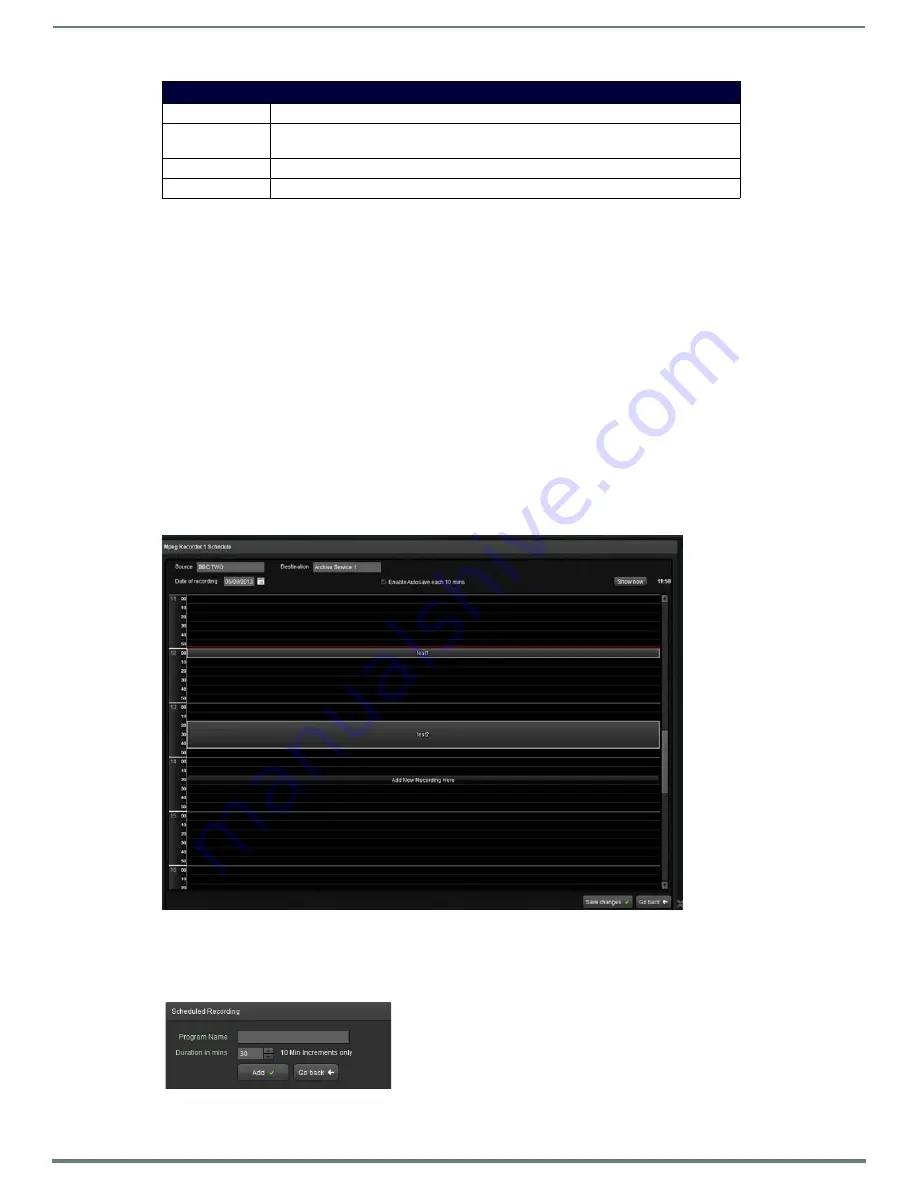
In the Schedule editor click the calendar icon and select the date when the recording should occur. (FIG. 95).
NOTE:
A red horizontal line shows the current time. Click Show Now to jump to the current time.
2.
Move the cursor over the schedule to select the time (24 hour clock) where the recording should occur and click at this
selection. Up/down cursor keys may be used. A pop-up dialog box appears (FIG. 96).
Manual Record Options
Name
Name for the video to record in the archive.
Select Category
Select category to record to. Vision
2
will prevent selecting a category which contains other
categories. An empty category or one which contains media files must be selected.
Start
Start Recording.
Stop
Stop Recording.
Note:
Recordings which are shorter than 1 minute are discarded.
FIG. 95
Schedule Editor for Record Service
FIG. 96
Scheduled Recording Dialog Box


