Archive Service
52
Vision
2
Instruction Manual
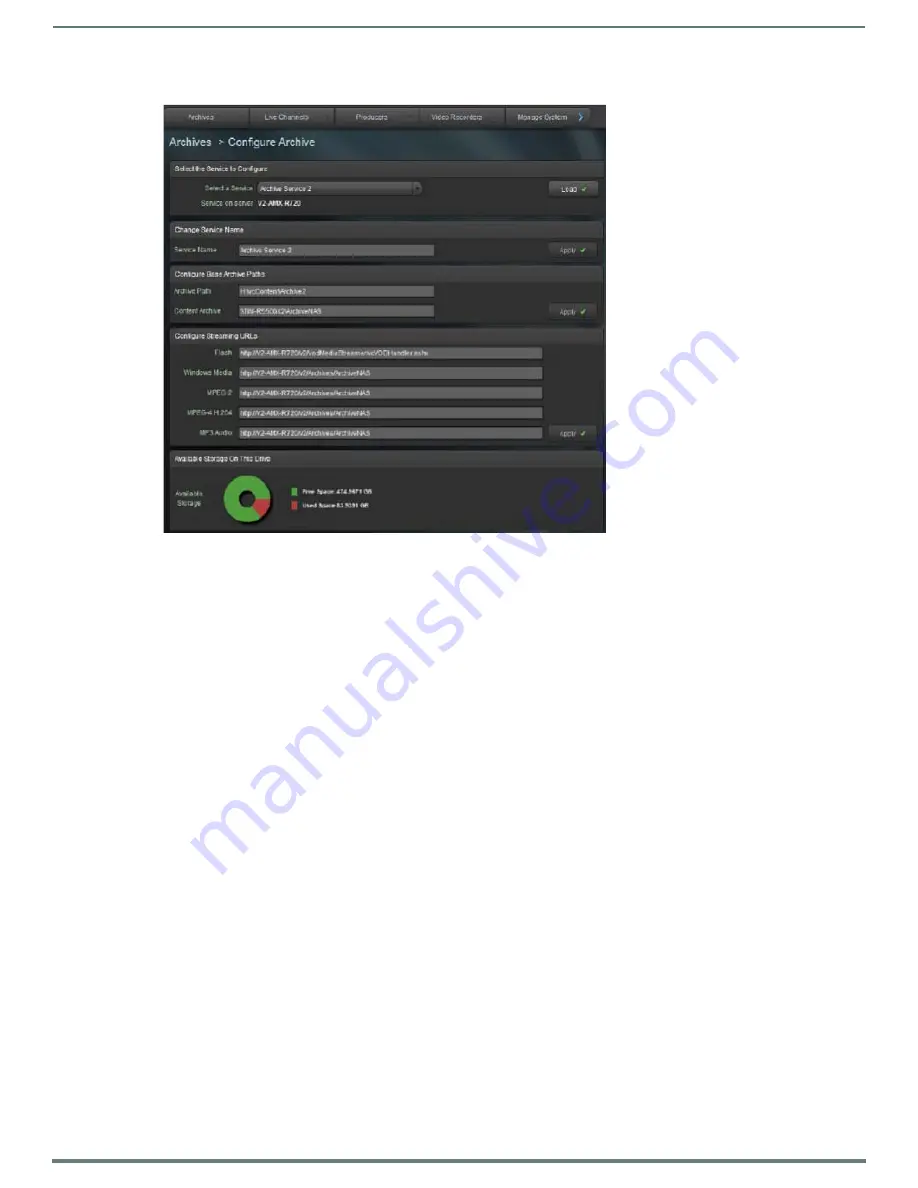
37. Double-click the New Archive license to configure the Archive (FIG. 73).
38. Do not change the
Archive Path
but set the
Content Archive
text box to the UNC Path of the NAS Archive, for example:
\\NASservername\ArchiveNAS
The Available Storage on this Drive graphic will change and display the New Storage space on the NAS.
39. Change the following Streaming URLs to point to the NAS drive Virtual Directory. Edit existing URLs excluding the Flash URL.
For example, from:
MPEG-2 = http://<servername>/v2/Archives/ArchiveX
to
MPEG-2 = http://<servername>/v2/Archives/ArchiveNAS
40. Click
Apply
to save the changes.
41. The server is now configured to use the NAS share for the Archive service.
42. Restart the server.
NOTE:
Once an Archive is configured and media is started to upload to the archive, do not change the settings (except the service
name) as access to the data will be lost.
Configuring a SAN Archive
San Archives are configured in a similar way to NAS Archives. Before starting, check that theVision2 server used to host the SAN
archive has permission to read/write from the SAN. Next map the SAN as a network drive on this server using the I drive (note
windows search is set on the I drive so do not use another drive letter). Follow the instructions for configuring a NAS Archive. Use
ArchiveService2SAN in all cases instead of ArchiveService2NAS and replace \\NAS\NASArchiveService with the name of the folder
to use on your SAN e.g. I:\vcContent\Archive1. Use an account that has read/write permissions on the SAN.
Configuring IIS for NAS/SAN Archives
Configure IIS for NAS Archive as follows:
1.
Using IIS Manager select
Connections > Sites > Default Web Site > v2
, find a folder called Archives.
2.
Right click the Archives Folder and select
Add Virtual Directory
.
3.
In the Alias text box enter
ArchiveService2NAS
4.
Set the PhysicalPath text box to the UNC Path to the folder on the NAS e.g \\NAS\NasArchiveService.
5.
Click
Connect as
..
6.
Select a Specific User and enter the domain\username of the NAS user account e.g. AMX\username
7.
Click
Set
.. and enter the username and password for the NAS user twice.
8.
Click
OK
.
FIG. 73
Configure Archive


