Archive Service
48
Vision
2
Instruction Manual
NOTE:
Once an Archive is configured, the settings should not be changed (except the service name) as access to the data will be lost.
Setting Up a NAS Archive
A NAS archive requires a Vision
2
server running release 8.2.4327 or greater.
To configure the NAS server:
1.
Create a folder on the NAS that you want to use to store your archives contents, for example: ArchiveNAS, so that the UNC
path to this folder is \\NASservername\ArchiveNAS.
2.
Create the user “v2system” with password “Vision2” and give read and write permissions for the ArchiveNAS folder.
To configure the Vision
2
server:
1.
In Windows, select
Start > Control Panel > Administrative Tools > Computer Management > Local Users and Groups
.
2.
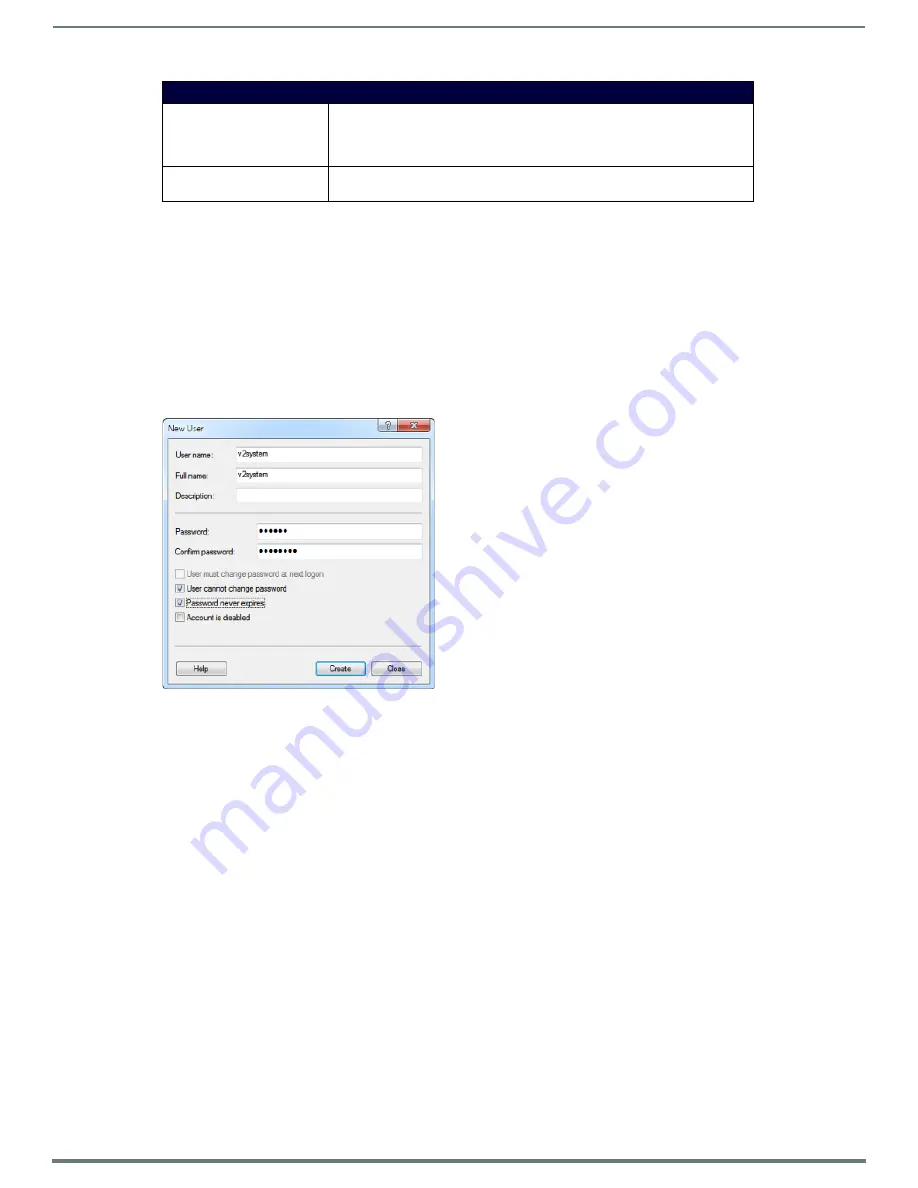
In the Computer Management dialog, select Users, and right-click and select New User to open the New User dialog (FIG. 66).
Create a new user named “v2system” with the password “Vision2”.
3.
Check the User cannot change password and Password never expires check boxes. Click Create and then click Close.
4.
In the Computer Management dialog, right-click the “v2system” user and select
Properties
.
5.
In the Properties dialog, select the
Member of
tab, and click
Add
.
6.
In the Select Groups dialog, click
Advanced
.
7.
In the next dialog, click
Find Now
, and select
Administrators
from the list that appears. Click
OK
to close this dialog, and click
OK
again to close the Select Groups dialog.
Content Archive
This is the path to the media (video/audio) stored in the Archive. This can be on the
local server or on a NAS drive. You only need to modify this setting for NAS
archives. Note this setting must be unique for this Archive, no other archive should
use the same path.
Base Video URLs
These settings define the protocols and paths used to access the content in the
archive. You only need to modify these settings for NAS archives
FIG. 66
New User Dialog
Configure Archive Options


