24
In the
„Duration“
field, you can determine how long (in seconds)
the camera is to remain in a particular position during the tour.
Under
„Sequence“
, you can change the sequence of the posi-
tions you want the camera to cover.
Alternatively, the camera can also cover the different positions
in a random order. To achieve this, check the box
„Use variable
sequence“
.
By clicking
„Remove“
, you can remove a position you have
selected from the monitoring tour.
Click
„Save“
to save your settings and
„Close“
to close the
window.
If you would like to edit the tour again later, click the tour you
would like to alter, then click
„Edit“.
This will open the tour editing window.
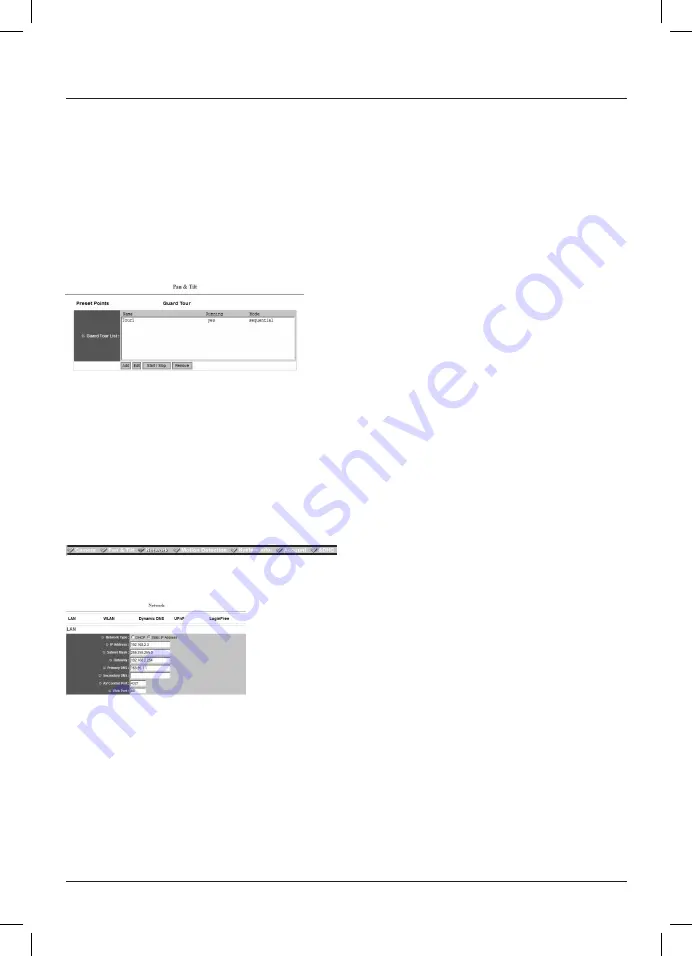
To start the tour, select the tour you want and click
„Start/Stop“.
Clicking
„Start/Stop“
again will end the tour.
In the same way, you can delete a monitoring tour you have
configured previously. To do this, select the desired tour and
click
„Remove“
.
2.4 Network settings
This menu contains all network-related settings.
2.4.1 LAN
Network type:
Here, you can select whether you
want to give the camera a static IP
address or whether it should be
assigned a dynamic IP address from
the DHCP server on your network.
IP address:
Define the camera‘s IP address here.
Please note that the IP camera has to
fit the network address of your
existing
network.
Subnet mask:
Define the subnet mask here.
Please note that the subnet mask has
to fit the subnet mask of your network.
Gateway:
Enter the gateway address of your
network.
Primary DNS:
Enter the address of the DNS server
here.
Secondary DNS:
Enter the address of an alternative
DNS server here; if the primary DNS
server is not accessible, the camera
falls back on the secondary DNS
server.
Audio/video control port:
Displays the port the camera uses to
transmit the live image on the
network.
If there is a firewall on your network,
you may have to enable this port in the
firewall.
If you want the camera to also be
accessible via the Internet, this port in
the firewall has to be configured
for Internet access.
HTTP port:
Defines the HTTP port of the network
camera. If you need to change the port
from “80”, enter the port after the IP
address of the IP camera so you can
open the web interface using Internet
Explorer.
Example: Port 90
IP address: 192.168.2.3
Address in address bar:
http://192.168.2.3:90


