28
2.5.2 Detection area
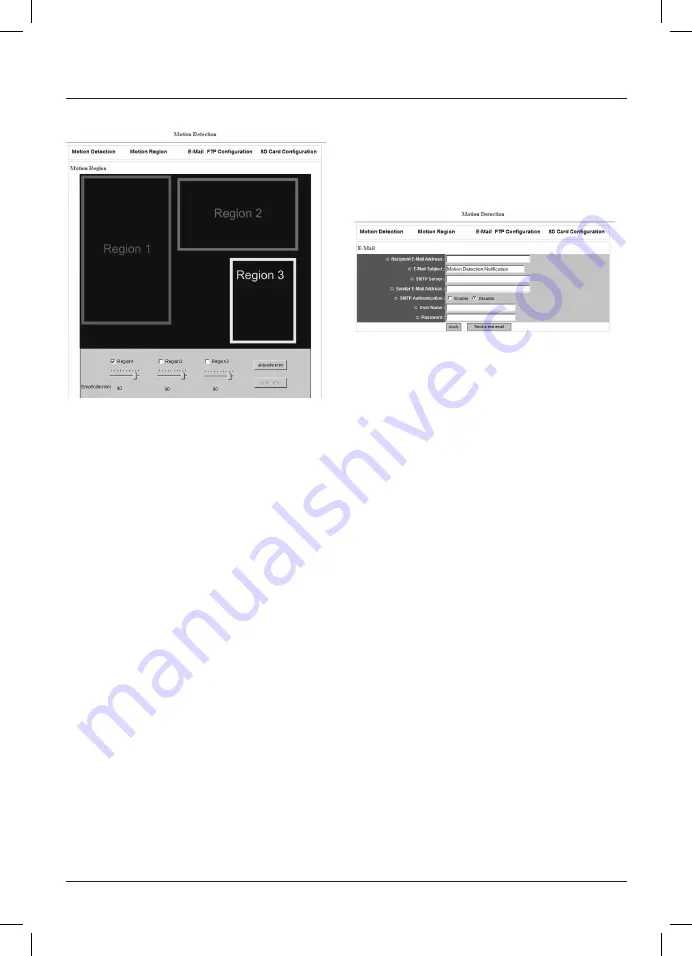
You can define 3 different detection areas and place them on
the camera‘s live image.
To do this, activate the detection areas by putting a checkmark
in front of Region 1, Region 2 and Region 3. Of course you can
also just define one or two areas. You can set the sensitivity of
motion detection by means of the slide control under
„Region“
.
As soon as you have activated a region, this will appear as a
coloured square in the camera‘s live image. Region 1 is yellow,
Region 2 is green and Region 3 is red. You can easily enlarge,
diminish or move these squares using the mouse.
You can also adjust the shape (rectangle or square).
Apply your settings by clicking
„Save“
.
2.5.3 E-mail settings
After detecting a movement in the field of vision, the network
camera can send images via e-mail or upload them to an FTP
server.
The system requires the following settings to send an e-mail of
an image it has captured.
Recipient address:
Enter the e-mail address to which the
recorded image is to be sent.
You can enter several e-mail
addresses by separating them with
a
„;“.
E-mail subject:
Enter a subject for the e-mail that is
sent when motion is detected.
SMTP server:
Enter the address of the SMTP server
used for sending the e-mail.
If you do not know the address of the
SMTP server, you can find it out from
your e-mail provider.
Sender address:
Enter the address from which the
e-mail is to be sent.
SMTP authentication:
Some e-mail providers require SMTP
authentication when sending e-mails.
If your e-mail provider requires this,
select
„on“.
User name:
Enter the user name for the e-mail
account that is to be used to send the
e-mail.
Password:
Enter the password for this account.
Save your settings by clicking
„Apply“.
After the system has applied your settings, you can send a test
e-mail to the entered e-mail address.
To do so, click
„Send test e-mail“.


