GROWSPAN
™
GOTHIC PREMIUM HIGH TUNNELS
8
108179_80_81_82_83_84H Revision date: 01.08.21
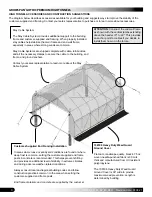
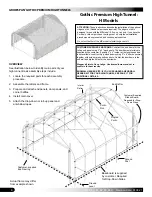
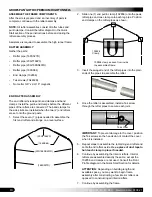
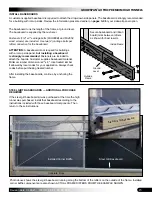
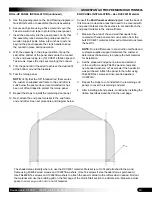
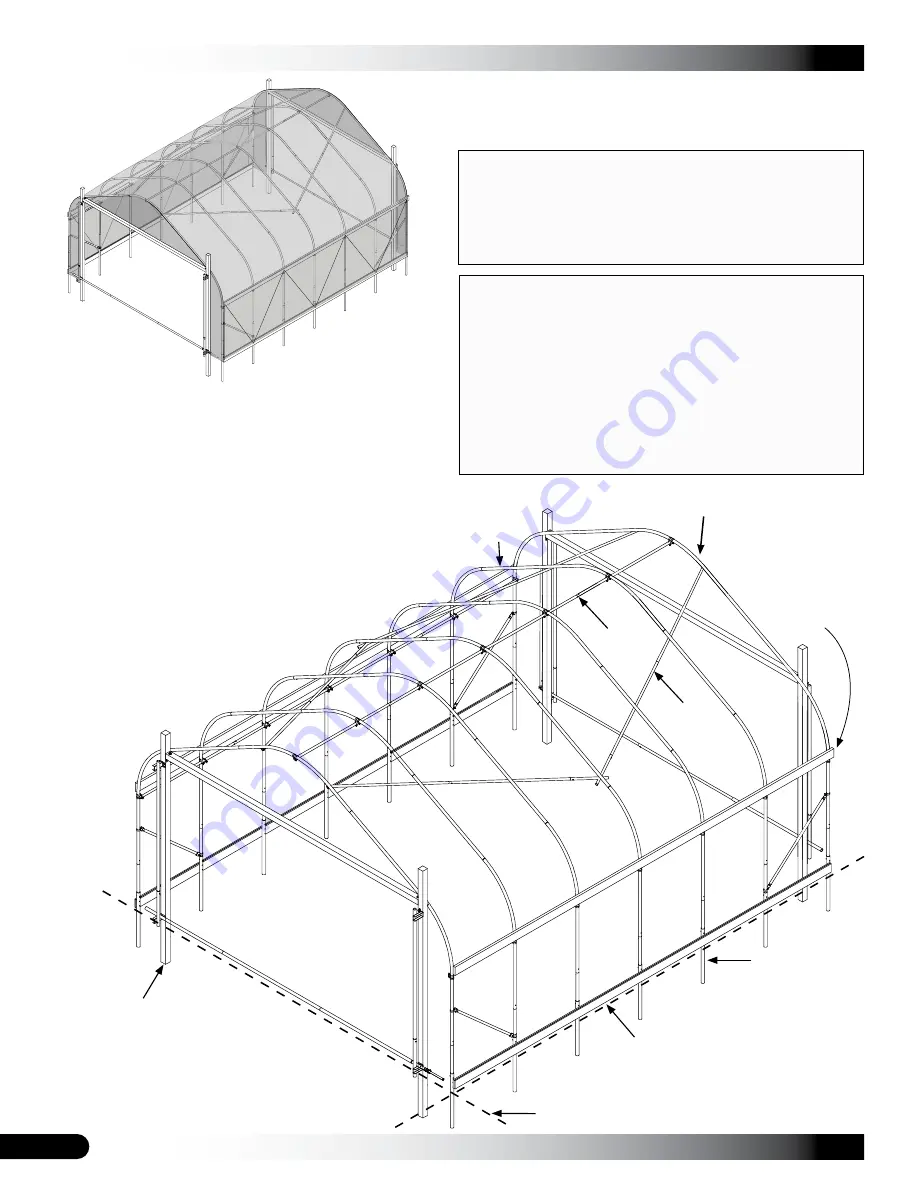
End Rafter
Interior
Rafter
Baseboard is supplied
by customer. Required
for Drop-Down Sides.
Ground
Level
Purlin
Run
Ground
Post
Actual frame may differ
from example shown.
Angled
Purlin
Customer-supplied
End Framing
Customer-Supplied
Ribbon Board –
Required for Drop-
Down Sides
OVERVIEW
See illustration below to identify main parts of your
high tunnel. Basic assembly steps include:
1. Locate the required parts for each assembly
procedure.
2. Assemble the rafters and frame.
3. Prepare and attach end panels, door panels, and
corner baffles.
4. Install main cover.
5. Attach the drop-down or roll-up panel and
anti-billow ropes.
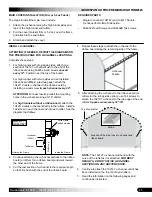
Gothic Premium High Tunnel:
H Models
ATTENTION:
These instructions describe the installation of the optional
ridge vent kit. (Additional purchase required.) The ridge vent kit is
designed for use with the
HF
model (5.2 oz. cover) only. If you have the
C model or did not purchase the ridge vent kit, skip those installation
procedures when presented and continue as instructed.
Do not cut the film of the
HC
model to install ridge vent kit.
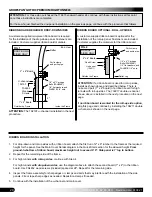
CUSTOMER-SUPPLIED END FRAME:
Construct the end frame for the
roll-up end panel using 4" x 4" wood posts. The doorframe materials are
supplied by the customer. If quality 4" x 4" lumber at the lengths needed
is not available, construct 2-ply wood beams using 2" x 6" boards secured
together with exterior grade bolts and nuts. Center the doorframe in the
end wall and dig the holes for the doorjambs.
Stagger all joints. Do not align.
Use treated lumber and set in
concrete for best results.
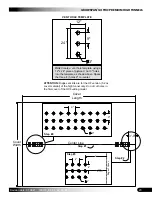
ENDWALL HEADER KITS: IF YOU PURCHASED AN ENDWALL
HEADER KIT FOR YOUR HIGH TUNNEL, SEE PAGE 17 FOR
ADDITIONAL DETAILS.


