


-66-
Model G0853 (Mfd. Since 07/18)
Saving Rip Fence
Positions
Using the overhead control panel, users can save
up to 40 rip fence positions in the database.
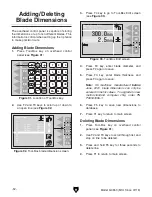
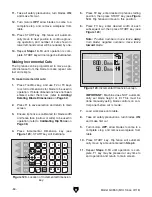
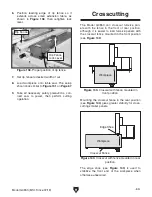
1. Press PROG key (see Figure 127).
Saving Rip Fence Position
1. Press PROG key (see Figure 127).
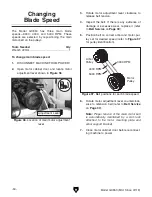
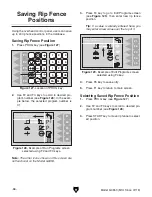
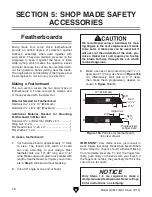
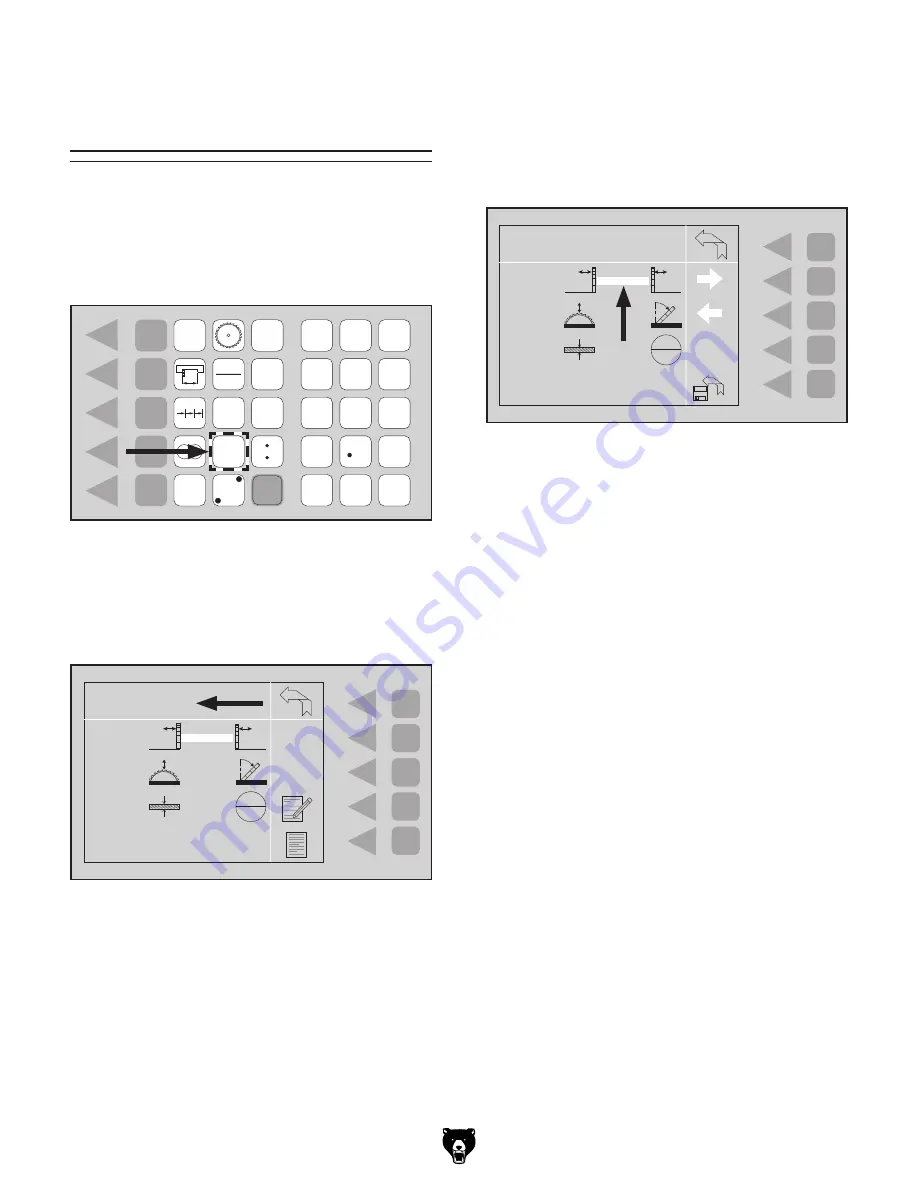
2. Use F2 and F3 keys to scroll to desired pro-
gram number (see
Figure 128).
3. Press START key to move rip fence to select-
ed position.
Selecting Saved Rip Fence Position
2. Use F2 and F3 keys to scroll to desired pro-
gram number (see
Figure 128). In the exam-
ple below, the selected program number is
01.
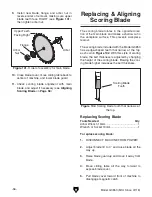
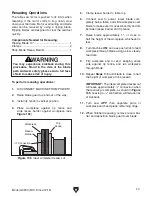
3. Press F4 key to go to Edit Programs screen
(see
Figure 129), then enter new rip fence
position.
Tip: If a value is already entered here, you
may enter a new value over the top of it.
Figure 127. Location of PROG key.
F1
F2
F3
F4
F5
PROG.
CAL.
START
mm
inch
STOP
+
-
x
-
4
1
2
7
0
M+
CE
M-
3
6
5
8
9
Figure 128. Example of Run Programs screen
selected using F2 and F3 keys.
F1
F2
F3
F4
F5
PROG.
CAL.
START
mm
inch
STOP
+
-
x
-
4
1
2
7
0
M+
CE
M-
3
6
5
8
9
Run Programs
Prog. NO. :01
L
L
P
+
P
–
n
min
in
F1
F2
F3
F4
F5
PROG.
CAL.
START
mm
inch
STOP
+
-
x
-
4
1
2
7
0
M+
CE
M-
3
6
5
8
9
Edit Programs
Prog. NO. :01
L
L
n
min
C
in
4.250
Figure 129. Example of Edit Programs screen
selected using F4 key.
4. Press F5 key to save entry.
5. Press F1 key to return to main screen.
Note: The other icons shown on this screen are
not functional on the Model G0853.


