24
Connected Lighting
1. Make sure power to the fixtures containing the light bulbs you want to reset is turned
ON
.
2. Remove the battery cover from the back of the original remote control so that you have access to
the
Program
button.
3. On the remote control:
a. Press and hold the
Program
button.
b. While pressing the Program button, press and release the
On/Off
button (keep the
Program
button pressed).
c. While still pressing the
Program
button, press and release the
1-4
button.
d. While still pressing the
Program
button, press and release the
On/Off
button again.
e. Release the
Program
button. All group number indicator lights and the primary indicator
light flash slowly for 30 seconds while the light bulbs are removed.
When the light bulbs have been removed from the network, they will brighten and dim, at which time you can
add them to your new network.
Step 2: Install the Gateway
Since the Gateway connects to your home network router, make sure you have space near your router where
you can place the Gateway. You can also mount the Gateway to your wall (discussed in the next section). Use
the following steps to install the gateway:
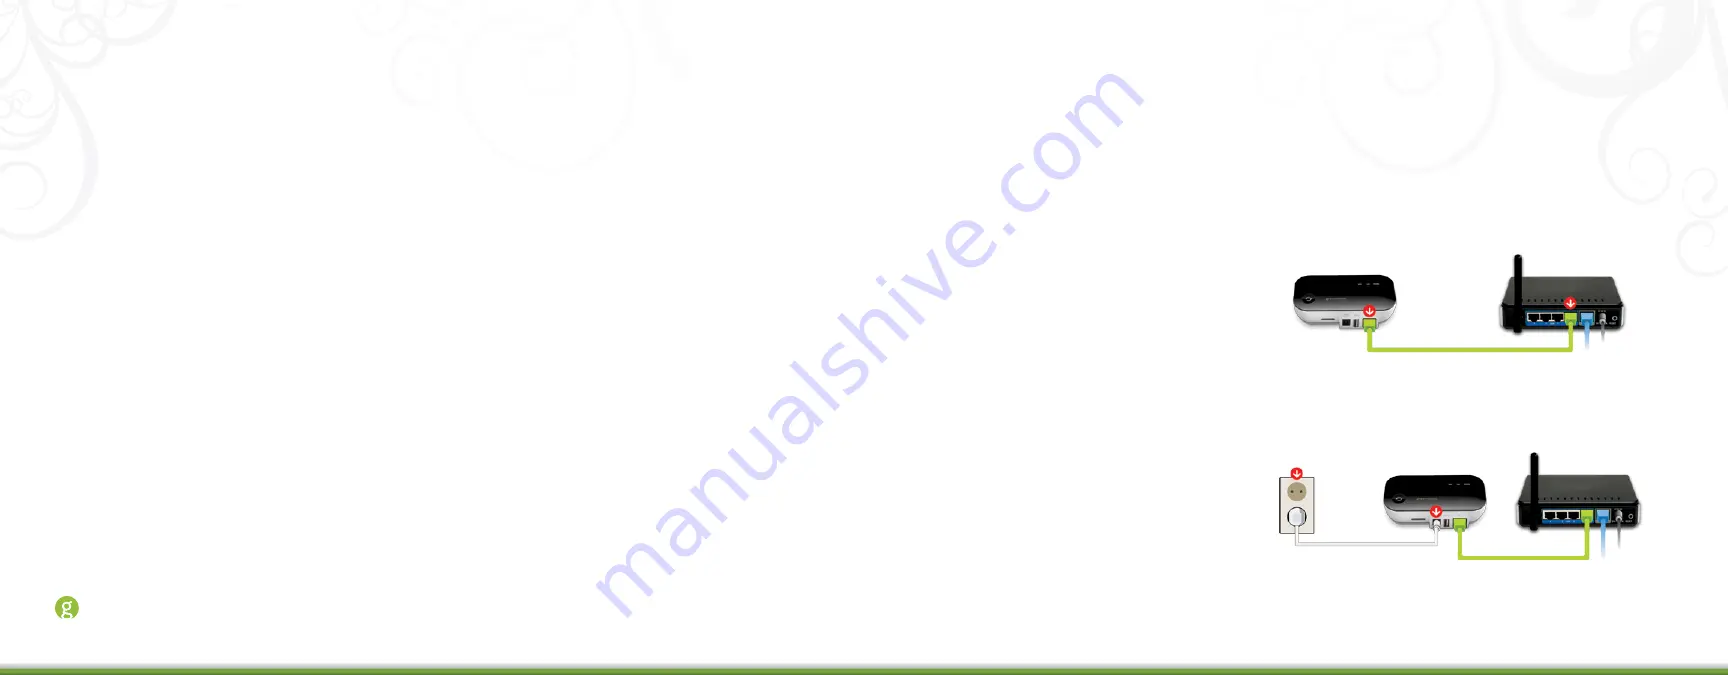
1. Make sure your router is already connected to your home network.
2. Connect the Gateway to
any available port in your
router using the included
Ethernet cable.
3. Power the Gateway by plugging it into an electrical outlet using the included power adapter. The
Gateway illuminates while it is attempting to connect to the Internet.
4. Verify that the Gateway is connected.
The Gateway is connected when
both the network indicator and the
Internet indicator turn off, the sync
button is green, and the power
indicator is white.


