❏
1. Remove the forward and rear former that you installed
into place during the fuselage construction.
❏
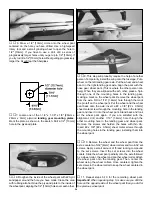
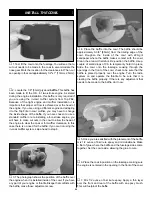
2. Assemble the fuel tank as shown in the sketch. When
tightening the center screw be sure not to overtighten it. You
just want it snug enough to pull the rubber stopper tight
against the tank.
❏
3. Install silicone fuel tubing (not included in the kit) onto
the aluminum tubes from the fuel tank. The line with the fuel
clunk will feed to the fuel inlet at the needle valve and the
other will attach to the pressure tap on the muffler. For our
installation we chose to use an external fill valve. If you
choose to do this as well, follow the instructions with the fuel
valve. Should you choose not to install a fuel filler valve, you
can fill the fuel tank by removing the fuel line to the
carburetor and filling through it. However, depending how
you cut out the cowling to accommodate the engine, the
cowling may make it difficult to access the carburetor. You
can also install a third line to the tank and use it for filling the
tank. The method you use is your choice but make your
decision before moving onto the installation of the fuel tank.
❏
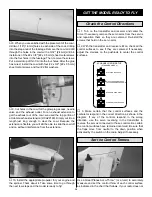
4. Hold the tank in place inside the fuselage by wrapping
two #64 rubber bands around the tank, attaching the bands
to the tabs in the plywood former that supports the tank.
❏
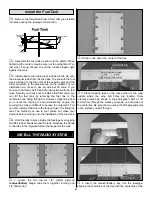
1. Locate the two die-cut 1/8" [3mm] plywood
receiver/battery trays. Glue them together forming one
1/4" [6mm] tray.
❏
2. Draw a line down the center of the tray.
❏
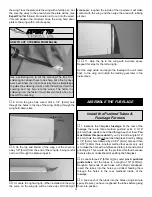
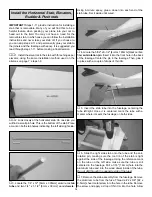
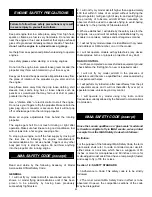
3. Place masking tape on the rear portion of the wing
saddle where the wing bolt holes are located. Draw
reference marks as shown in the photograph. Drill a 1/8"
[3mm] hole through the marks you made on both sides of
the centerline. Be sure that you keep the drill perpendicular
to the surface you drill through.
❏
4. Insert the receiver/battery tray into the fuselage,
aligning the centerline of the tray with the centerline of the
INSTALL THE RADIO SYSTEM
Install the Fuel Tank
25
Содержание Lancair ES
Страница 40: ......


