❏
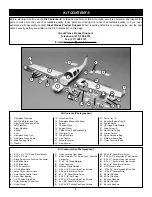
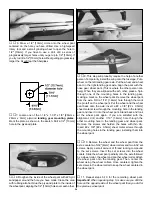
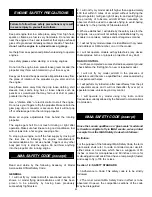
3. Install the header onto the engine. Align the muffler
inlet with the exhaust outlet on the header. This is the proper
placement for the muffler. Mark the firewall where the muffler
mounting bolts will be installed to the firewall. Note: You
want to have a gap between the header and the muffler. You
do not want any metal to metal contact that could vibrate
and cause noise that may interfere with your radio system.
❏
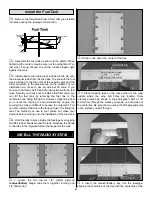
4. Drill a 5/64" [2mm] hole through the marks you made
on the firewall. Install the screws, then remove them. Harden
the holes with thin CA. Using the screws and rubber pads
included with the muffler, insert a rubber pad behind each
mounting foot of the muffler (the rubber foot insulates the
muffler from the firewall). Then, install the muffler to the
firewall.
❏
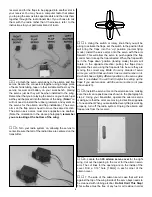
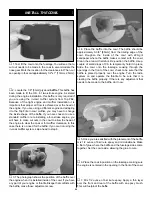
5. Cut the rubber coupler to fit tightly between the header
and the muffler. Remove the header and install the coupler
over the muffler. Insert the header into the coupler and re-
attach the header to the engine using a small amount of
thread locking compound.
The following steps cover installation of the nose wheel as
well as an air outlet. The air outlet is required for proper
cooling with the Top Flite muffler. If you are installing a
standard muffler and have large cut outs in the cowl for the
muffler you probably can skip installation of the air outlet.
However, the extra air outlet cannot hurt for any engine
installation.
❏
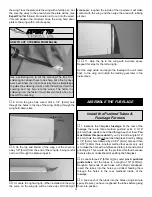
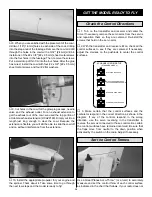
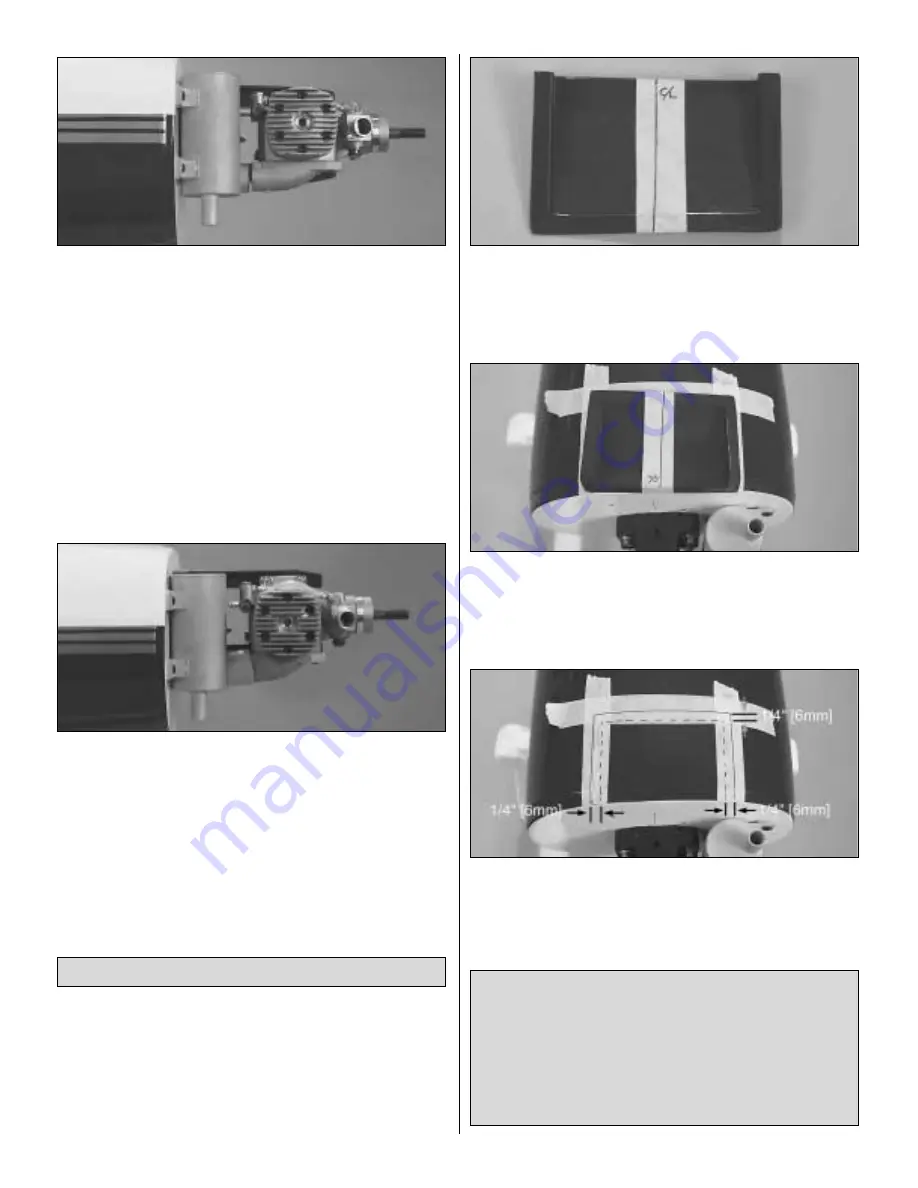
1. Locate the fiberglass exhaust air panel. Place a piece
of masking tape down the center of the panel. Measure and
locate the exact center of the panel and draw a centerline
on the tape.
❏
2. Align the center of the panel with the center of the
fuselage. Place masking tape on the fuselage under the
edges of the panel. Re-center the panel if necessary. Then,
trace the shape of the panel onto the fuselage.
❏
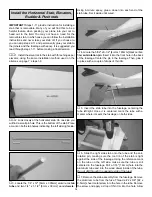
3. Measure inside the outline 1/4" [6mm] from the sides
of the panel and 1/4" [6mm] from the rear edge of the panel.
Draw this onto the tape with a marker.
Note: The next step is done fairly easily using a high
speed rotary tool such as a Dremel tool. This combined
with a reinforced fiberglass cut-off wheel will make the
next step pretty easy. Without one it is going to be a pretty
laborious job. If you do not own a high-speed rotary tool
we suggest you purchase one or borrow one from
another modeler. Most modelers probably have at least
one of these in their tool collection.
Install the Nose Wheel
19
Содержание Lancair ES
Страница 40: ......


