❏
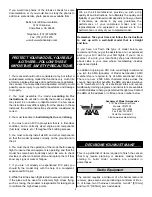
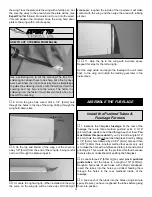
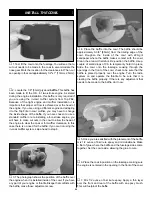
4. Locate the 1/8" [3mm] plywood front and rear pushrod
support formers. Drill a 3/32" [2.4mm] hole in each corner
of the rear former and a 3/32" [2.4mm] hole centered at
each end of the front former.
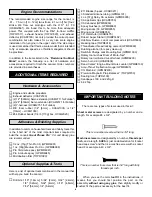
❏
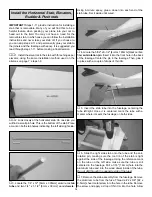
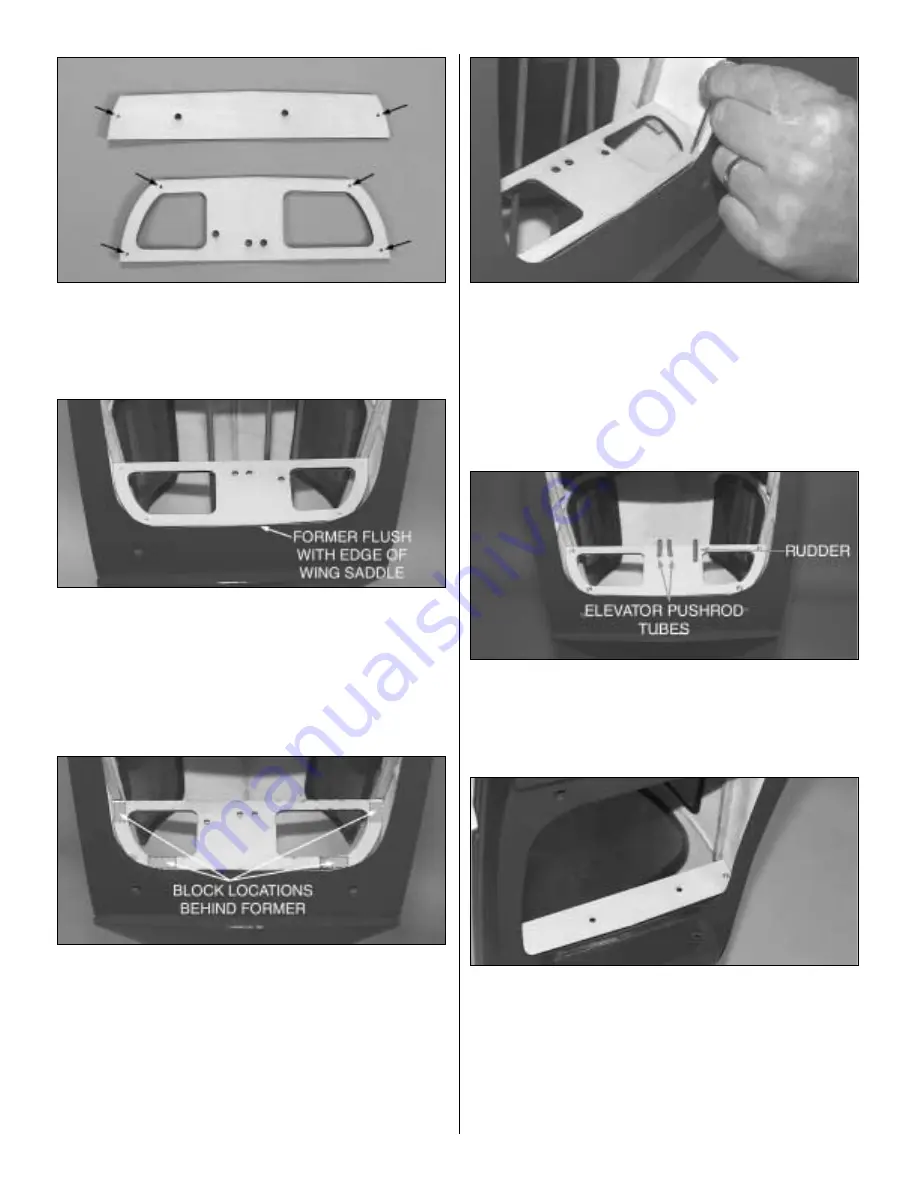
5. Place the rear former in position in the rear of the
fuselage opening as shown. The former needs to be placed
flush to the edge of the rear of the wing saddle.
❏
6. With the former positioned properly, use a felt-tip pen
and mark on the fuselage where the back of the former
rests. Remove the former.
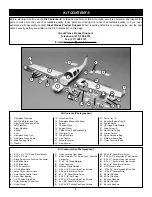
❏
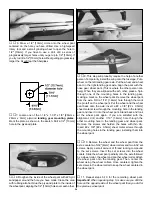
7. Locate four 1/4" x 3/8" x 3/4" [6mm x 9.5mm x 19mm]
hardwood blocks. These are to be mounted behind the
former. The former will be attached to each of these blocks.
Two blocks need to be glued to the fuselage side. The other
two blocks are glued on top of the wooden block that the
wing bolt blind nuts are mounted to. Sand the inside of the
fiberglass fuselage and clean the area with alcohol where
the blocks are glued to the fuselage. Once the fiberglass
has been prepared, glue the blocks in place with medium
CA glue.
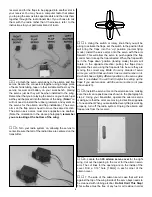
❏
8. Put the former back into the fuselage, resting it against
the four hardwood blocks. Drill a 1/6" [1.6mm] hole into each
of the blocks drilling through the holes you previously drilled
in the former. Note: You are most likely not going to be able
to use a power drill due to the small area you are working
in. We used a Hobbico
®
Servo Horn Drill (HCAR0698) but
you can also use a small finger drill, pin vise or in a pinch
you can put a small wheel collar on the end of the drill bit as
a knob to hold and rotate the bit.
❏
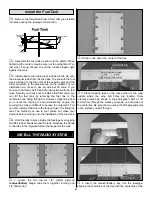
9. Install the pushrod tubes through the former (the two
pushrod tubes that are used for the elevator should be fed
through the two holes that are side-by-side). Do not glue the
tubes to the former. Install the former to the blocks with four
#2 x 3/8" [#2 x 9.5mm] screws and #2 flat washers.
❏
10. Following the same procedure, install the forward
former. The forward former only requires the use of two
wood blocks, one on each side of the former. Hold the
former in place using two #2 x 3/8" [#2 x 9.5mm] screws and
#2 flat washers.
❏
11. Once the formers are properly installed, remove the
formers and set them aside. They will be re-installed
permanently when you get to the radio installation.
14
Содержание Lancair ES
Страница 40: ......


