❏
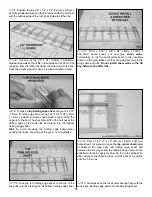
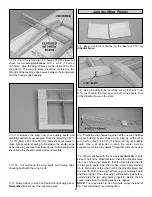
9. Insert and glue the 3/8" x 3/8" x 1" (9.5mm x 9.5mm x
25.4mm) balsa
nose reinforcement
in the front of the
fuselage so that it is flush with the sides, top and bottom.
❏
10. With the fuselage pinned over the plan top view, glue
both laser-cut 3/32" (2.4mm) balsa
wing pylons
to the
fuselage sides, perpendicular to your building board.
❏
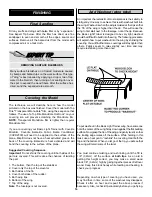
11. Glue the laser-cut 3/32" (2.4mm) balsa
pylon aft
plate
to the top of the fuselage and the aft end of the wing
pylon. The aft plate should be flush with the sides of the
wing pylon.
❏
12. Position the 1/16" (1.6mm)
wire landing gear
on the
fuselage top, against the front of the wing pylon to act as a
spacer. Glue the laser-cut 3/32" (2.4mm) balsa
pylon
forward plate
to the forward end of the wing pylon. The
forward plate should be flush with the sides of the wing
pylon. After the glue cures, remove the landing gear.
❏
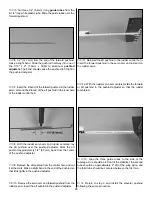
13. Sand the wing pylon sides to remove any excess glue
from the joint between the pylon sides and ends.
❏
14. Cut one hole in the side of each wing pylon for the
elevator and rudder servos. The holes should be just large
enough to fit the servo you will be using. The side of each
servo should set on the top of the fuselage.
Note:
Make
sure to off-set the servo holes from each other, as shown on
the plan.
❏
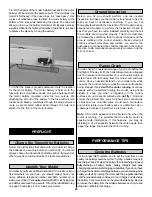
15. From a 1/8" x 1/8" x 24" (3.2mm x 3.2mm x 609.6mm)
balsa stick, assemble a tail skid and glue it to the bottom aft
end of the fuselage.
13
Содержание BLT
Страница 24: ...TWO VIEW...

