30
Transmitter buttons and rotary control
Transmitter control switches
Sometimes it is desirable to switch a function on or
off at a particular position of another transmitter con-
trol, e. g. at a defi ned position of one of the dual-axis
sticks. Typical examples are switching a stopwatch
on and off, extending spoilers automatically, and
many others.
The
mx
-24s software includes a total of eight soft-
ware “switches” of this type, termed “G1 … G8”. All
you have to do is defi ne the switching point on the
travel of the transmitter control; this just requires
pushing a button. The direction of switching can be
determined in the software by operating the associa-
ted transmitter control at the stage when the control
switch is assigned.
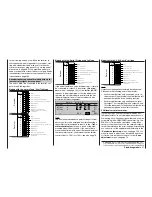
In the »
Control switches
« menu, pages 78 and 80,
you will fi nd that two frequently needed control swit-
ches are already pre-programmed: both of them on
the throttle stick (“Control 1”) with a switching point at
-75% (G1) and +75% travel (G2).
Naturally, transmitter control switches can also be
combined in order to solve more complex problems;
they can also be used in conjunction with the physi-
cal switches which have already been described.
A series of instructive examples makes it child’s play
to program these functions: please refer to the pro-
gramming examples starting on pages 94, 170, ...
Fixed switches FXI and FX
This type of switch turns a function on permanently
– e. g. a timer (closed fi xed switch) or off permanent-
ly (open fi xed switch). These two fi xed switches are
part of a range of “expanded switches”, to which the
logical switches also belong. They can be program-
med in any of the menus in which the following win-
dow is superimposed when an assignment is made
(see page 32 for more details):
Move desired switch
to ON position
(ext. switch: ENTER)
Operating buttons
The transmitter is programmed using just four but-
tons situated to the left of the screen, in conjunction
with the crucial element: the “3-D rotary control” to the
right of the screen, the functions of which are descri-
bed on the following page.
Operating buttons:
•
ENTER
The fi rst time you press the
ENTER
button you
move from the basic screen display to the multi-
function menus. You also press
ENTER
to call up
a selected menu.
•
ESC
= ESCAPE
Pressing
the
ESC
button takes you one step back
at the function select stage, and continues to re-
turn you through the system until you reach the
basic display.
•
CLR
= CLEAR
At the programming stage, pressing
CLEAR
re-
sets an altered parameter to the default value.
CLEAR
is also used to leaf backwards through the
pages within the Help system.
•
HLP
= HELP
At any point in the programming process you can
press this button to call up a brief Help text which
informs you how to use the individual menu in
which you are currently located. Within the Help
text you can leaf forwards through the screen pa-
ges by pressing the
HELP
button again, and leaf
through backwards using the
CLEAR
button.
Basic operations
Button pad, hotkeys
for fast acccess
, functions of the rotary control
ENTER
,
ESC
,
CLEAR
,
HELP
, contrast adjustment, button pad lock
Hotkeys, functions of the rotary control
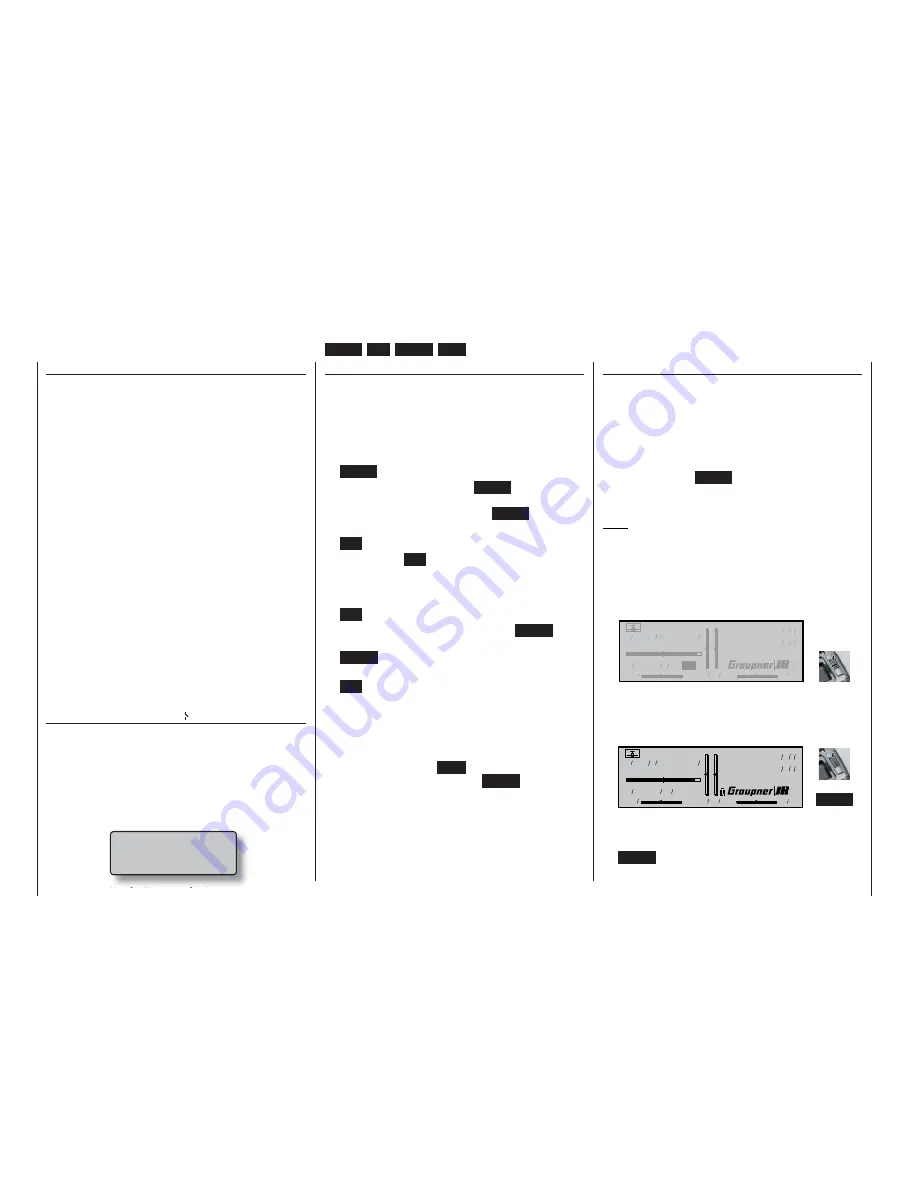
The basic method of using the rotary control has al-
ready been described on page 20. Here we show an
example of using the rotary control in a practical ap-
plication.
First switch the transmitter on (the method of selec-
ting a channel and using the scanner have already
been described in the section starting on page 24).
Now just press the
ENTER
button, so that the RF mo-
dule remains switched off. You are now at the basic
screen display.
Note:
If the two digital buttons CONTROL 5 and / or 6 have
not already been assigned to other purposes, e. g. in
the case of a brand-new transmitter or a newly initia-
lised model memory, these buttons have exactly the
same effect as turning the rotary control.
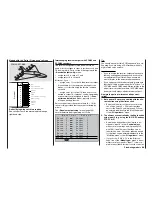
• Adjusting screen contrast
Model name
#01 0:00h SPCM20
H-J.Sandbrunner
10.9V
0:05h
C65
0 0 0
0
Stop watch
Flight tim
0 00
0 00
:
:
Press and
Press and
rotate
rotate
You can adjust the screen display to suit the am-
bient conditions by pressing and turning the rota-
ry control.
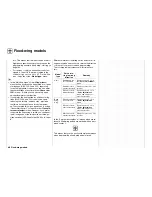
• Switching the button pad lock on and off
Model name
#01 0:05h SPCM20
H-J.Sandbrunner
10.9V
0:30h C65
0 0 0
0
Stop watch
Flight tim
0 00
0 00
:
:
+
CLEAR
A key symbol to the left of the
GRAUPNER/JR
logo indicates that the button pad is locked. You
can unlock or lock the button pad by pressing the
CLEAR
button whilst holding the rotary control
pressed in.
Содержание mx-24s
Страница 1: ...1...
Страница 19: ...19 For your notes...
Страница 35: ...35 For your notes...
Страница 41: ...41 41 For your notes...
Страница 57: ...57 For your notes...
Страница 63: ...63 63 For your notes...
Страница 69: ...69 69 For your notes...
Страница 85: ...85 85 For your notes...
Страница 99: ...99 For your notes...
Страница 143: ...143 For your notes...
Страница 191: ...191 For your notes...
Страница 212: ...212 212 For your notes...
Страница 213: ...213 213 For your notes...
Страница 214: ...214 For your notes...
Страница 216: ...216...


