USER'S MANUAL
9
|
P a g e
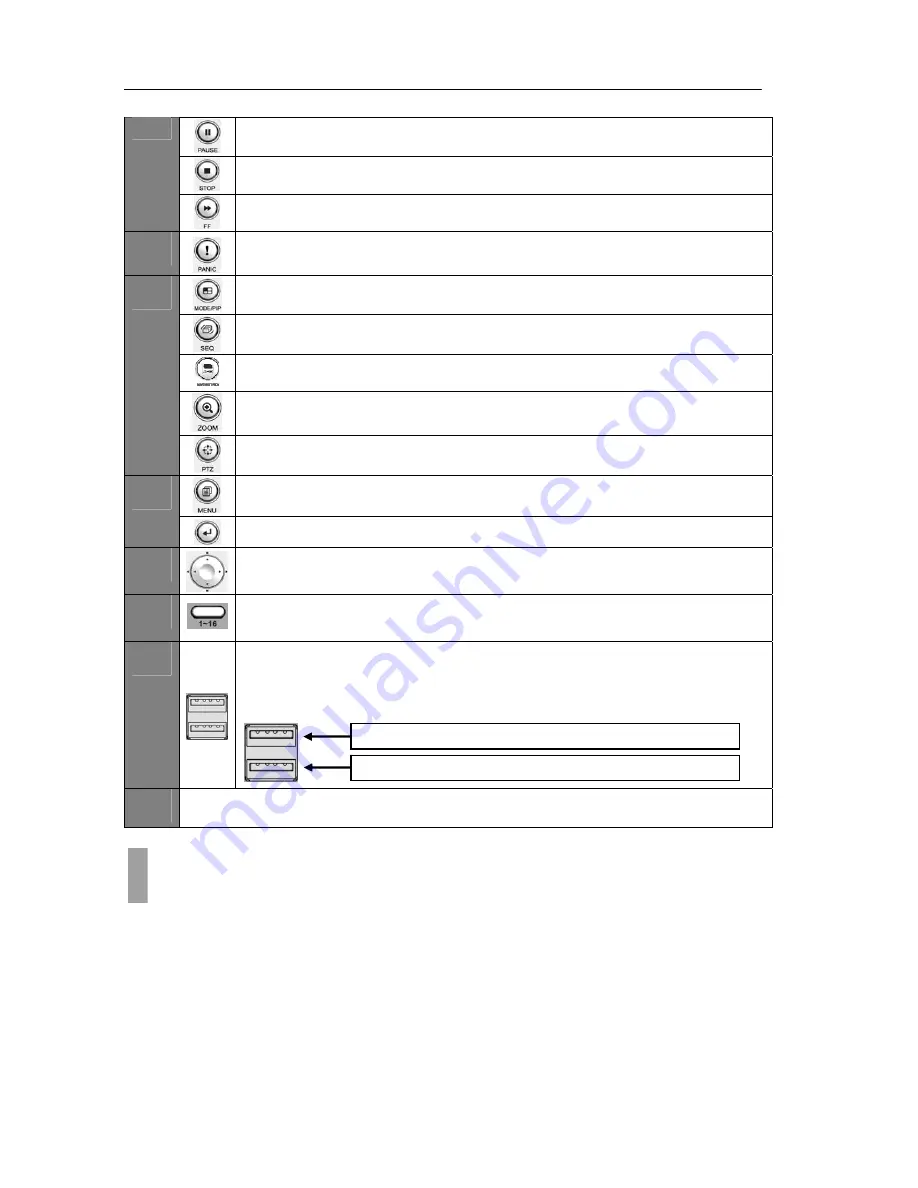
PAUSE
Used during playback to pause the current video being played
STOP
Used during playback to stop current video being played
FAST FORWARD
Used during playback to fast forward video referring to panic record settings
6
PANIC
This button is used to activate panic recording
MODE/PIP
Used to change the live view screen division / enable picture in picture
SEQUENCE
Used to initiate video sequence mode
MONITOR
Used to select Monitor A/B controlled by front panel
ZOOM
Used to digitally zoom into live video
7
PTZ
Used to show the PTZ control
MENU
Used to open the "Live View Menu" from the Live View Screen
8
ENTER
Used to confirm any action on the system
9
DIRECTIONAL KEYPAD
Used to navigate through the various system menus
10
CHANNEL SELECTION
This button is used to select a specific channel
11
USB Port
There are two (2) USB ports on the front side key panel of the DVR. It is
recommended to use the top port for Firmware Updates and USB backup, and the
bottom port for the USB mouse connection.
12
CD-R / DVD-R DRIVE BAY
As all of the needed connections are made to the DVR unit, follow the instruction provided below to
configure Date and Time, Camera, Recording and Network configuration
Before Powering Up
Make sure the unit is properly connected with Video Output Device, Cameras and protected by
connecting to power surge protector.
Locate the area of where the unit will be placed. The area must be free from dust, direct sun light,
moisture and must be well ventilated temperature controlled location.
Before connecting the power cord, ensure that power switch is set to "Off" position.
CHAPTER 2. QUICK SETUP
3. Initial Setup
Top
port
‐
Firmware
Updates
&
USB
Backup
Bottom
port
‐
USB
Mouse
Connection
Содержание H.264 Digital Video Recorder
Страница 1: ......
Страница 77: ...USER S MANUAL 77 P a g e...


