Chapter 11: Image Viewer
5495975-1EN Rev.9
11-15
© 2013-2017 General Electric Company. All rights reserved.
Adjust Image Shutter (Crop Image)
The system has the ability to detect the collimated edges of the image and may apply shutters to mask
the collimated areas. Refer to
for more information.
The Manual Shutter function allows you adjust the automatically applied (default) shutter for viewing and
printing.
You can only adjust the shutter of images in an active exam or of re-processed images.
Note:
To view hidden areas of a cropped image, use the Manual Shutter and drag the red corner han-
dles to the edges of the image.
Note:
The Manual Shutter is not available for images acquired during a VolumeRAD exam.
Follow this process to adjust the shutter of an image.
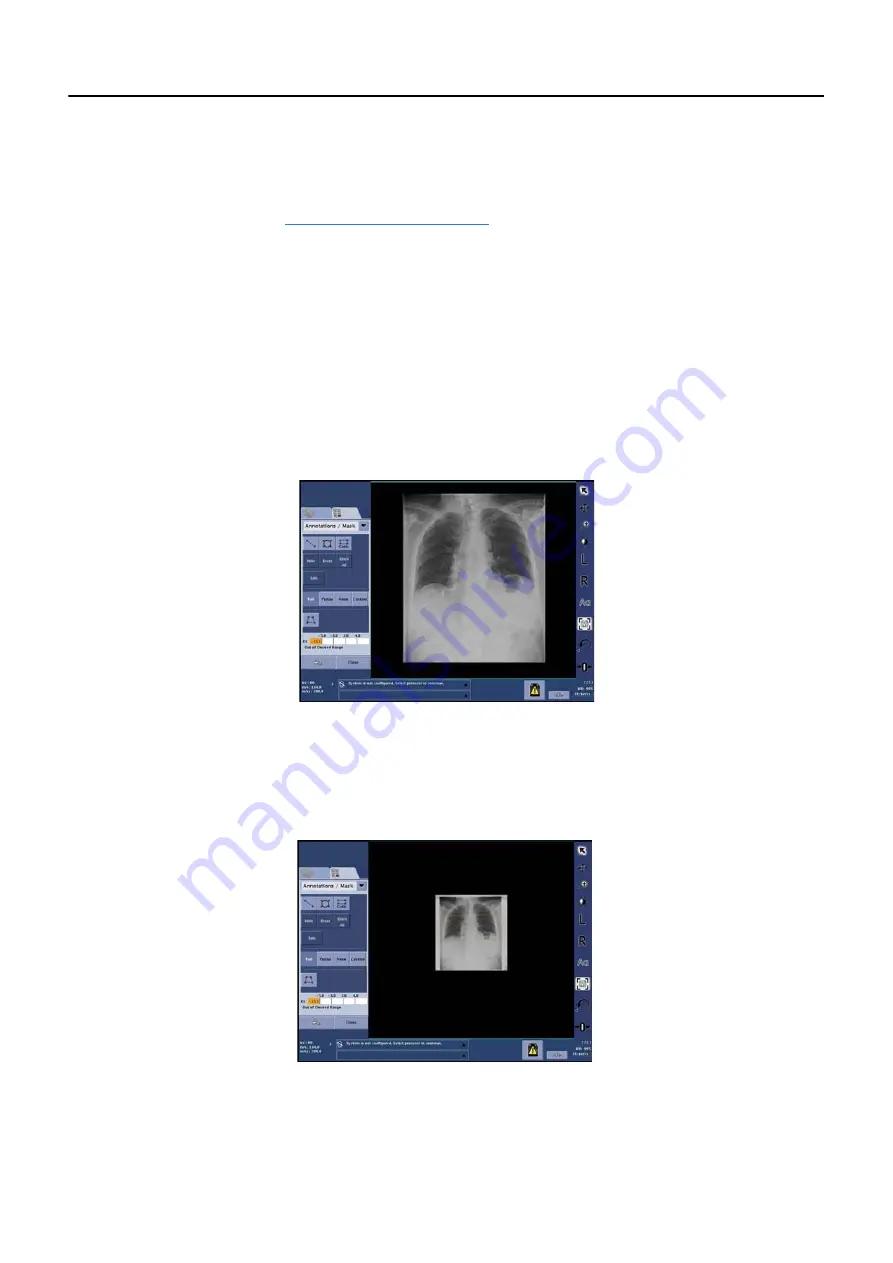
1. Select the image.
Figure 11-8
Image before adjusting shutter
2. Click [MANUAL SHUTTER].
The image will be shown in reduced size so that you are able to see the edges (
The shutter appears as a yellow box with red handles (
). Anything outside of the box
will be blacked out when the shutter is applied.
Figure 11-9
Editing the manual shutter


