


92
Chapter 7 Measuring Features and Defects
GE Inspection Technologies XLG3 VideoProbe System
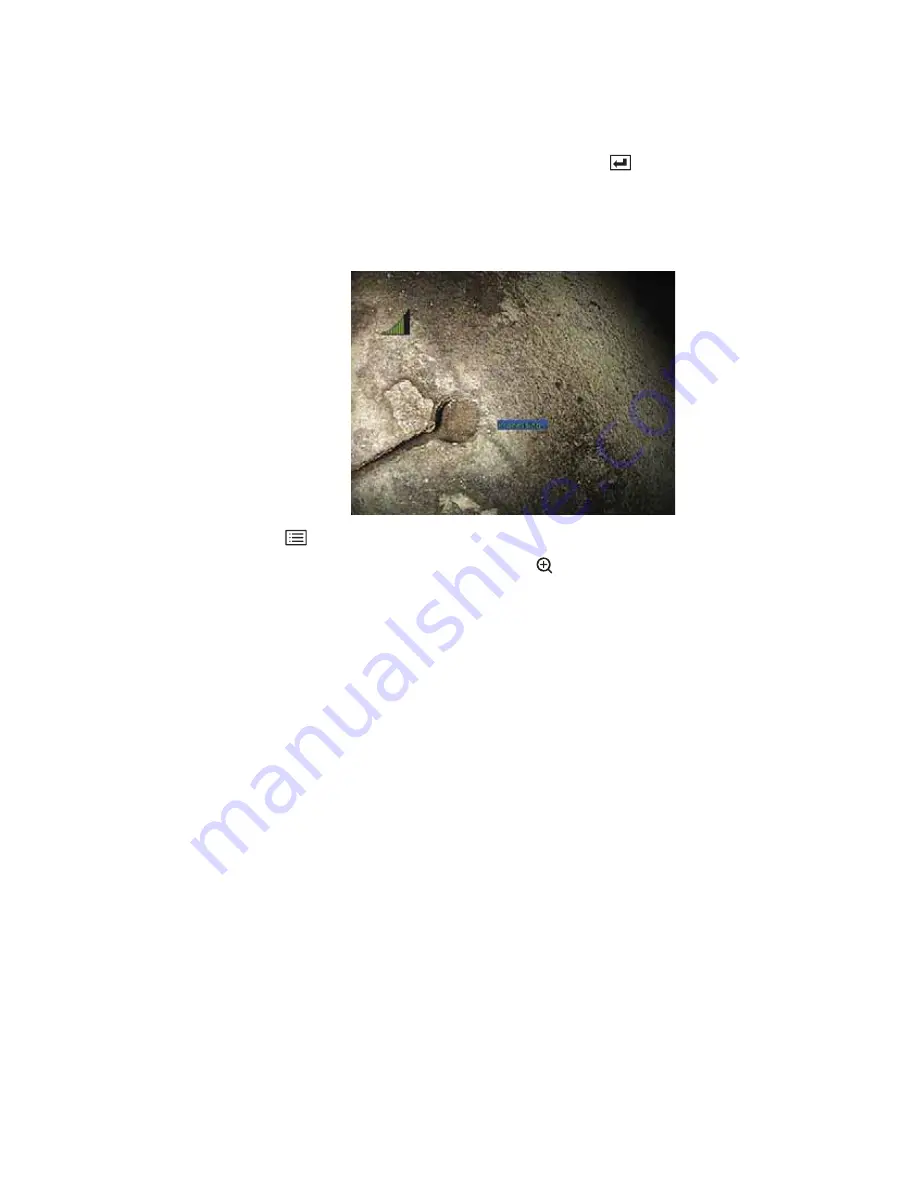
3D Phase Measurement Image Capture
1.
When the target is in position, press and hold the green
button or pull and hold the
trigger. The 3D Phase Measurement scan will begin.
2.
Hold the probe still for approximately one second during the surface scan. Multiple
images are taken to complete the scan, and the probe must be held still during this
sequence. After the “processing” message appears on-screen, the probe may be
moved.
3.
Press
, then Select Measure>Phase> Measurement Type.
4.
Place cursors on the desired feature, using
to aid in accurate placement.
Up to five measurements may be placed on each image
Point Cloud View
The point cloud view offers the following advantages:
•
Provides a rough idea of feature size from depth map (false color) mode scale.
•
Shows location of high and low points to help profile and depth measurement cursor
positioning.
•
Show the level of noise relative to the defect size. You can then move the probe closer
if the defect is hidden in noise bumps on the surface.
•
Ripple or waves indicate dirt or oil on the gratings or reflections bouncing off one
surface onto another.
•
When entered with no measurements placed, you can see the entire captured
surface.
•
When entered with a measurement placed:
•
only the area around the measurement is shown
•
a reference plane is created using the measurement cursors
•
the cursor positions and the lines between the cursors are shown
•
for profile measurements, the profile slice along the surface and the line between
the two cursors are shown
•
a square around the data, indicating the reference plane position, is shown
•
a scale indicates the depth or height relative to the reference plane
Содержание Everest XLG3 VideoProbe
Страница 4: ...iv GE Inspection Technologies XLG3 VideoProbe System ...
Страница 8: ...viii GE Inspection Technologies XLG3 VideoProbe System ...
Страница 34: ...26 Chapter 2 Safe Powering and Grounding GE Inspection Technologies XLG3 VideoProbe System ...
Страница 46: ...38 Chapter 3 Setting Up and Putting Away the System GE Inspection Technologies XLG3 VideoProbe System ...
Страница 54: ...46 Chapter 4 Setting Up the Software GE Inspection Technologies XLG3 VideoProbe System ...
Страница 134: ...126 Chapter 8 Maintenance GE Inspection Technologies XLG3 VideoProbe System ...
Страница 138: ...130 Chapter 9 Troubleshooting GE Inspection Technologies XLG3 VideoProbe System ...
Страница 142: ...134 Appendix A Specifications GE Inspection Technologies XLG3 VideoProbe System ...
Страница 146: ...138 Appendix C Chemical Compatibility GE Inspection Technologies XLG3 VideoProbe System ...
Страница 148: ...140 Appendix D Warranty GE Inspection Technologies XLG3 VideoProbe System ...
Страница 166: ...158 Index GE Inspection Technologies XLG3 VideoProbe System ...


