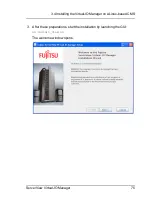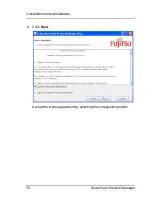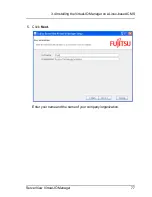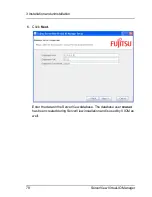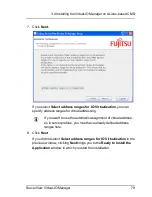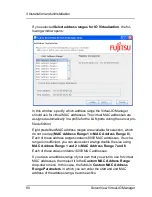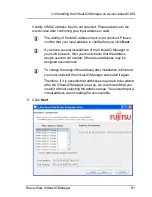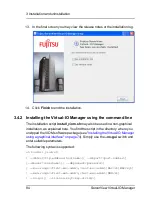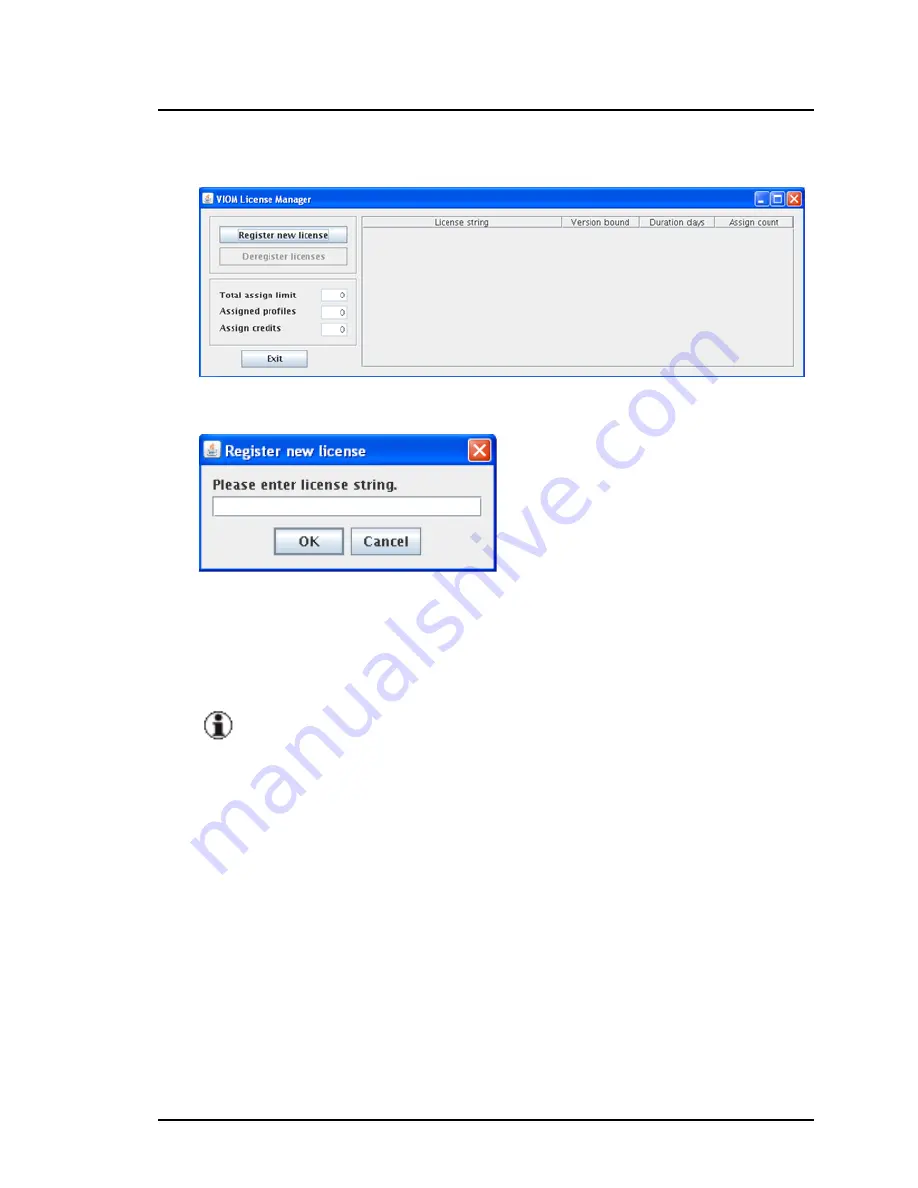
10. Click
Next
to launch the License Manager.
11. Click
Register new license
.
Enter at least one valid license here so that you can use the Virtual-IO
Manager functions. You can enter several licenses here. For more infor-
mation on the License Manager, see section
"License management" on
page 90
. Then click
OK
l
The licenses are not version bound.
l
Licenses purchased with Virtual-IO Manager versions prior
to V2.4 are also still valid. These licenses (v1) contain a
chassis count which is multiplied by 18 to get the assign
count used in licenses (v2) purchased with Virtual-IO Man-
ager V2.4 or later.
12. Click
Exit
in the
VIOM License Manager
dialog box to exit the License
Manager. The dialog box closes.
ServerView Virtual-IO Manager
83
3.4 Installing the Virtual-IO Manager on a Linux-based CMS
Содержание ServerView Virtual-IO Manager V3.1
Страница 10: ...10 ServerView Virtual IO Manager ...
Страница 56: ...56 ServerView Virtual IO Manager ...
Страница 255: ...Figure 74 VIOM specific log file ServerView Virtual IO Manager 255 6 3 Logging the actions using VIOM ...
Страница 276: ...276 ServerView Virtual IO Manager ...
Страница 300: ...300 ServerView Virtual IO Manager ...
Страница 302: ...302 ServerView Virtual IO Manager ...
Страница 312: ...312 ServerView Virtual IO Manager ...
Страница 330: ...330 ServerView Virtual IO Manager ...
Страница 352: ...352 ServerView Virtual IO Manager ...
Страница 362: ...362 ServerView Virtual IO Manager ...


