


89
6.2 Scanning Using the Operator Panel of the Machine
4.
Tap [Destination] to select a folder in which to store scanned data.
5.
Tap [File Format], and select the file format to be used when saving scanned data.
6.
Scroll the screen to change scan settings as needed.
Refer
For details on settings, refer to "Configuring the Settings for the Scan to USB Feature" (P.89).
7.
Tap [Start].
Important
Do not remove a USB flash drive while it is being accessed. This could damage the data in the USB flash
drive and the drive itself, rendering it unusable.
Note
When the following document-related message is displayed, follow the instructions shown on the screen.
Once the message is displayed, if a specific interval elapses with no operations performed, the document
will be sent automatically, and the display will return to the scanner transmission screen. The interval
before the document is sent can be changed with [Auto Clear].
8.
Make sure that the machine is not accessing the USB flash drive, and then remove the drive from
the machine.
Note
When the following document-related message is displayed, follow the instructions shown on the screen
to complete loading the of the document.
Check a preview of scanned data
Check the scanned image before saving. Enable [Preview], and a preview screen will appear after the
document is scanned.
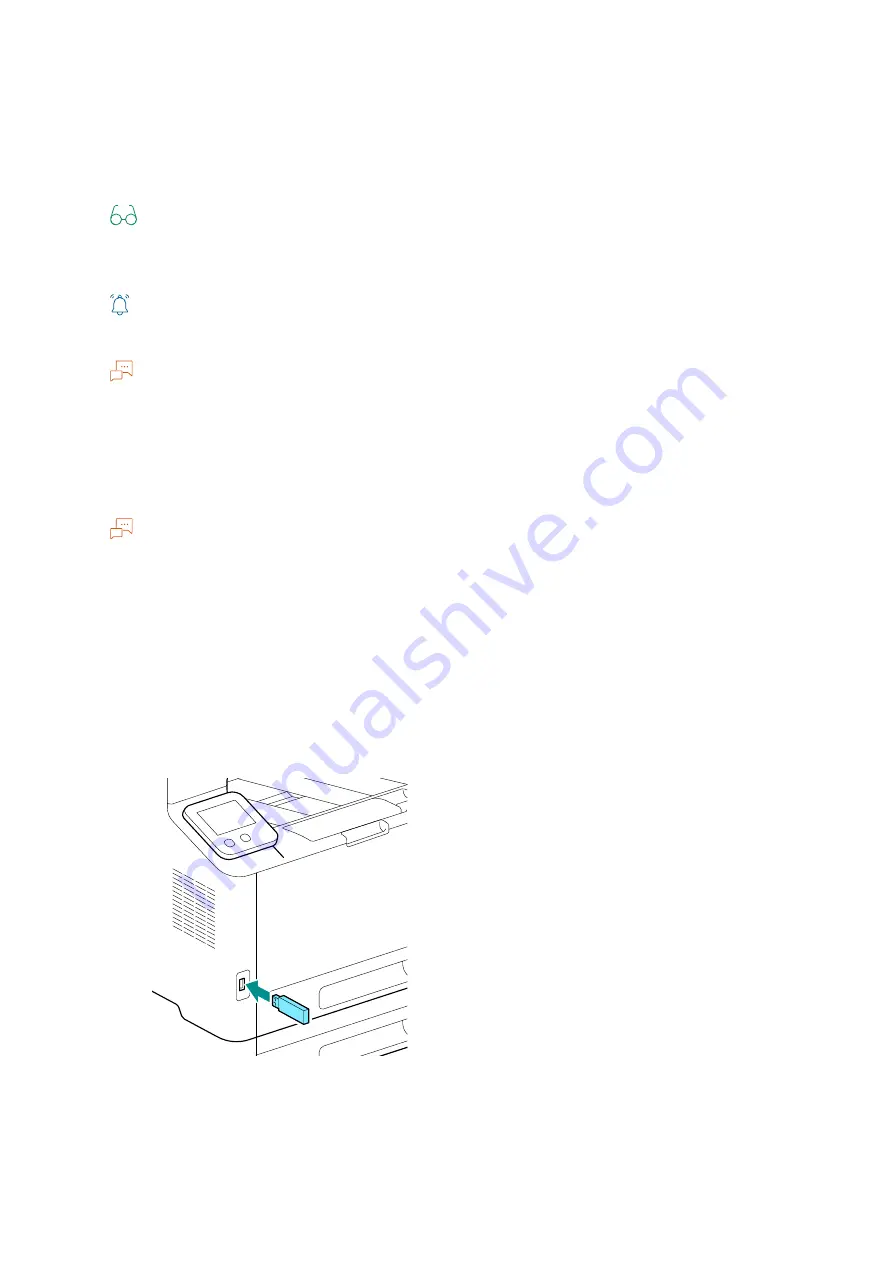
Configuring the Settings for the Scan to USB Feature
1.
Insert a USB flash drive into the front USB port of the machine.


