very small countersunk self-tappers (eg: BVM ‘Poly-
ply’ screws) so that the canopy is rigid, and cannot
twist. Then you can carefully remove it from the fuse-
lage and glue the edges from the inside.
Carefully sand a narrow 5 - 6mm wide border all
around the edges of the clear canopy, on the inside
surface
only
, with 400 grit sandpaper to provide a
‘key’ for the glue. It’s a good idea to mask off the bor-
der of the canopy while you do this so that you don’t
accidentally scratch it.
With the frame clamped or taped onto the fuselage
you can now fix the clear canopy into position on the
frame at the 4 corners with very small countersunk
screws. Then carefully remove it from the fuselage
and apply your chosen canopy glue around all the
edges, to secure it properly. We use a PVA-based
type that dries completely clear (eg: Pacer/ZAP For-
mula 560 or R/C Modellers Glue). This can be ap-
plied with a small brush, so that it wicks into the
joints, and then excess glue can be wiped off with
water before it cures.Wax the fuselage flanges care-
fully so that the canopy doesn’t get glued to the fuse-
lage by any glue that seeps
out. Then refit the complete
canopy and tape firmly into
place until the glue has fully
cured to make sure that the
shape and alignment remains
correct.
At the moment there is no ex-
ternal canopy frame available
for our Hawk, but you can mask
and paint the external frame
onto the clear canopy after-
wards, if you wish. This also
hides the small screws and any
glue marks that might show
thru’ the edges of the clear
canopy.
Fox Composites Co., Ltd.
28
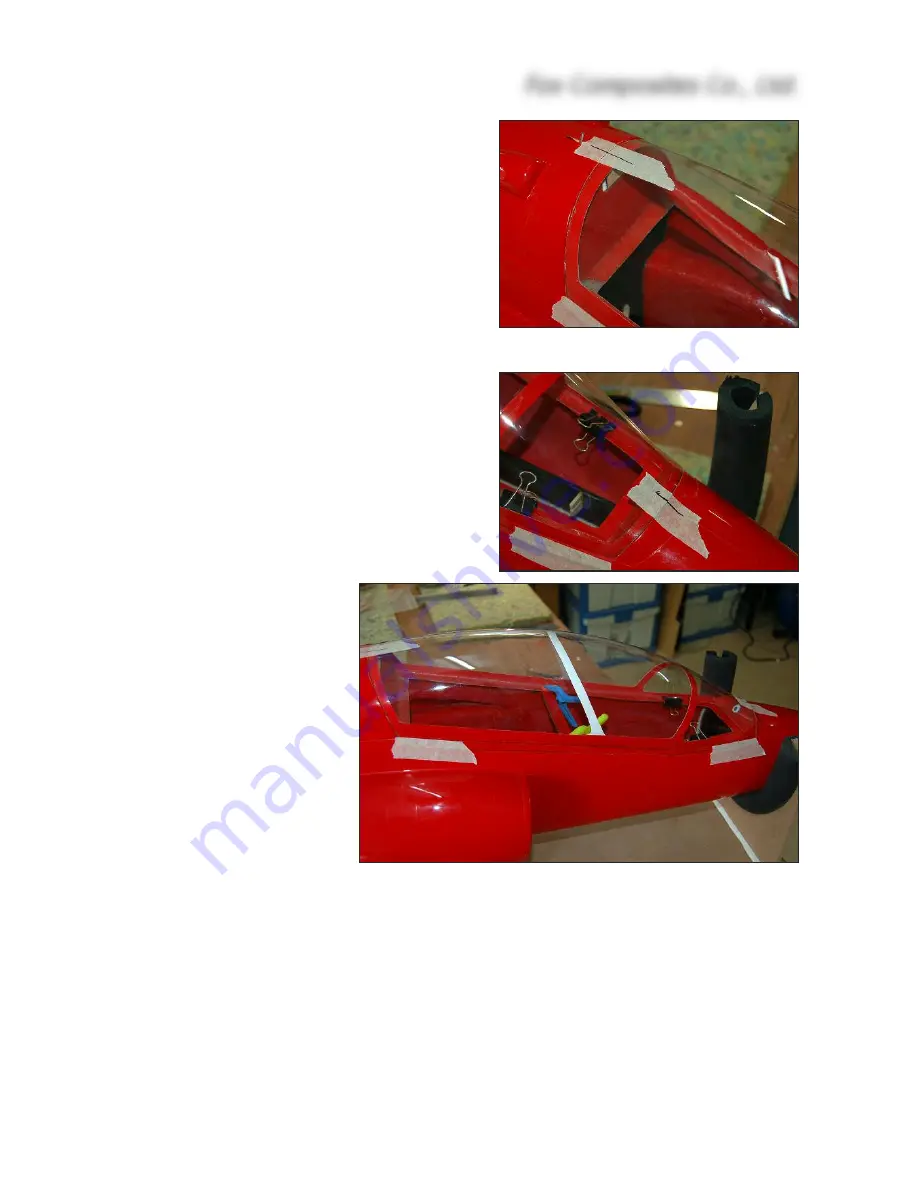
Fix canopy to frame with 4 small csk screws in the corners,
then remove the frame and secure it from the inside using a
PVA-based glue that dries totally clear.
Mark centrelines on front & back of
canopy and frame to ensure alignment.


