10
7. Once installed, click
Finish
to close the USB driver Install Wizard dialog.
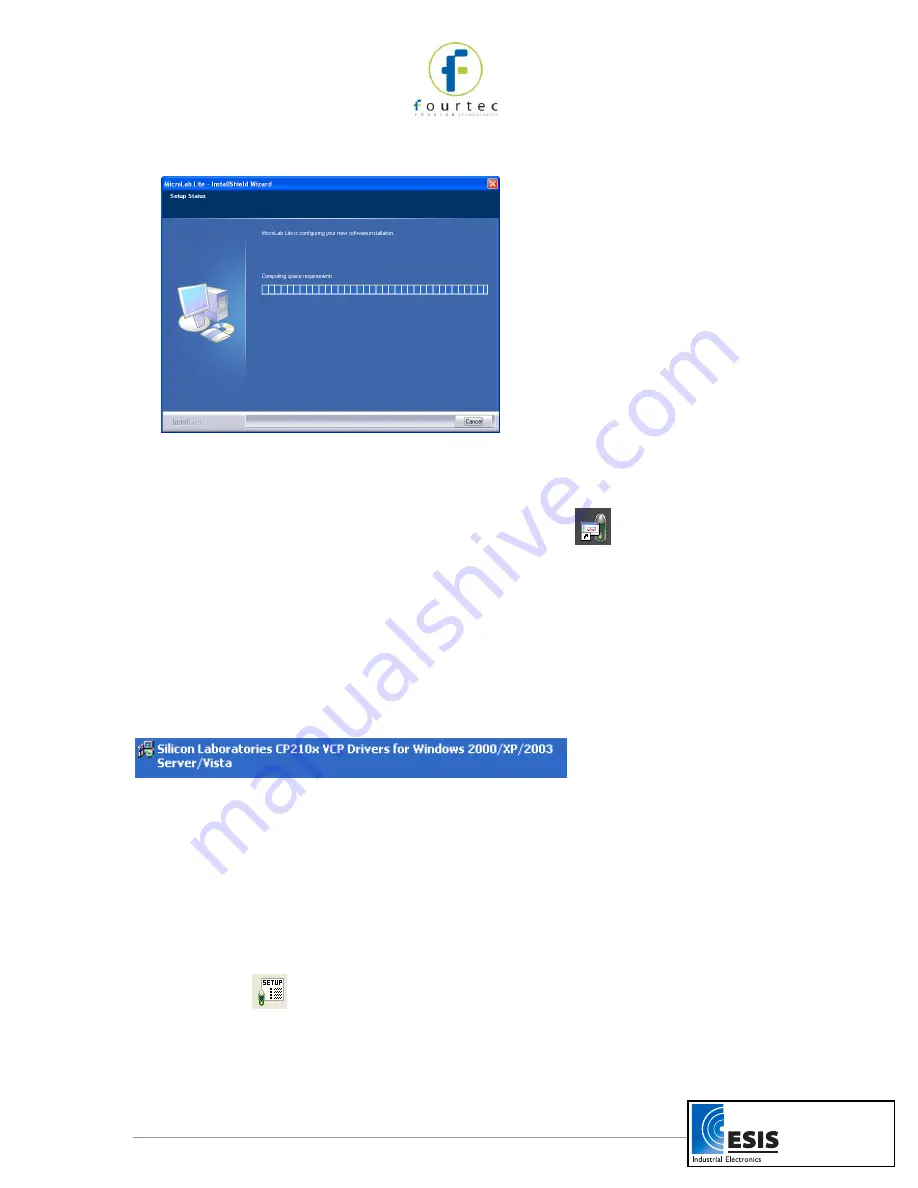
8. The main MicroLab Lite InstallShield Wizard now resumes.
9. After a few more seconds, the installation process is completed. Click
Finish
.
10. Connect the MicroLite to a USB port on your PC. The PC will automatically detect
the MicroLite as new hardware. After a few seconds you will see a message stating
that the device is ready for use.
11. Double click the MicroLab Lite shortcut on your desktop
to launch the software.
If the MicroLite is connected to the PC the software will automatically detect it.
Troubleshooting
When connected to the PC USB port the MicroLite was not detected by the software.
Ensure that the USB driver was installed properly.
If it is, then the MicroLite LED will light green when connected to the USB.
Go to
Control Panel > Add/Remove Programs
(in WinXP), and check that the driver is
installed:
If not, you must rerun the MicroLite setup.exe to install the driver.
If the driver is installed, ensure that there is no other device sharing the USB com port
with the MicroLite.
2.3.
Getting Started
2.3.1.
Setting up the MicroLite
Use the
Setup
dialog box to view or change the MicroLite settings.
1. Connect MicroLite to the PC.
2. Click
Setup
to open the
Setup
dialog box.
www.esis.com.au
Ph 02 9481 7420
Fax 02 9481 7267


