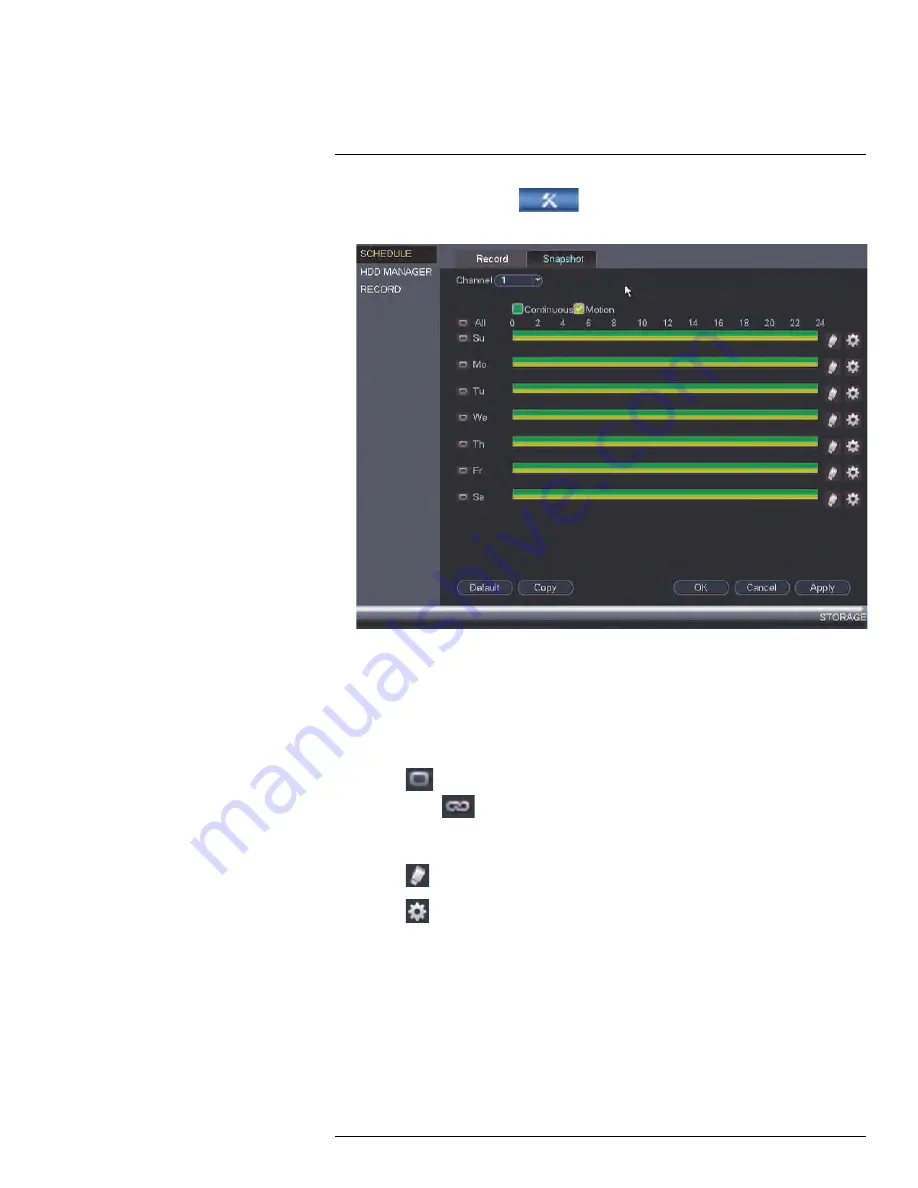
1. From the
Main Menu
, click
and then click
Storage > Schedule >
Snapshot
.
2. Under
Channel
, select the channel you would like to configure or select
All
.
3. Configure the schedule as needed:
• Check
Continuous
or
Motion
to select the recording type you would like to
configure.
• Click and drag on each day to customize the recording schedule. The schedule is
set up as a grid, with each block representing one hour.
• Click
next to
All
to link the recording schedules for all days. The icon for a day
changes to
when it is linked. You can also click the boxes next to individual
days to link them to each other. If the recording schedule is linked, changes made
to one of the days will apply to every day that is linked.
• Click
to disable all recording of the selected type on the selected day.
• Click
if you need to set a more precise schedule down to the minute.
4. Click
OK
to save changes.
13.3.17
Configuring Holidays
You can set certain days as holidays. Holidays have a special recording schedule.
#LX400094; r.43927/43955; en-US
83
Содержание DNR214
Страница 1: ...Instruction Manual DNR210 Series...
Страница 2: ......
Страница 3: ...Instruction Manual DNR210 Series LX400094 r 43927 43955 en US iii...
Страница 10: ......
Страница 37: ...Setting The Time 8 7 Click Apply to save changes LX400094 r 43927 43955 en US 27...
Страница 46: ...Search Backup 11 5 Click Format 6 Select a format mode 7 Click OK to confirm LX400094 r 43927 43955 en US 36...
Страница 58: ...Managing Passwords and User Accounts 12 4 Click Add Group LX400094 r 43927 43955 en US 48...
Страница 138: ...Using FLIR Cloud Client for PC or Mac 15 To create a user account 1 Click Add LX400094 r 43927 43955 en US 128...
Страница 145: ...Using FLIR Cloud Client for PC or Mac 15 LX400094 r 43927 43955 en US 135...
Страница 219: ......


