27
CHECKING AND CLEANING THE VACUUM HOSE
The careful cleaning of the squeegee body vacuum hose guarantees
a longer appliance life span. Proceed as follows to clean the
squeegee body vacuum hose:
1. Take the device to the dedicated maintenance area.
ATTENTION:
The place this operation is carried out should
comply with current environmental protection regulations.
2. Take all necessary steps to ensure that the device is in a safe
condition (see “
MACHINE SAFETY
’”).
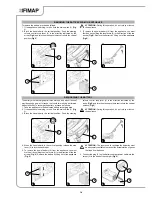
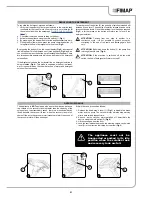
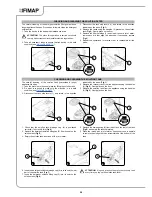
3. Disconnect the tank stop levers (1), and rotate in the direction
indicated by the arrow (
Fig.1
).
4. Remove the tanks using the handles (2) present on the solution
tank (
Fig.2
). Gently place on the floor.
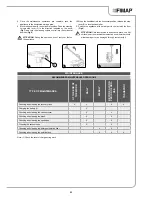
5. Clean the inside of the squeegee vacuum hose (3) with a jet of
running water, inserting the hose into the nozzle as indicated by
the arrow (
Fig.3
).
6. Repeat the operations in reverse order to reassemble all the
parts.
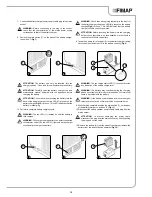
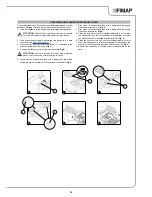
6. Lift the squeegee attachment (1) (
Fig.4
).
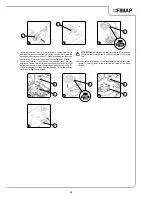
7. Remove the squeegee from the slots on the squeegee connector
(4), taking care not to lose the seal (5) on the vacuum nozzle
(
Fig.5
).
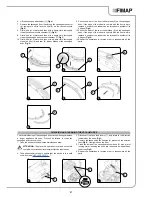
8. First with a jet of water and then with a damp cloth, thoroughly
clean the vacuum nozzle chamber (6) (
Fig.6
).
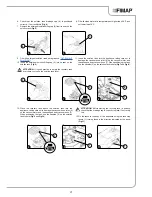
9. First with a jet of water and then with a damp cloth, thoroughly
clean the squeegee body vacuum chamber (7) (
Fig.7
).
10. First with a jet of water and then with a damp cloth, thoroughly
clean the front (8) and rear (9) rubber blades of the squeegee
body (
Fig.9
).
11. Check the wear of the front rubber blade (8) on the squeegee
body; if the edge of the rubber in contact with the floor is worn,
replace it, however the rubber can be turned onto another of its
4 edges (
Fig.9
).
12. Check the wear of the rear rubber blade (9) on the squeegee
body; if the edge of the rubber in contact with the floor is worn,
replace it, however the rubber can be turned onto another of its
4 edges (
Fig.10
).
13. Repeat the operations in reverse order to reassemble all the
parts.
4
7
10
6
9
5
8
1
4
7
9
9
6
8
8
5
3
1
3
1
2
2


