26
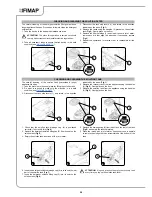
CHECKING AND CLEANING THE BRUSH
Careful cleaning of the brushes guarantees better cleaning of the
floor as well as a longer brush motor life. To clean the brushes,
proceed as follows:
1. Take the appliance to its designated maintenance area.
2. Take all necessary steps to ensure that the device is in a safe
condition (see “
MACHINE SAFETY
’”).
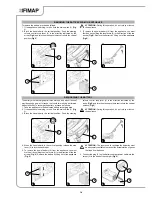
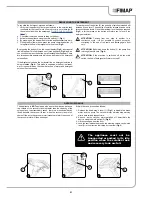
3. Block the handlebar in the horizontal position. Push the steering
column control stop lever (1) in the direction indicated by the
arrow (
Fig.1
) and turn the steering column control into the
horizontal position (
Fig.2
).
4. When the handlebar is in the horizontal position, release the stop
lever (1) to lock the handlebar (
Fig. 3
).
5.
Position the appliance with the rear part in contact with the floor
(
Fig.5
), using the handle (2) on the front of the appliance and the
handle (3) for assistance (
Fig.4
).
6. Remove the brush from the appliance (
Fig.6
).
7. Clean the brush under running water to remove any impurities
present in the bristles of the brush. Check that the bristles are
not worn; in the event of excessive wear replace the brush (the
bristles should be at least 10 mm long).
CHECKING AND CLEANING THE SQUEEGEE BODY
The careful cleaning of the whole vacuum unit ensures better drying
and cleaning of the floor as well as a longer vacuum motor life. To
carry out the cleaning of the squeegee unit, proceed as follows:
1. Take the device to the dedicated maintenance area.
2. Take all necessary steps to ensure that the device is in a safe
condition (see “
MACHINE SAFETY
’”).
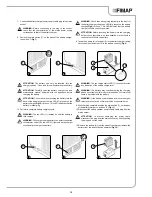
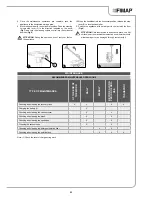
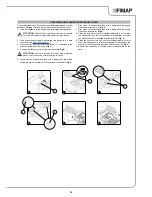
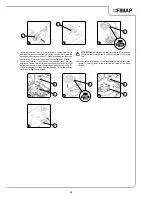
3. Rotate the squeegee attachment (1) until it is at the front of the
appliance (
Fig.1
).
ATTENTION:
Users are advised to always wear protective
gloves, to avoid the risk of serious injury to hands.
4. Remove the vacuum hose (2) from the vacuum nozzle
on the squeegee body (
Fig.2
).
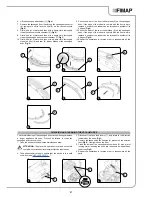
5. Turn the wing nuts (3) by ninety degrees (
Fig.3
).
The appliance must not be
transported or parked in its idle
position when the solution tank
and recovery tank are full.
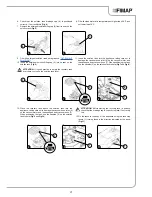
8. Repeat the operations in reverse order to reassemble all the
parts.
ATTENTION:
during this process, keep the control handlebar
still, in order to prevent the appliance from moving
accidentally.
WARNING
: Users are advised to always wear protective
gloves, to avoid the risk of serious injury to hands.
1
4
3
6
2
5
1
3
2
1
1
3
2
1
2
3


