
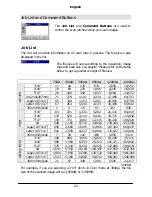


English
24
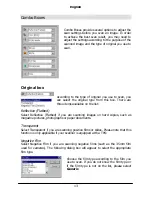
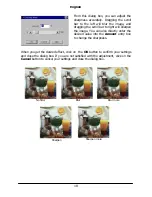
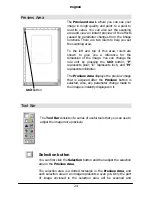
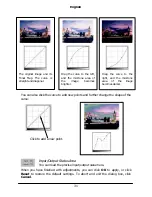
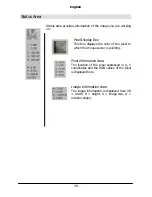
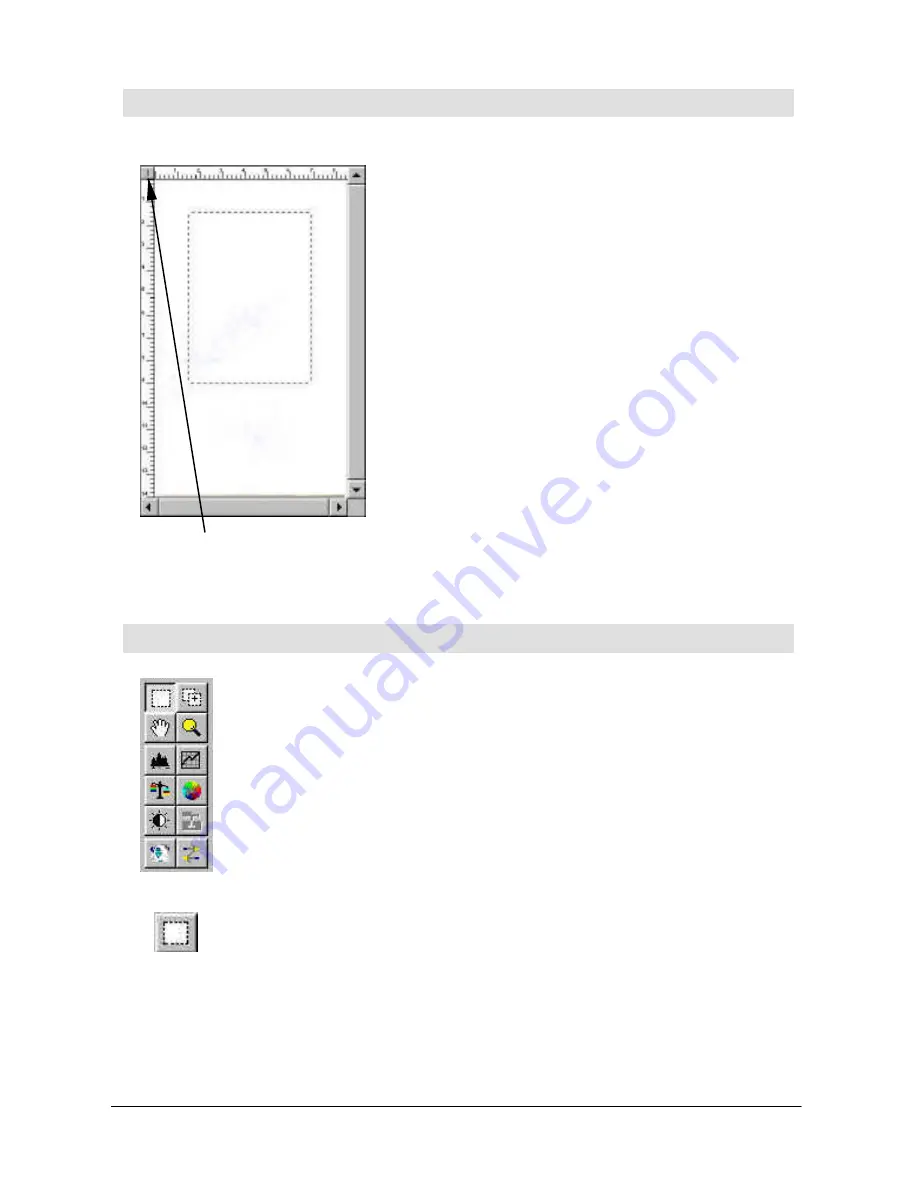
Preview Area
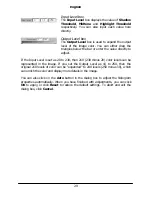
The
Preview Area
is where you can see your
image in rough quality and point to a pixel to
read its value. You can also set the scanning
area and view an instant preview of the effects
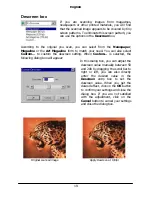
caused by parameter changes from the Image
functions. There are two rulers to help you set
the scanning area.
To the left and top of this area, rulers are
shown to give you a reference for the
dimension of the image. You can change the
rule unit by pressing the
Unit
button. "
P
"
represents pixel; "
I
" represents inch, and "
M
"
represents millimeter.
The
Preview Area
displays the preview image
that is acquired after the
Preview
button is
selected. Also, any parameter change made to
the image is instantly displayed in it.
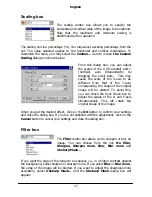
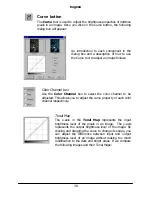
Tool Bar
The
Tool Bar
consists of a series of useful tools that you can use to
adjust the image more precisely.
Selection button
You can first click the
Selection
button and then adjust the selection
area in the
Preview Area
.
The selection area is a dotted rectangle in the
Preview Area
, and
each selection area in an image represents a scan job. Only the part
of image enclosed in the selection area will be scanned and
Unit
button
Содержание Professional Desktop Scanner
Страница 1: ...Professional Desktop Scanner User s Manual PC version English...
Страница 2: ......
Страница 10: ...English iv Memo...
Страница 50: ...English 40 Memo...
Страница 76: ...English 66 Memo...
Страница 80: ...English 70 Memo...
Страница 81: ...English 71 Appendix MiraScan main screen guide map...
Страница 82: ...English 72 MiraScan main screen guide map continued...