XMP 240 C AT • Dante Controller
101
7.
Send the desired command to the AXI and confirm the correct response is received.
•
When entering a command, use the “
w
” character in place of the <
Esc
> key
and the “pipe” character (
|
) in place of a return. Failing to do so may cause the
command to fail.
•
The closing bracket (
}
) is necessary to successfully end a command before
attempting to send a new command.
Example:
Command
Response
{dante@AXI02-XTP-RoomA:wg40000*30AU|}| {dante@AXI-XTP-RoomA}
DsG40000*30
]
NOTE:
The XMP provides the tag showing the Dante-controlled remote device
name while the remote device provides the response for the SIS command.
Dante Troubleshooting
The most common Dante troubleshooting issues occur when devices are not discovered by
Dante Controller or when routing is not successful. Both issues occur when software is not
able to properly discover devices operating on the Dante network.
Before moving into more difficult troubleshooting, shut down Dante Controller and reseat the
Ethernet cable connecting the PC to the Dante network and restart Dante Controller. This
can be enough for the software to reacquire the Dante network.
If the problem persists, perform the following troubleshooting procedures in the order listed.
Simplifying the Network for Troubleshooting
If further troubleshooting of Dante Controller is necessary, begin by simplifying the network:
1.
Bypass network switches by connecting two Dante-compatible units, such as an
XMP 240 C AT and a DMP 128 FlexPlus, via their AT ports.
2.
Connect the PC to an unused AT port with an Ethernet cable.
3.
Use Dante Controller to check if the issue was resolved before moving on to network
interface troubleshooting.
4.
If the issue is resolved, add connections and hardware one at a time, checking for
proper operation after each addition, until the point of failure is discovered (typically a
bad cable or invalid redundant configuration).
Troubleshooting the Network Interface
If the issue is still present, continue to diagnose the PC network connections as described
below. Check Dante Controller after each step to see if the problem is resolved.
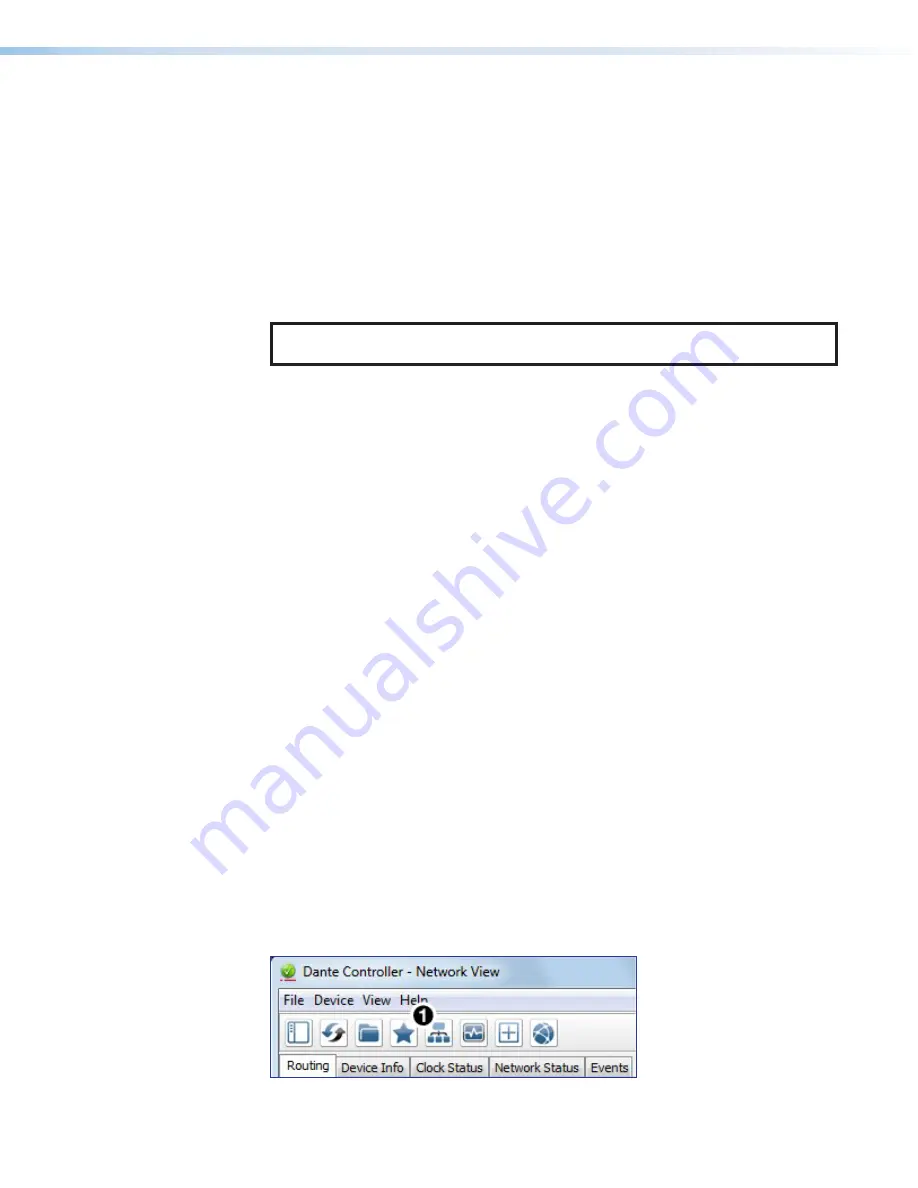
1.
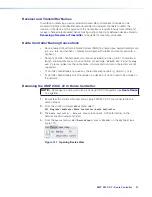
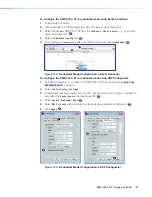
Click the
Choose
a
Dante
Interface
1
). The
Configure Dante
Interfaces
dialog box opens.
Figure 135.
Choose a Dante Interface Icon
81
Choose a Dante Interface Icon

