


MLD Snooping Querier Configuration
To access the MLD Snooping Querier Configuration page, click
Switching
>
MLD Snooping Querier
>
Configuration
in the navigation menu.
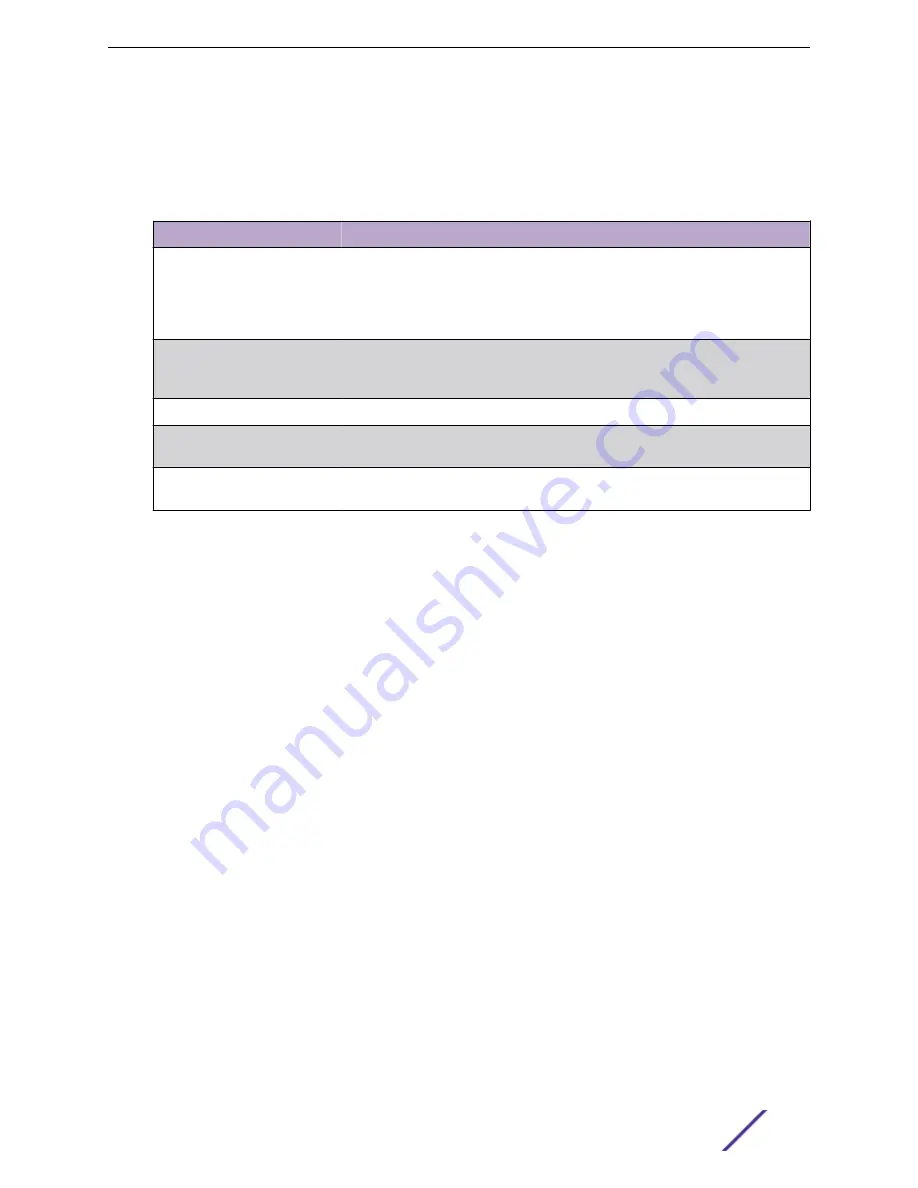
Table 214: MLD Snooping Querier Configuration Fields
Field
Description
Admin Mode
The administrative mode for the MLD snooping querier on the device. When
enabled, the MLD snooping querier sends out periodic MLD queries that trigger
MLD report messages from the switches that want to receive IP multicast traffic.
The MLD snooping feature listens to these MLD reports to establish appropriate
forwarding.
IPv6 Address
The snooping querier unicast link-local IPv6 address to be used as the source
address in periodic MLD queries. This address is used when no IPv6 address is
configured on the VLAN on which the query is being sent.
MLD Version
The MLD protocol version used in periodic MLD queries.
Query Interval (Seconds)
The amount of time the MLD snooping querier should wait between sending
periodic MLD queries.
Querier Expiry Interval
(Seconds)
The amount of time the device remains in non-querier mode after it has
discovered that there is a multicast querier in the network.
•
If you make any changes to this page, click
Submit
to apply the changes to the system.
•
Click
Refresh
to refresh the page with the most current data from the switch.
VLAN Configuration
Use the MLD Snooping Querier VLAN Configuration page to enable the MLD snooping querier feature
on one or more VLANs and to configure per-VLAN MLD snooping querier settings. Only VLANS that
have the MLD snooping querier feature enabled appear in the table.
To access this page, click
Switching
>
MLD Snooping Querier
>
VLAN Configuration
in the navigation
menu.
Use the buttons to perform the following tasks:
•
To enable the MLD snooping querier feature on a VLAN, click
Add
and specify the desired settings.
•
To change the MLD snooping querier settings for a VLAN, select the entry to modify and click
Edit
.
•
To disable the MLD snooping querier feature on one or more VLANs, select each entry to change
and click
Remove
. You must confirm the action before the entry is deleted. Clicking this button does
not remove the VLAN from the system.
Configuring Switching Information
ExtremeSwitching 200 Series: Administration Guide
212


