>09
P
Prre
e--iin
ns
stta
alllla
attiio
on
n a
ac
cttiivva
attiio
on
n
Before installing the printer, please perform the following operations:
C
Co
on
nn
ne
ec
ctt tth
he
e p
prriin
ntte
err tto
o tth
he
e m
ma
aiin
n p
po
ow
we
err s
su
up
pp
pllyy
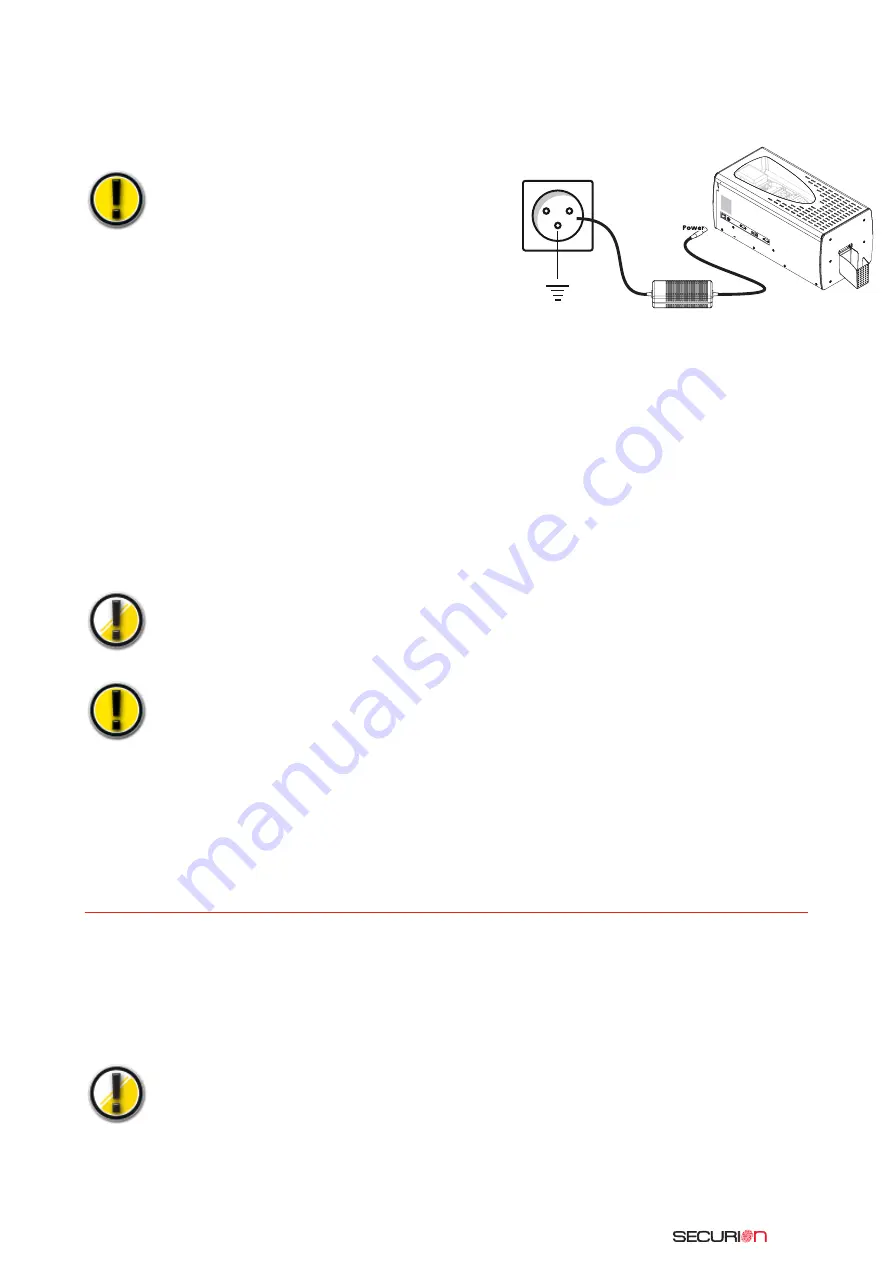
Connecting to the electrical system
Before hooking up to the electrical system, make
sure the switch on the back of the printer is on OFF (O).
Turn off the printer by pulling the plug out of the
socket, which must always be accessible.
This product must be connected to an electrical installation
that is correctly protected and grounded.
FI: Laite on liitettävä suojamaadoitus koskettimilla
varustettuun pistorasiaan
NO: Apparatet må tilkoples jordet stikkontakt
SE: Apparaten skall anslutas till jordat uttag
1.
Connect the power supply cord to the power supply, then attach the power cord connector to the printer.
2.
Then connect the end of the power supply cord to a grounded system outlet.
3.
Power up the printer by turning the switch to ON (1).
4.
The control panel display lights up and the message INITIALIZATION is displayed. Once the star-
tup sequence is completed, the menu displays READY and the driver LED is green and must be
steady. If the display does not light up when the power is turned on, or if the LED is not green
and/or if it flashes, this means that the installation was not done correctly or possibly that the
printer is not operating properly. Check the installation.
Prior to any maintenance action, always turn the power switch to
OFF (O) and disconnect the power supply cable.
For your own safety, these two components must remain accessible
at all times to permit emergency action
This product must be connected to a correctly protected and
grounded electrical installation
C
Co
on
nn
ne
ec
cttiin
ng
g tth
he
e d
da
atta
a c
ca
ab
blle
e
The data cable (USB, Ethernet or other) must never be connected before the installation of the
printer driver has been completed.
Refer to Chapter 2.1 and carefully follow these instructions.
IIn
ns
stta
alllliin
ng
g tth
he
e rriib
bb
bo
on
ns
s
The Evolis Securion printer uses two types of ribbons:
■
Color or monochrome ribbons for the printing module: identifiable by their core which is equip-
ped with a toothed wheel
■
Special films for the laminating module characterized by their hollow core
The Evolis original ribbons and films are specially designed to guarantee optimum operation
of your equipment without any risk of damage. The use of films or ribbons from any other
source than Evolis could seriously damage the print head and the heating roller of the lami-
nating station, consequently entailing the immediate interruption of the factory warranty.
Содержание Unitech Securion
Страница 1: ...Securion 2010 08...
Страница 2: ...Securion User Guide part number KU08E Rev A0 Evolis Card Printer March 2007...
Страница 56: ......


