EPN4220d/4220di
67
2.
Adjust the camera view to a desired position using the direction button. You can select the pan /
tilt speed from the PT Speed drop-down list for controlling the direction buttons. Adjust zoom,
focus and Iris if necessary.
3.
To set up the current camera view as a preset position, select a preset number from the Preset
No drop-down list for the current camera view.
4.
Click
Set
to save the current position as the Preset Number you have selected.
5.
Optionally set up a title, focus mode and white balance for this preset position view.
6.
Follow
Step 2
to
5
to set up another preset position. You can click the
Next
button to go to the
next page and then click the Preset No drop-down list to select a number. Or click on the number
in the Page field to select a preset number.
To activate the Preset function, on the Live View window, click the
Open
button in the PTZ Control field
to display the PTZ Control window. Click the
Preset
button, click on the numeric buttons to select a
preset number and then click the
Go
button. The selected preset position should be displayed on the
camera view.
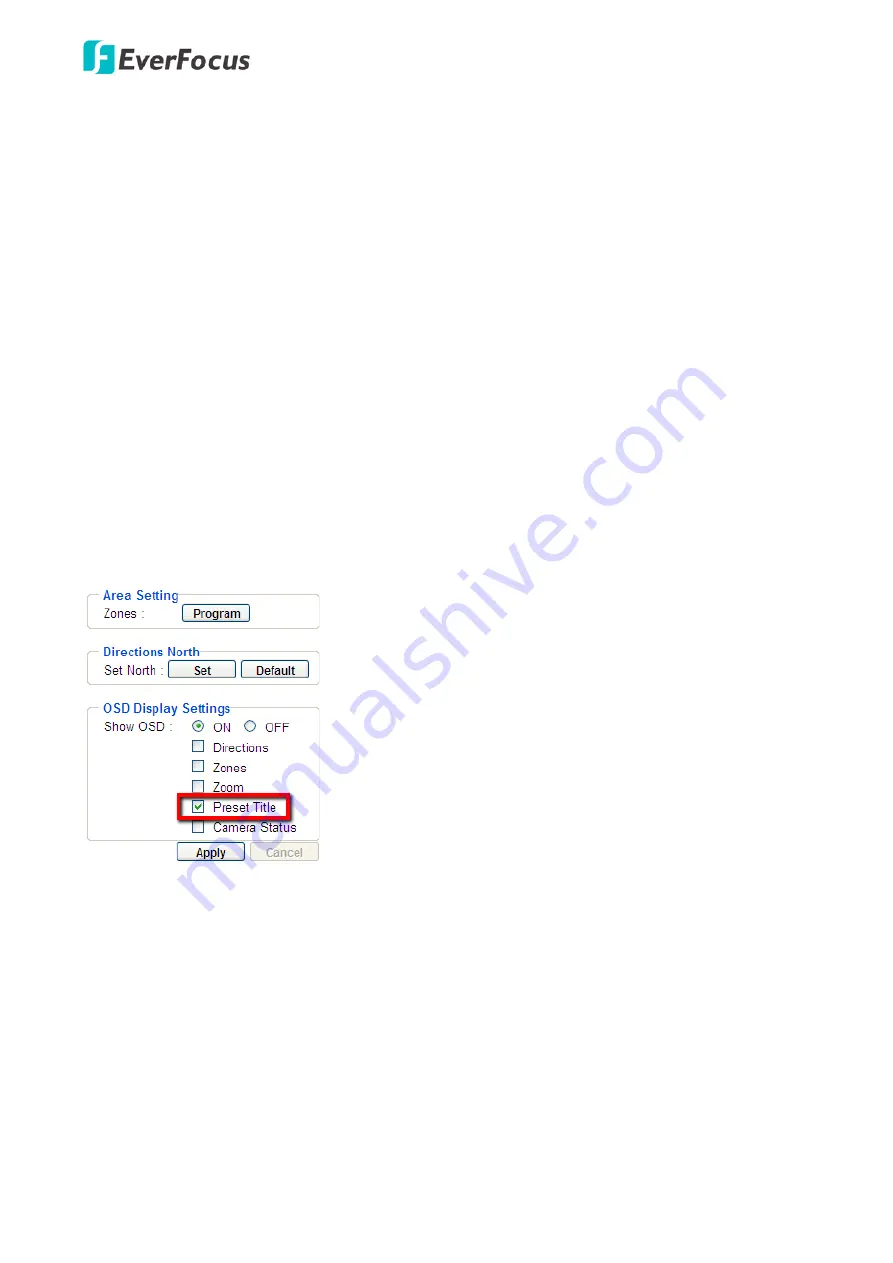
To display the title of the configured preset positions, you have to enable the
Preset Title
on the PTZ
OSD/Area Settings page (please refer to
7.5.2 PTZ OSD/Area
).
【
Auto Mode Settings
】
You can set up the Auto Pan, Tour and Pattern functions in this field.
Auto Pan:
You can only configure one Auto Pan sequence. The configured Auto Pan sequence will
always be numbered as “1”. The number “2” will always be an endless pan around the given (not
preconfigured) X/Y tilt axis.
Содержание EPN Series
Страница 65: ...EPN4220d 4220di 59 7 4 3 Advanced ...


