


Press the buttons
and
on the right of your screen to modify the width of the flat side of the bevel.
The result can be viewed in the zoom window.
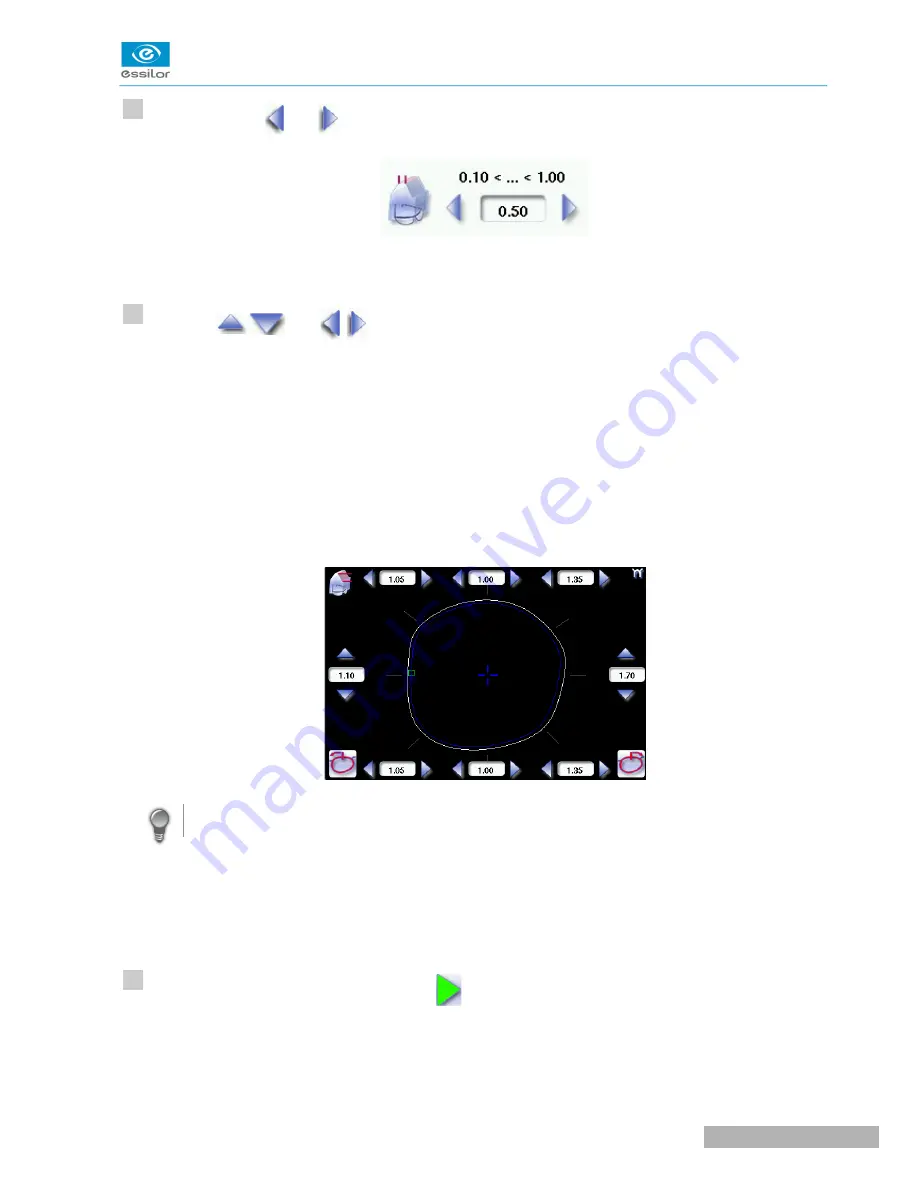
Press the
and
buttons to modify the shelf bevel value at each point of the shape in
each area:
•
Temporal
•
Mid-temporal
•
Nasal
•
Mid-nasal
•
Upper
•
Mid-upper
•
Lower
•
Mid-lower
Move the cursor along the shape to see the bevel profile in the zoom window.
The edger calculates the shelf bevel value to be applied between each of the four points in each area.
The bevel trajectory on the rear surface is modified in the work screen. The result can be viewed in
the zoom window.
Press the “cycle start” button (front face) or
.
The edging cycle starts.
When the edging cycle is finished, the retouch screen is displayed.
>
>
>
>
>
2
3
4
U
SER
M
ANUAL
> II. E
DGING
A
LENS
33
Pro-E 600 > v1 -02.17
Содержание PRO-E 600
Страница 1: ...User Manual ...
Страница 5: ...I FIRST STEPS WITH PRO E 600 ...
Страница 12: ...II EDGING A LENS ...
Страница 66: ...III CONFIGURING THE EDGER ...
Страница 77: ...IV MAINTENANCE SERVICING ...
Страница 102: ...TECHNICAL DATA ...
Страница 105: ...The back of your machine must be at least 20 cm away from a wall Pro E 600 v1 02 17 110 USER MANUAL TECHNICAL DATA ...
Страница 106: ...GENERAL INFORMATION ...
Страница 110: ...GLOSSARY ...


