You see the
connection symbol on the LCD screen and should be able to print directly to your
product from your computer or device.
Note:
If the
connection symbol is not displayed on the LCD screen, Wi-Fi Direct mode is not
enabled. Repeat these steps to try again.
Parent topic:
Wi-Fi Direct Mode Setup
Related tasks
Entering Characters on the LCD Screen
Wi-Fi Protected Setup (WPS)
If your network uses a WPS-enabled wireless router or access point, you can quickly connect your
product to the network using Wi-Fi Protected Setup (WPS).
Note:
To check if your router is WPS-enabled, look for a button labeled
WPS
on your router or access
point. If there is no hardware button, there may be a virtual WPS button in the software for the device.
Check your network product documentation for details.
Using WPS to Connect to a Network
Parent topic:
Wi-Fi Networking
Using WPS to Connect to a Network
If you have a WPS-enabled wireless router or access point, you can use Wi-Fi Protected Setup (WPS) to
connect your product to the network.
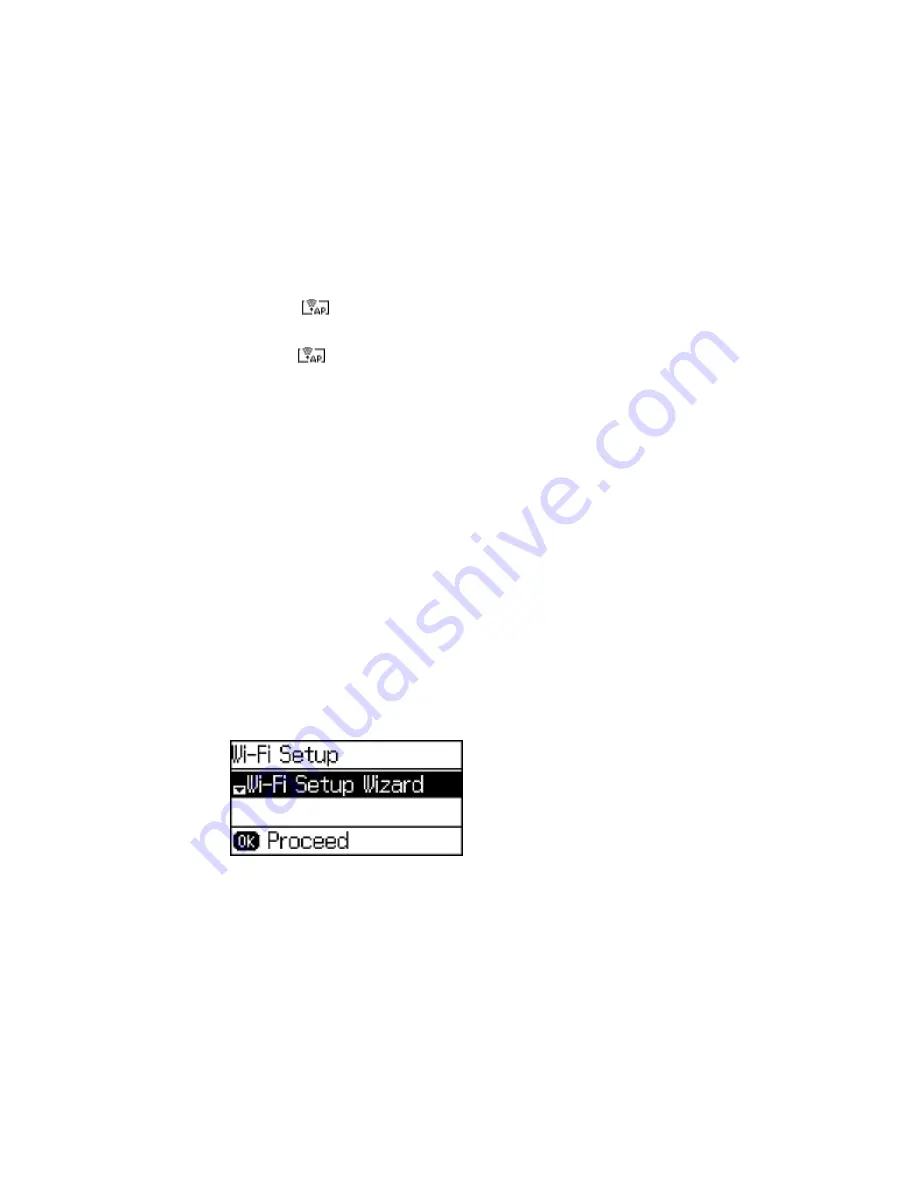
1.
Press the up or down arrow button, select
Wi-Fi Setup
, and press the
OK
button.
You see this screen:
38
Содержание WF-2650
Страница 1: ...WF 2650 User s Guide ...
Страница 2: ......
Страница 12: ......
Страница 13: ...WF 2650 User s Guide Welcome to the WF 2650 User s Guide For a printable PDF copy of this guide click here 13 ...
Страница 20: ...1 Document cover 2 Scanner glass 3 Control panel Parent topic Product Parts Locations 20 ...
Страница 21: ...Product Parts Paper Path 1 Output tray 2 Edge guides 3 Paper cassette Parent topic Product Parts Locations 21 ...
Страница 22: ...Product Parts Inside 1 Scanner unit 2 Cartridge holder do not remove Parent topic Product Parts Locations 22 ...
Страница 31: ...Related topics Wi Fi Networking 31 ...
Страница 49: ...2 Pull out the paper cassette 3 Slide the edge guides outward 4 Slide the edge guide to your paper size 49 ...
Страница 67: ...Related topics Faxing Scanning Copying 67 ...
Страница 122: ...You see this window 122 ...
Страница 142: ...DSL connection 1 Telephone wall jack 2 DSL filter 3 DSL modem 142 ...
Страница 143: ...ISDN connection 1 ISDN wall jack 2 Terminal adapter or ISDN router 143 ...
Страница 168: ...You see this window 4 Select Speed Dial Group Dial List 168 ...
Страница 202: ...You see a window like this 4 Click Print 202 ...
Страница 216: ...Print Head Alignment 216 ...
Страница 233: ...3 Carefully remove any jammed paper Note Do not touch the paper rollers 4 Remove any jammed paper from the duplexer 233 ...
Страница 234: ...5 Carefully remove any jammed paper stuck inside 6 Reattach the duplexer 234 ...
Страница 236: ...4 Carefully remove any jammed pages 236 ...
Страница 237: ...5 Close the ADF cover then open the document cover 237 ...
Страница 238: ...6 Carefully remove any jammed pages in the direction shown 7 Close the document cover 238 ...


