3
Computer with a wireless interface
4
Computer
5
Internet
6
Ethernet cable (used only for wired connection to the wireless router or access point)
Selecting Wireless Network Settings From the Control Panel
Parent topic:
Wi-Fi Networking
Selecting Wireless Network Settings From the Control Panel
You can select or change wireless network settings using your product control panel.
To install your product on a wireless network, follow the instructions on the
Start Here
sheet and install
the necessary software. The installer program guides you through network setup.
Note:
Breakdown or repair of this product may cause loss of fax and network data and settings. Epson is
not responsible for backing up or recovering data and settings during or after the warranty period. We
recommend that you make your own backup or print out your fax and network data and settings.
1.
Press the up or down arrow button, select
Wi-Fi Setup
, and press the
OK
button.
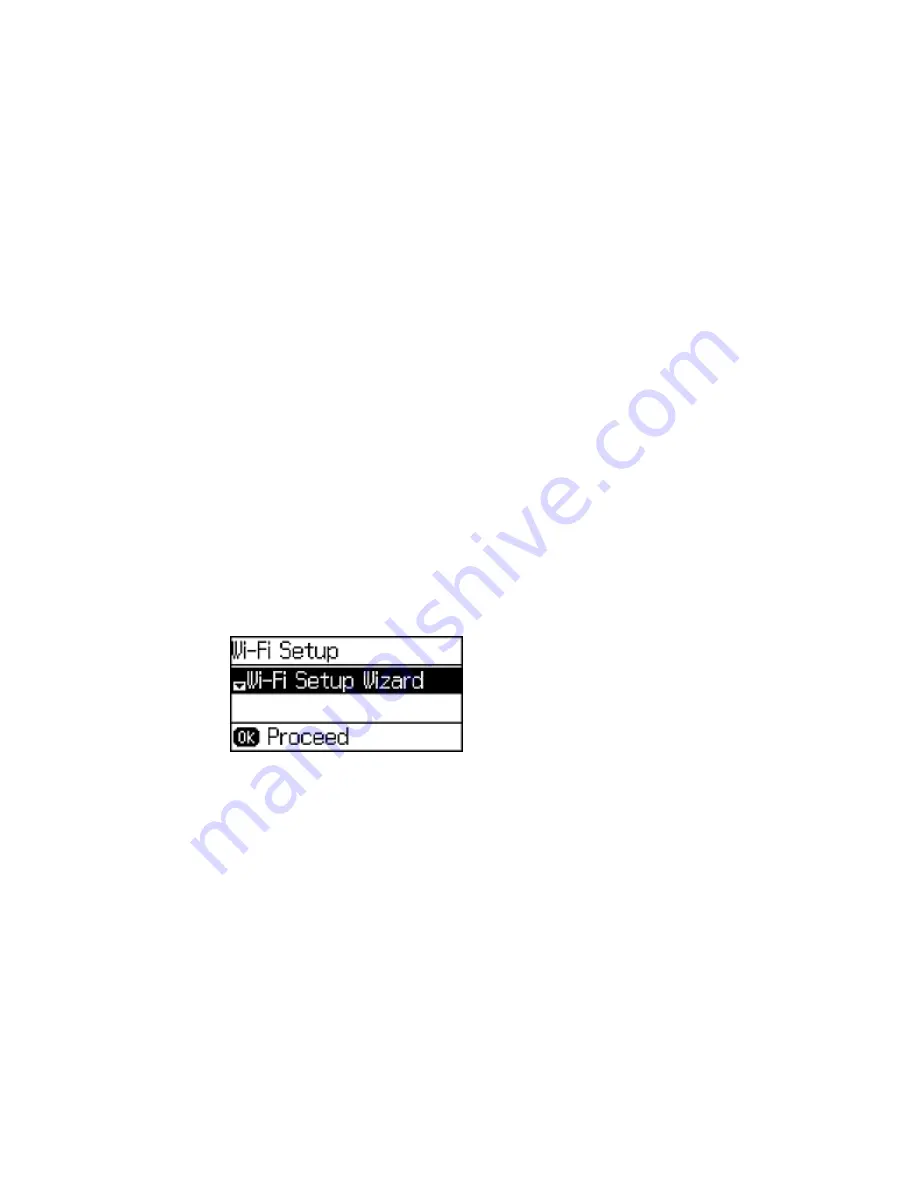
You see this screen:
2.
Select
Wi-Fi Setup Wizard
and press the
OK
button.
3.
Select the name of your wireless network and press the
OK
button.
Note:
To enter the wireless network name manually, select
Other Networks
and press the
OK
button. Use the product's numeric keypad to enter your network name.
33
Содержание WF-2650
Страница 1: ...WF 2650 User s Guide ...
Страница 2: ......
Страница 12: ......
Страница 13: ...WF 2650 User s Guide Welcome to the WF 2650 User s Guide For a printable PDF copy of this guide click here 13 ...
Страница 20: ...1 Document cover 2 Scanner glass 3 Control panel Parent topic Product Parts Locations 20 ...
Страница 21: ...Product Parts Paper Path 1 Output tray 2 Edge guides 3 Paper cassette Parent topic Product Parts Locations 21 ...
Страница 22: ...Product Parts Inside 1 Scanner unit 2 Cartridge holder do not remove Parent topic Product Parts Locations 22 ...
Страница 31: ...Related topics Wi Fi Networking 31 ...
Страница 49: ...2 Pull out the paper cassette 3 Slide the edge guides outward 4 Slide the edge guide to your paper size 49 ...
Страница 67: ...Related topics Faxing Scanning Copying 67 ...
Страница 122: ...You see this window 122 ...
Страница 142: ...DSL connection 1 Telephone wall jack 2 DSL filter 3 DSL modem 142 ...
Страница 143: ...ISDN connection 1 ISDN wall jack 2 Terminal adapter or ISDN router 143 ...
Страница 168: ...You see this window 4 Select Speed Dial Group Dial List 168 ...
Страница 202: ...You see a window like this 4 Click Print 202 ...
Страница 216: ...Print Head Alignment 216 ...
Страница 233: ...3 Carefully remove any jammed paper Note Do not touch the paper rollers 4 Remove any jammed paper from the duplexer 233 ...
Страница 234: ...5 Carefully remove any jammed paper stuck inside 6 Reattach the duplexer 234 ...
Страница 236: ...4 Carefully remove any jammed pages 236 ...
Страница 237: ...5 Close the ADF cover then open the document cover 237 ...
Страница 238: ...6 Carefully remove any jammed pages in the direction shown 7 Close the document cover 238 ...


