67
Chapter 2 Setup
2
Network settings
Se
t
t
he IP address of
t
he prod
u
c
t
follow
ing
t
he s
t
eps below.
1
Turn on the product.
2
Press the (Menu) button to display the menu.
3
Select [I/F SETUP] and press the OK button.
4
Select [NETWORK SETUP] and press the OK button.
5
Select [IP ADDRESS] and press the OK button.
6
Select [AUTO] or [MANUAL].
Whe
n
[AUTO]
i
s selec
t
ed,
t
he
n
e
t
work se
tting
s are comple
t
e.
Whe
n
[MANUAL]
i
s selec
t
ed,
g
o
t
o S
t
ep 7 a
n
d se
t
IP address, e
t
c.
7
Select [IP ADDRESS] and press the OK button.
8
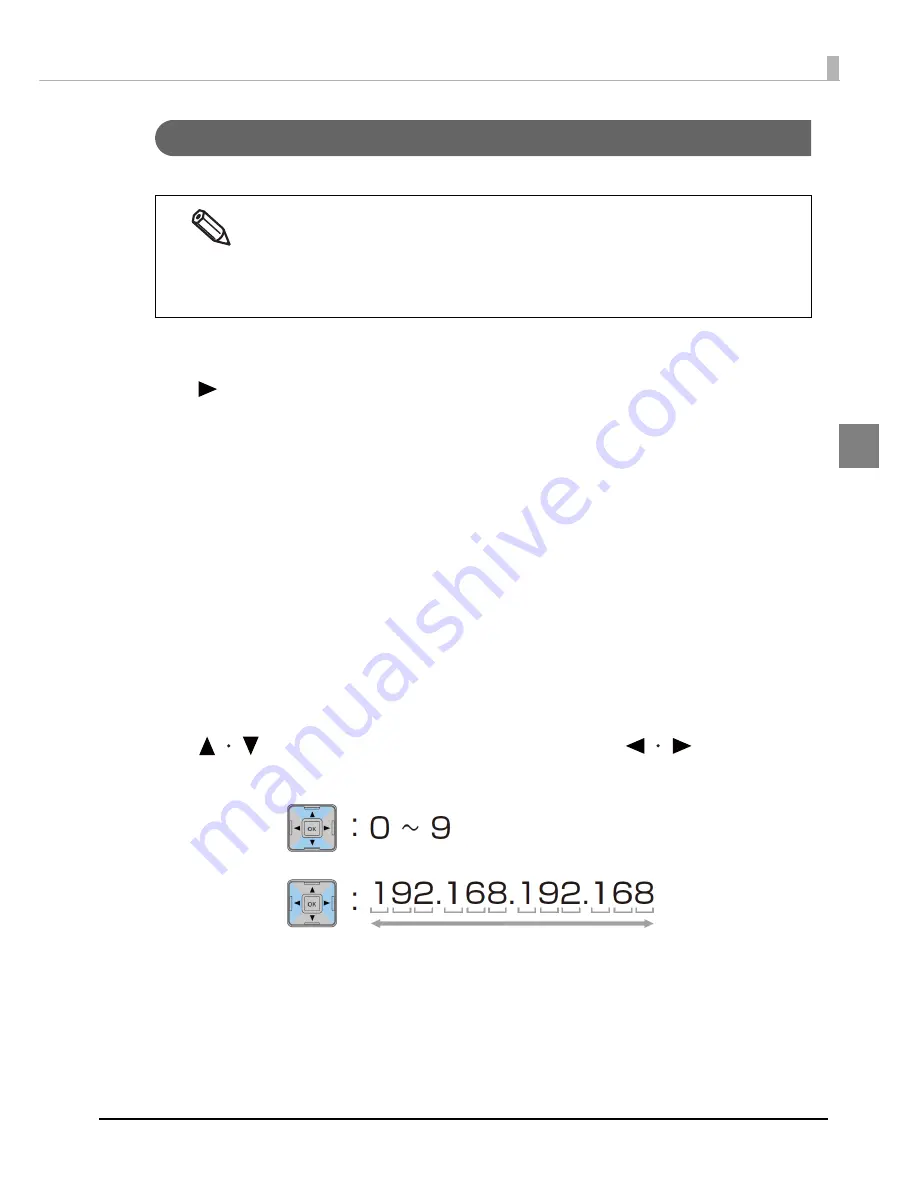
Enter the IP address.
Use the button to select a number and the
buttons to
select the digit to be changed.
When using the product with an Ethernet connection, it is necessary to setup the network.
When using with a USB connection, network settings are not necessary.
When performing network settings, obtain the necessary information from a network
administrator.
The network setting can be checked by printing the status sheet.
See
"Printing the status sheet (Network settings)" on page 86
.
Содержание TM-C7500 Series
Страница 91: ...91 Chapter 3 Handling 3 5 Start the PrinterSetting ...
Страница 92: ...92 Apply settings After setting each item click Apply settings to change the settings of this product ...
Страница 172: ...172 ...
Страница 184: ...184 ...
Страница 209: ...209 Appendix When Covers are Open Unit mm 632 5 24 90 691 2 27 21 717 6 28 25 ...
Страница 210: ...210 When Rewinder is Installed Option TU RC7508 Unit mm 900 35 43 958 37 72 ...


