38
5.
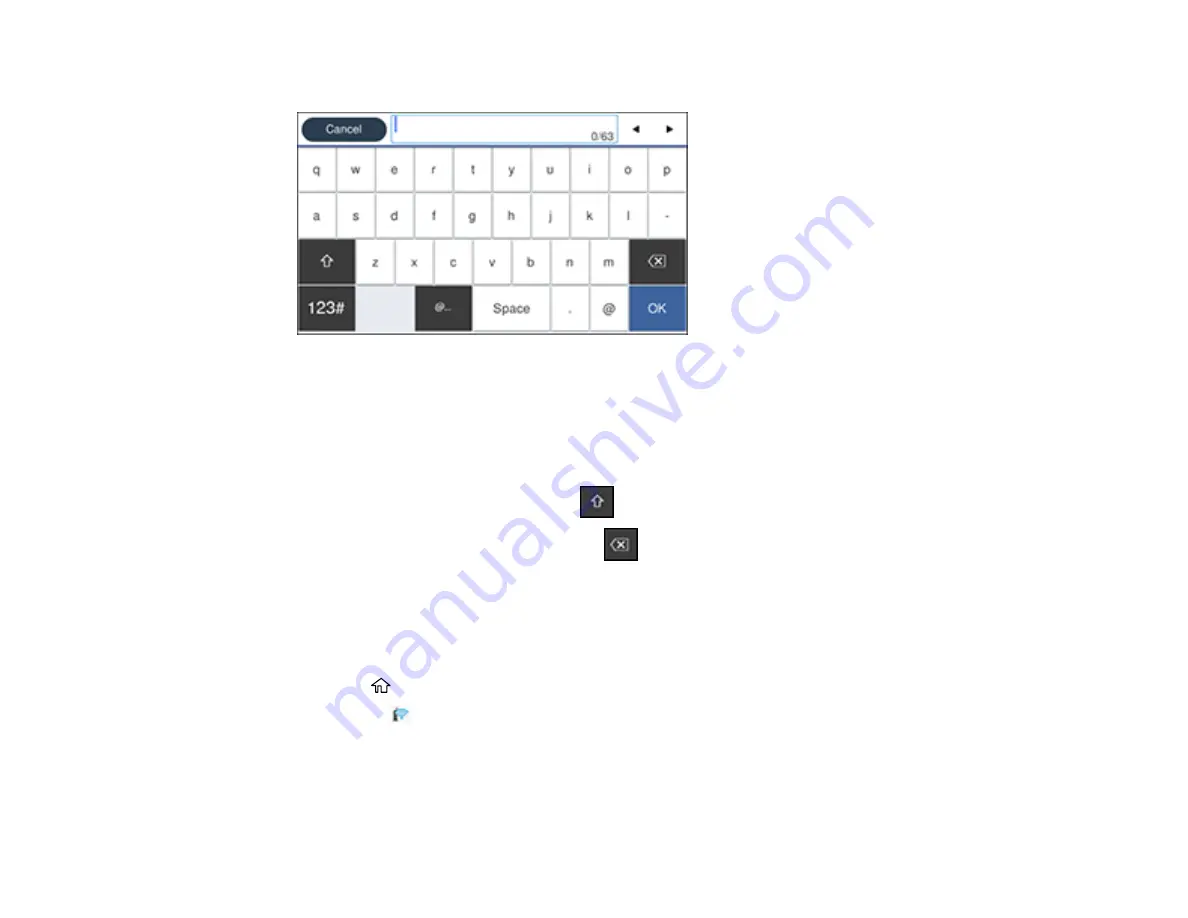
Select the
Enter Password
field and enter your wireless password using the on-screen keyboard.
Note:
The network name and password are case sensitive. Be sure to correctly enter uppercase and
lowercase letters, and numeric or special characters.
• To move the cursor, press the left or right arrows.
• To enter numbers or symbols, select
123#
.
• To change the case of letters, select
.
• To delete the previous character, select
.
• To enter a space, select
Space
.
6.
Select
OK
when you finish entering your password.
7.
Confirm the displayed network settings and select
Start Setup
to save them.
8.
If you want to print a network setup report, select
Print Check Report
. (Otherwise, select
OK
.)
9.
Press the
home button to exit.
You see the
icon on the LCD screen and should be able to connect to your product directly from
your computer or device, and then print. If you are printing from a computer, make sure you installed
the network software from the Epson website.
Содержание SureColor T2170
Страница 1: ...Epson SureColor T2170 T3170 T5170 User s Guide ...
Страница 2: ......
Страница 23: ...23 1 Make sure you have all of these items for assembly 1 Left mounting bracket ...
Страница 59: ...59 4 Tilt back the auto sheet feeder and pull the paper support extensions all the way out and upward ...
Страница 60: ...60 5 Slide the edge guides out 6 Load paper printable side up into the auto sheet feeder ...
Страница 62: ...62 1 Slide out the edge guides and remove the paper from the auto sheet feeder ...
Страница 63: ...63 2 Fold down and push in the paper support extensions and close the auto sheet feeder ...
Страница 78: ...78 You can also place the same print data multiple times as shown here ...
Страница 79: ...79 You can place print data in different sizes and orientations to maximize media usage as shown here ...
Страница 148: ...148 You see a window like this 4 Click Print The nozzle pattern prints ...


