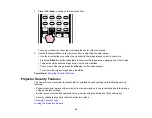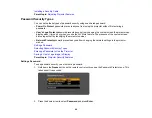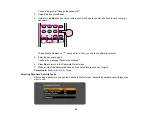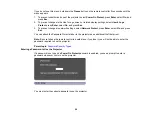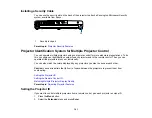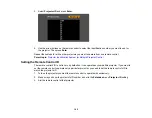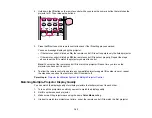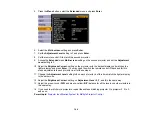
2.
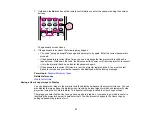
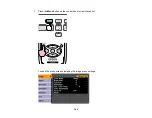
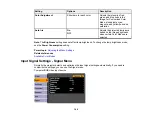
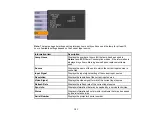
Press the up or down arrow buttons to move through the menus listed on the left. The settings for
each menu are displayed on the right.
Note:
The available settings depend on the current input source.
3.
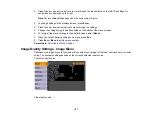
To change settings in the displayed menu, press
Enter
.
4.
Press the up or down arrow button to move through the settings.
5.
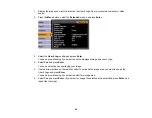
Change the settings using the buttons listed on the bottom of the menu screens.
6.
To return all the menu settings to their default values, select
Reset
.
7.
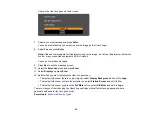
When you finish changing settings on a menu, press
Esc
.
8.
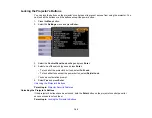
Press
Esc
or
Menu
to exit the menu system.
Parent topic:
Image Quality Settings - Image Menu
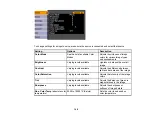
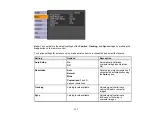
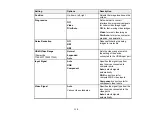
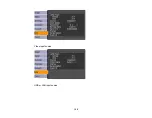
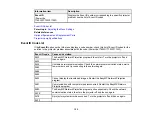
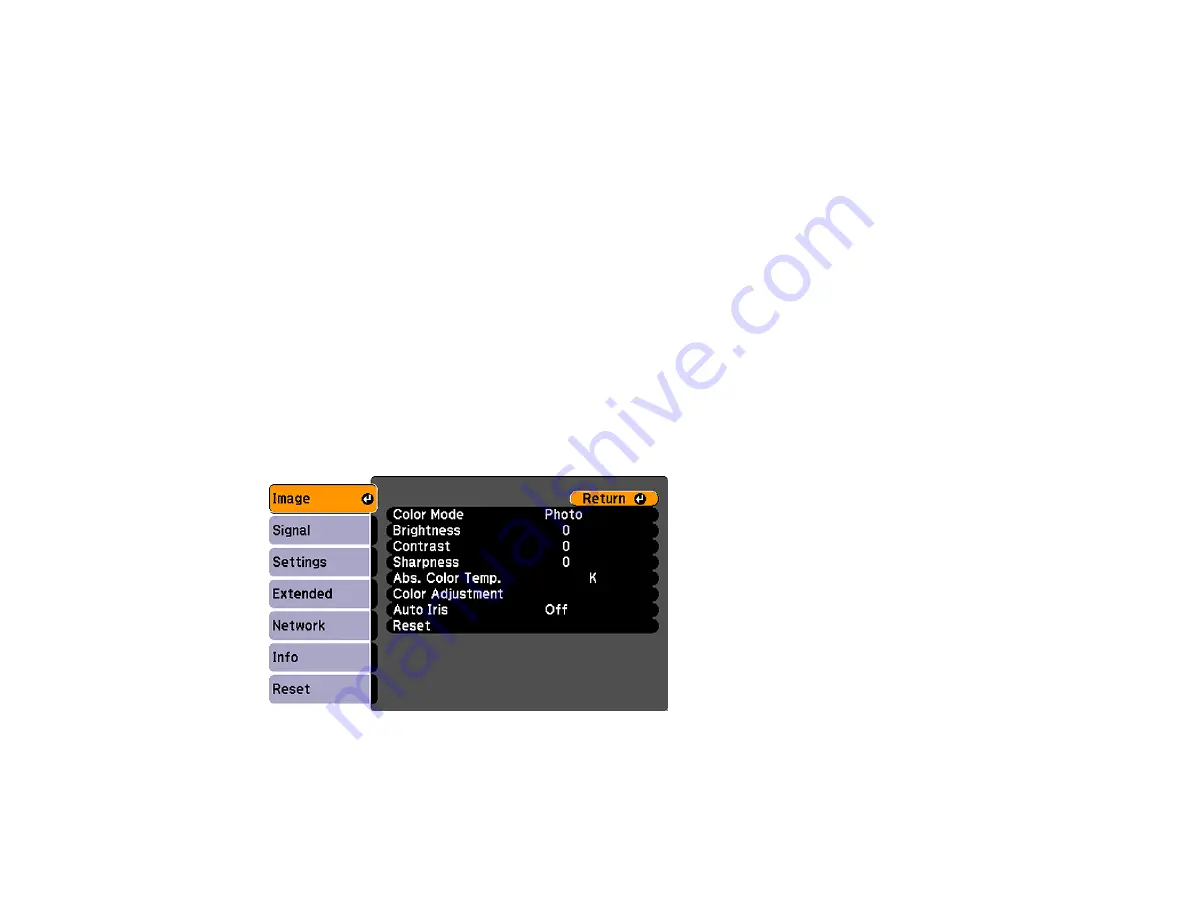
Settings on the Image menu let you adjust the quality of your image for the input source you are currently
using. The available settings depend on the currently selected input source.
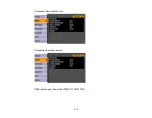
Computer input source
Video input source
107
Содержание PowerLite 1750
Страница 1: ...PowerLite 1750 1760W 1770W 1775W Projector User s Guide ...
Страница 2: ......
Страница 8: ......
Страница 22: ...Front Rear Ceiling 22 ...
Страница 47: ...3 Remove the wireless LAN module cover 4 Insert the wireless LAN module into the port 47 ...
Страница 62: ...1 Open the projector s lens cover 2 Connect the power cord to the projector s power inlet 62 ...
Страница 110: ...Component video input source Composite video input source HDMI input source PowerLite 1760W 1770W 1775W 110 ...
Страница 120: ...Video input source USB or LAN input source 120 ...
Страница 131: ...4 Slide the lamp cover out and lift it off 5 Lift up the metal bar securing the lamp 131 ...
Страница 160: ... Wide resolution only Parent topic Technical Specifications 160 ...

