Using the Projector on a Network
Follow the instructions in these sections to set up your projector for use on a network.
Wireless Network Projection
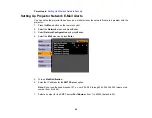
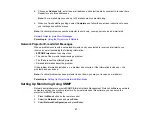
Setting Up Projector Network E-Mail Alerts
Setting Up Monitoring Using SNMP
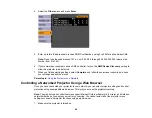
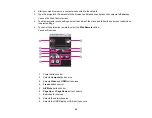
Controlling a Networked Projector Using a Web Browser
Wireless Network Projection
You can send images to your PowerLite 1760W/1770W/1775W projector through a wireless network. To
do this, you must install the optional Epson 802.11g/b/n wireless LAN module (included with the
PowerLite 1775W), and then set up your projector and computer for wireless projection.
There are two ways to connect the projector to your wireless network:
• Using the optional Epson Quick Wireless Connection USB key (Windows only; included with the
PowerLite 1775W)
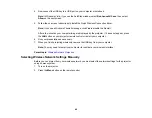
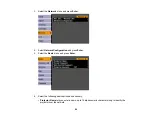
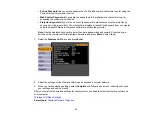
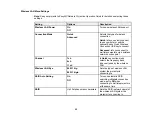
• Configuring the connection manually using the projector's
Network
menus
After installing the module and setting up the projector, install the network software from the
Epson
Projector Software for Meeting & Presentation
CD on your computer. Use the following software and
documentation to set up, control, and monitor wireless projection:
•
EasyMP Network Projection
software sets up your computer for wireless network projection. See the
EasyMP Network Projection Operation Guide
installed from your projector CD for instructions.
• Easy Management
EasyMP Monitor
software (Windows only) lets you monitor and control your
projector through the network. You can download the latest software and documentation from the
Epson web site. Go to
(U.S.) or
(Canada) and select
your projector.
Installing the Wireless LAN Module
Using Quick Wireless Connection (Windows Only)
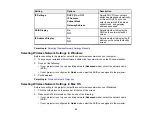
Selecting Wireless Network Settings Manually
Selecting Wireless Network Settings in Windows
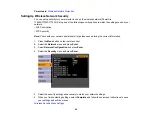
Selecting Wireless Network Settings in Mac OS
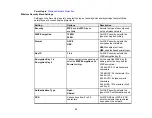
Setting Up Wireless Network Security
Parent topic:
Using the Projector on a Network
45
Содержание PowerLite 1750
Страница 1: ...PowerLite 1750 1760W 1770W 1775W Projector User s Guide ...
Страница 2: ......
Страница 8: ......
Страница 22: ...Front Rear Ceiling 22 ...
Страница 47: ...3 Remove the wireless LAN module cover 4 Insert the wireless LAN module into the port 47 ...
Страница 62: ...1 Open the projector s lens cover 2 Connect the power cord to the projector s power inlet 62 ...
Страница 110: ...Component video input source Composite video input source HDMI input source PowerLite 1760W 1770W 1775W 110 ...
Страница 120: ...Video input source USB or LAN input source 120 ...
Страница 131: ...4 Slide the lamp cover out and lift it off 5 Lift up the metal bar securing the lamp 131 ...
Страница 160: ... Wide resolution only Parent topic Technical Specifications 160 ...

