3.
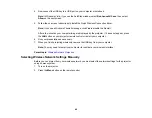
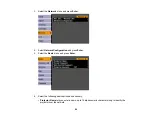
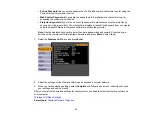
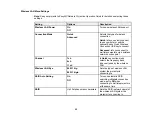
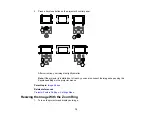
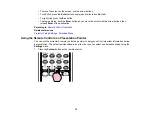
Plug the power cord into an electrical outlet.
The projector's power light turns orange. This indicates that the projector is receiving power, but is
not yet turned on.
Note:
With
Direct Power On
turned on, the projector turns on as soon as you plug it in.
4.
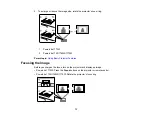
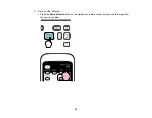
Press the power button on the projector or the remote control to turn on the projector.
The projector beeps and the power light flashes green as the projector warms up. After about five
seconds, the power light stops flashing and turns green.
Warning:
Never look into the projector lens when the lamp is on. This can damage your eyes and is
especially dangerous for children.
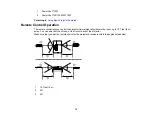
If you do not see a projected image right away, try the following:
• Turn on the connected computer or video device.
• Insert a DVD or other video media, and press the
Play
button (if necessary).
• Press the
Source Search
button on the projector or remote control to detect the video source.
Parent topic:
Using Basic Projector Features
Related references
Projector Setup Settings - Extended Menu
Turning Off the Projector
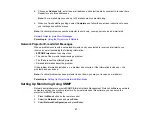
Before turning off the projector, shut down any computer connected to it so you can see the computer
display during shutdown.
Note:
Turn off this product when not in use to prolong the life of the projector. Lamp life will vary
depending upon mode selected, environmental conditions, and usage. Brightness decreases over time.
1.
Press the power button on the projector or the remote control.
63
Содержание PowerLite 1750
Страница 1: ...PowerLite 1750 1760W 1770W 1775W Projector User s Guide ...
Страница 2: ......
Страница 8: ......
Страница 22: ...Front Rear Ceiling 22 ...
Страница 47: ...3 Remove the wireless LAN module cover 4 Insert the wireless LAN module into the port 47 ...
Страница 62: ...1 Open the projector s lens cover 2 Connect the power cord to the projector s power inlet 62 ...
Страница 110: ...Component video input source Composite video input source HDMI input source PowerLite 1760W 1770W 1775W 110 ...
Страница 120: ...Video input source USB or LAN input source 120 ...
Страница 131: ...4 Slide the lamp cover out and lift it off 5 Lift up the metal bar securing the lamp 131 ...
Страница 160: ... Wide resolution only Parent topic Technical Specifications 160 ...

