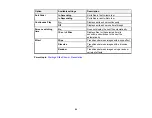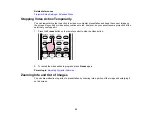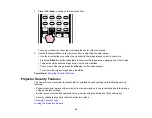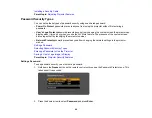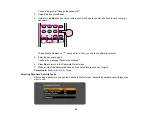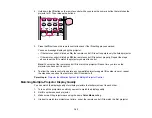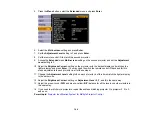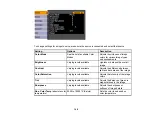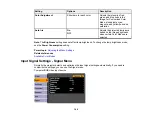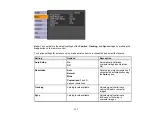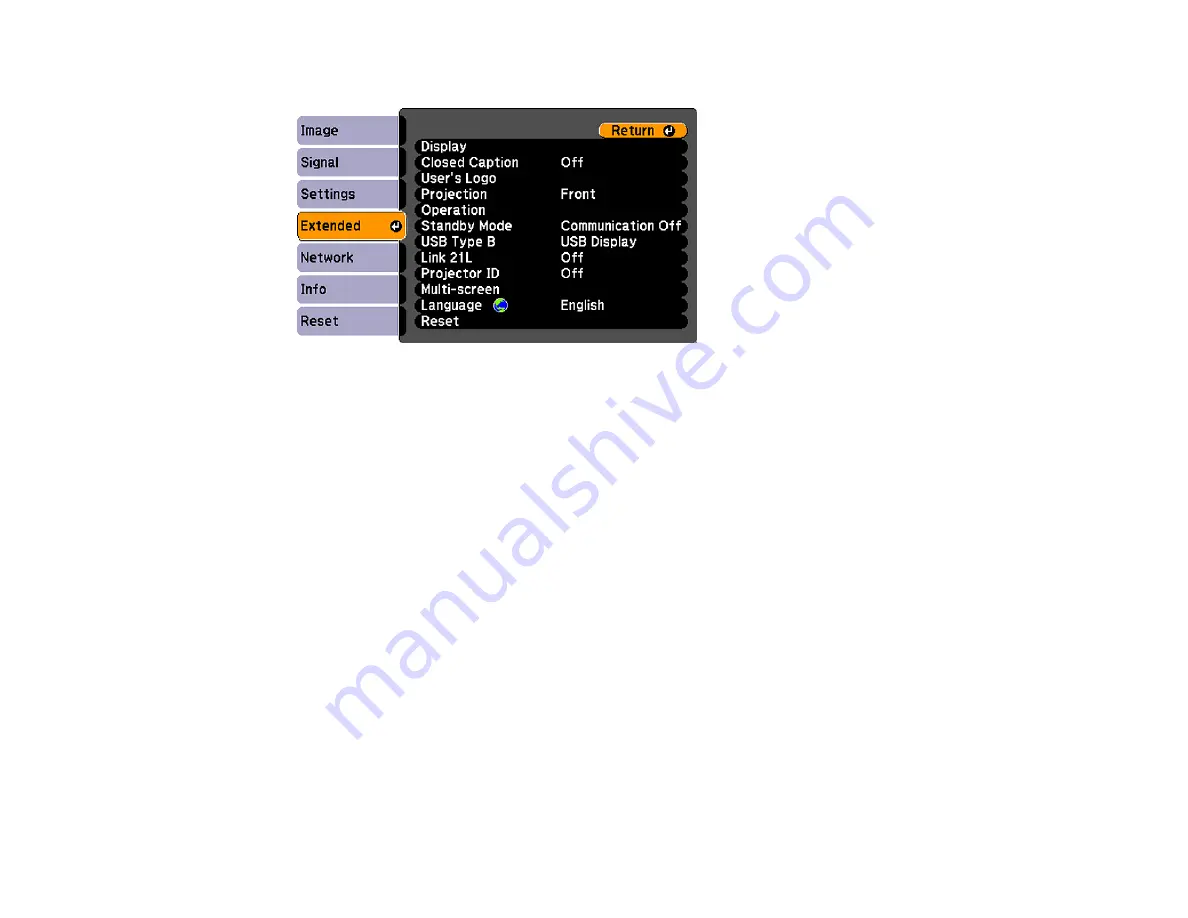
5.
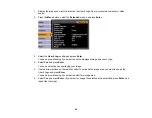
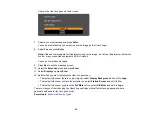
Press the
Menu
button, select the
Extended
menu, and press
Enter
.
6.
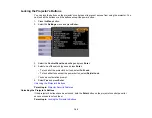
Select the
Multi-screen
setting and press
Enter
.
7.
Set the
Adjustment Level
setting to
1
and press
Enter
.
8.
Set the remote control ID to match the second projector.
9.
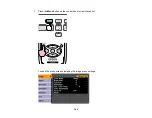
Access the
Extended
menu
Multi-screen
setting on the second projector and set the
Adjustment
Level
setting to
1
.
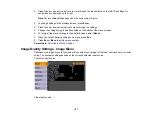
10. Adjust the
Brightness Correct.
setting on the projector with the darkest display so it matches the
lighter display, and press
Enter
. (You may need to switch the remote control ID back and forth to
make adjustments to each projector in all of these steps.)
11. Change the
Adjustment Level
setting to
5
on each projector, but this time match the lighter display
to the darker one.
12. Adjust the
Brightness Correct.
setting on
Adjustment Level 2
,
3
, and
4
in the same way.
13. Adjust the green-to-red (
G/R
) and blue-to-yellow (
B/Y
) balance for all the levels on both projectors in
the same way.
14. If you need to match more projectors, repeat these steps matching projector 3 to projector 2, 4 to 3,
and so on.
Parent topic:
Projector Identification System for Multiple Projector Control
104
Содержание PowerLite 1750
Страница 1: ...PowerLite 1750 1760W 1770W 1775W Projector User s Guide ...
Страница 2: ......
Страница 8: ......
Страница 22: ...Front Rear Ceiling 22 ...
Страница 47: ...3 Remove the wireless LAN module cover 4 Insert the wireless LAN module into the port 47 ...
Страница 62: ...1 Open the projector s lens cover 2 Connect the power cord to the projector s power inlet 62 ...
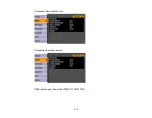
Страница 110: ...Component video input source Composite video input source HDMI input source PowerLite 1760W 1770W 1775W 110 ...
Страница 120: ...Video input source USB or LAN input source 120 ...
Страница 131: ...4 Slide the lamp cover out and lift it off 5 Lift up the metal bar securing the lamp 131 ...
Страница 160: ... Wide resolution only Parent topic Technical Specifications 160 ...

