


E
F
Es
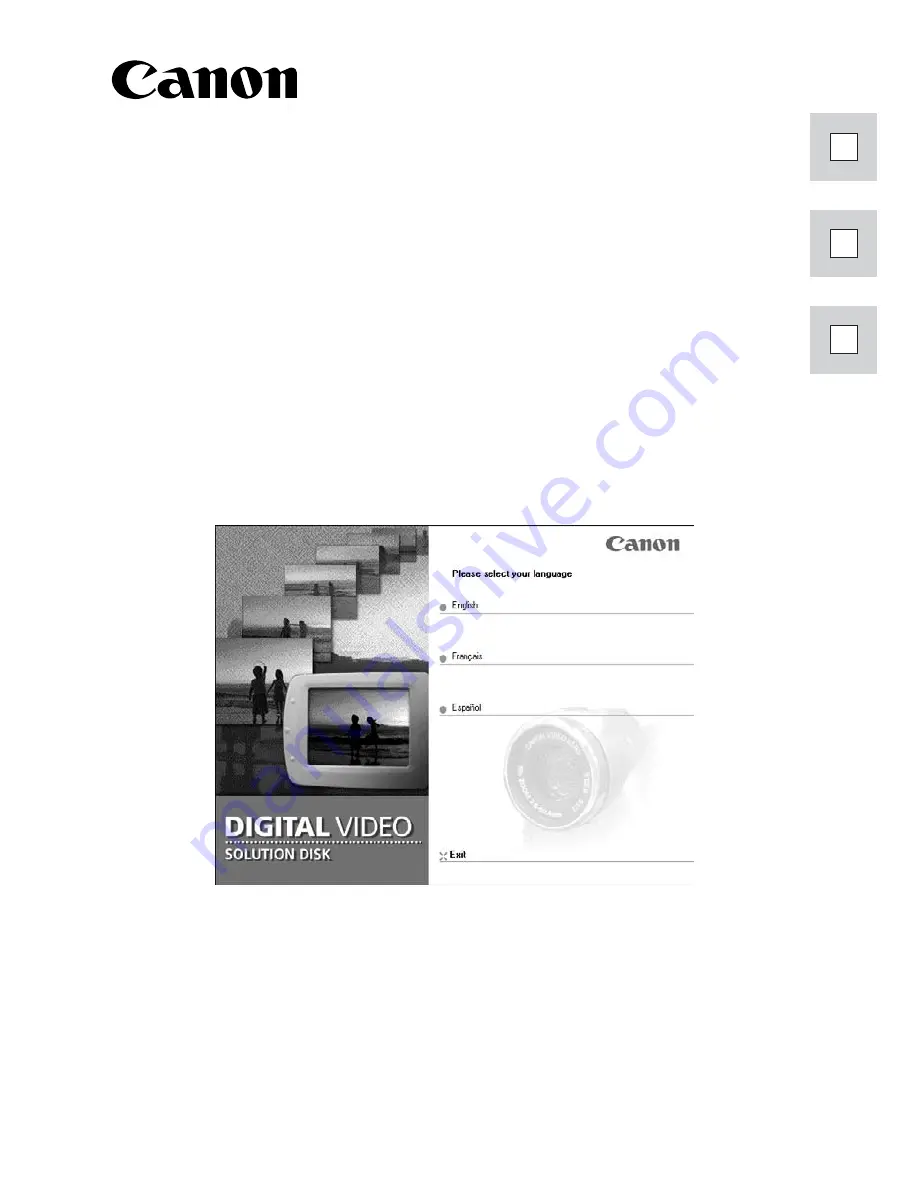
DIGITAL VIDEO SOLUTION DISK
Version 6
Mode d’emploi du logiciel
Manual de Instrucciones del software
PUB. DIM-538
PUB
. DIM-538
Software Instruction Manual
CANON INC.
U.S.A.
Canon U.S.A., Inc.
Canon Customer Care Center
Tel (US): 1-800-828-4040
(Mon.-Fri., 9 AM to 8 PM Eastern Time)
CANADA
Canon Canada Inc.
Tel (Canada): 1-800-OK-CANON (1-800-652-2666)
ASIA
Canon Hong Kong Co., Ltd.
9/F, The Hong Kong Club Building, 3A Chater Road,
Central, Hong Kong
Phone: 852-2739-0802
Fax: 852-2369-7701
Printed on 100% reused paper.
Document réalisé avec du papier recyclé à 100%.
El papel aqui utilizado es 100% reciclado.
DIGIT
AL
VIDEO SOLUTION DISK
ENGLISH FRANÇAIS ESP
AÑOL
PUB. DIM-538
0103Ni10.0
PRINTED IN JAPAN
IMPRIME AU JAPON
IMPRESO EN JAPÓN
©CANON INC. 2003
DY8-9120-375-000


