3.2.2.17 Paper Take-Up Roller Removal
1.
Open the top cover. Remove the imaging cartridge. Cover the imaging cartridge to protect it
from light or place it in a dark area.
2.
Remove the fusing unit. (Refer to Section 3.2.2.12.)
3.
Remove the image transfer assembly. (Refer to Section 3.2.2.16.)
4.
4.
Remove the optical unit. (Refer to Section 3.2.2.4.)
5.
Remove the roller cover.
6.
Disconnect the cable for the toner empty sensor and remove the bridge which mounts the
toner empty sensor.
7.
Disconnect connectors CN1, CN2, CN3, the red wire terminal, and the black wire terminal on
the high-voltage supply board.
8.
Remove two CC (M3
×
8) screws on the paper pick unit.
9.
Slide the paper pick unit to the left, lift the left side up, and remove the paper pick unit.
11. Remove one E-ring on the paper take-up clutch, and remove the paper take-up clutch.
12.
Remove two E-rings and left bushings on the paper take-up roller shaft.
13. Remove the paper take-up rollers.
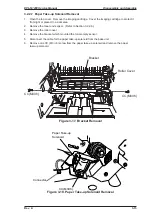
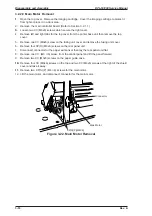
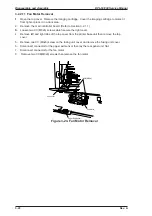
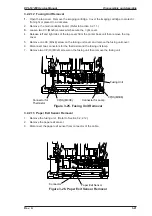
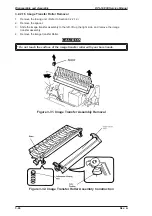
Figure 3-33. Paper Pick Assembly Removal
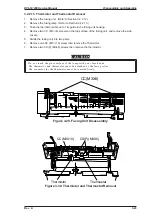
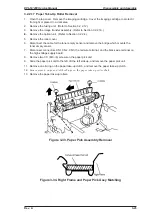
Figure 3-34. Right Frame and Paper Pick Assy Matching
EPL-N1200 Service Manual
Disassembly and Assembly
Rev. A
3-25
Содержание EPL-N1200
Страница 1: ...EPSON TERMINAL PRINTER EPL N1200 SERVICE MANUAL EPSON 4006838 ...
Страница 8: ...REVISION SHEET I Revision I Issue Date Revision Page Rev A December 9 1996 1st issue vii ...
Страница 90: ...CN3 Figure 3 5 Connectors on Engine Driver Board Disassembly and Assembly EPL N1200 Service Manual 3 6 Rev A ...
Страница 111: ...Chapter 4 Adjustment No adjustment is required in this product ...
Страница 127: ...6 ii Rev A ...
Страница 133: ...Figure A 2 Engine Section Cable Connection Appendix A EPL N1200 Service Manual A 2 Rev A ...
Страница 147: ...2 CIRCUIT DIAGRAM Figure A 3 C205 MAIN Board Circuit Diagram Appendix A EPL N1200 Service Manual A 16 Rev A ...
Страница 149: ...Figure A 5 C205 Main Board Component Layout Rear Appendix A EPL N1200 Service Manual A 18 Rev A ...

