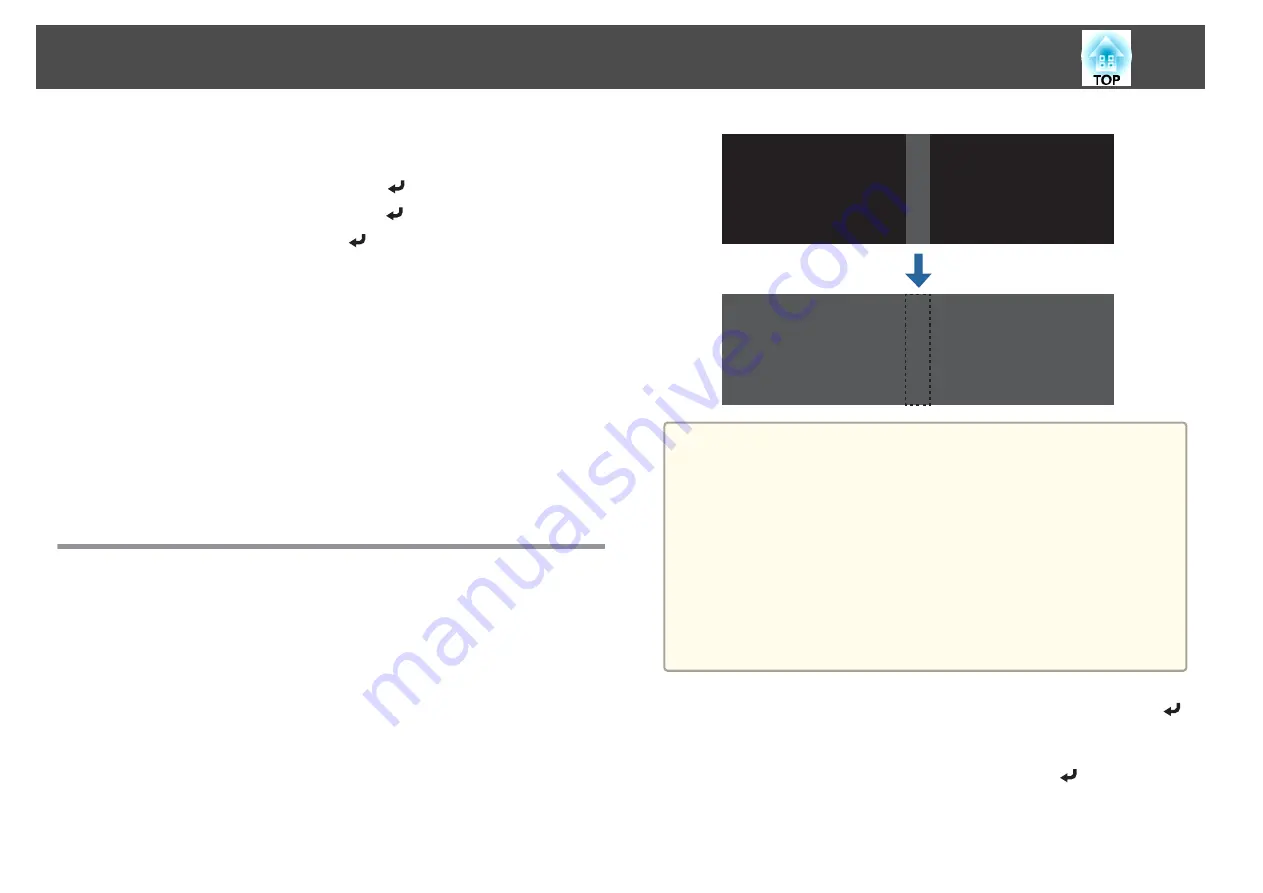
In the example above, you need to adjust the
Left Edge
because you
can see the overlapping areas on the left side of the image (1).
(1)
Select
Left Edge
, and then press the [
] button.
(2)
Select
Blending
, and then press the [
] button.
(3)
Select
On
, and then press the [
] button.
(4)
Press the [Esc] button.
(5)
In
Blend Start Position
, align the blending start position with the edge (2)
of the image.
(6)
Press the [Esc] button.
(7)
In
Blend Range
, adjust the range (3) to be shaded.
The value for when the overlapped range and the guide are in the same
position is the best.
(8)
In
Blend Curve
, adjust how to apply shading.
(9)
Press the [Esc] button.
h
After the settings are complete, set
Line Guide
and
Pattern Guide
to
Off
to finish.
Black Level
When a black image is displayed, only areas where the images overlap
stands out. The black level function allows you to match the brightness and
tone for areas where the images do not overlap with areas where the images
overlap, to make the difference less noticeable.
a
You cannot perform
Black Level
when
Edge Blending
is set to Off
or no edge position has been selected.
You cannot adjust the Black Level when a test pattern is displayed.
If the
Geometry Correction
value is large, you may not be able to
adjust correctly.
The brightness and tone may differ in areas where the images
overlap as well as in other areas even after performing black level
adjustment.
When auto adjustment starts for Screen Matching, the settings for
Color Adjustment are automatically adjusted.
s
"Automatically correct the brightness and tint for multiple
a
Select
Black Level
from
Multi-Projection
, and then press the [
]
button.
b
Select
Color Adjustment
, and then press the [
] button.
The areas are displayed based on the settings for
Top Edge
/
Bottom
Edge
/
Right Edge
/
Left Edge
.
Multi-Projection Function
93
Содержание EB-L30000U
Страница 1: ...User s Guide ...
Страница 16: ...Introduction This chapter explains the names for each part ...
Страница 29: ...Preparing the Projector This chapter explains how to install the projector and connect projection sources ...
Страница 56: ...Basic Usage This chapter explains how to project and adjust images ...
Страница 120: ...Security Functions 120 ...
Страница 136: ...Configuration Menu This chapter explains how to use the Configuration menu and its functions ...
Страница 173: ...Troubleshooting This chapter explains how to identify problems and what to do if a problem is found ...
Страница 229: ...Appendix ...
Страница 273: ...This product is also designed for IT power distribution system with phase to phase voltage 230V Specifications 273 ...
Страница 275: ...790 395 307 378 5 3 216 5 A Center of lens 754 646 710 775 323 306 5 326 5 59 796 9 790 6 M8x10 5 Appearance 275 ...


