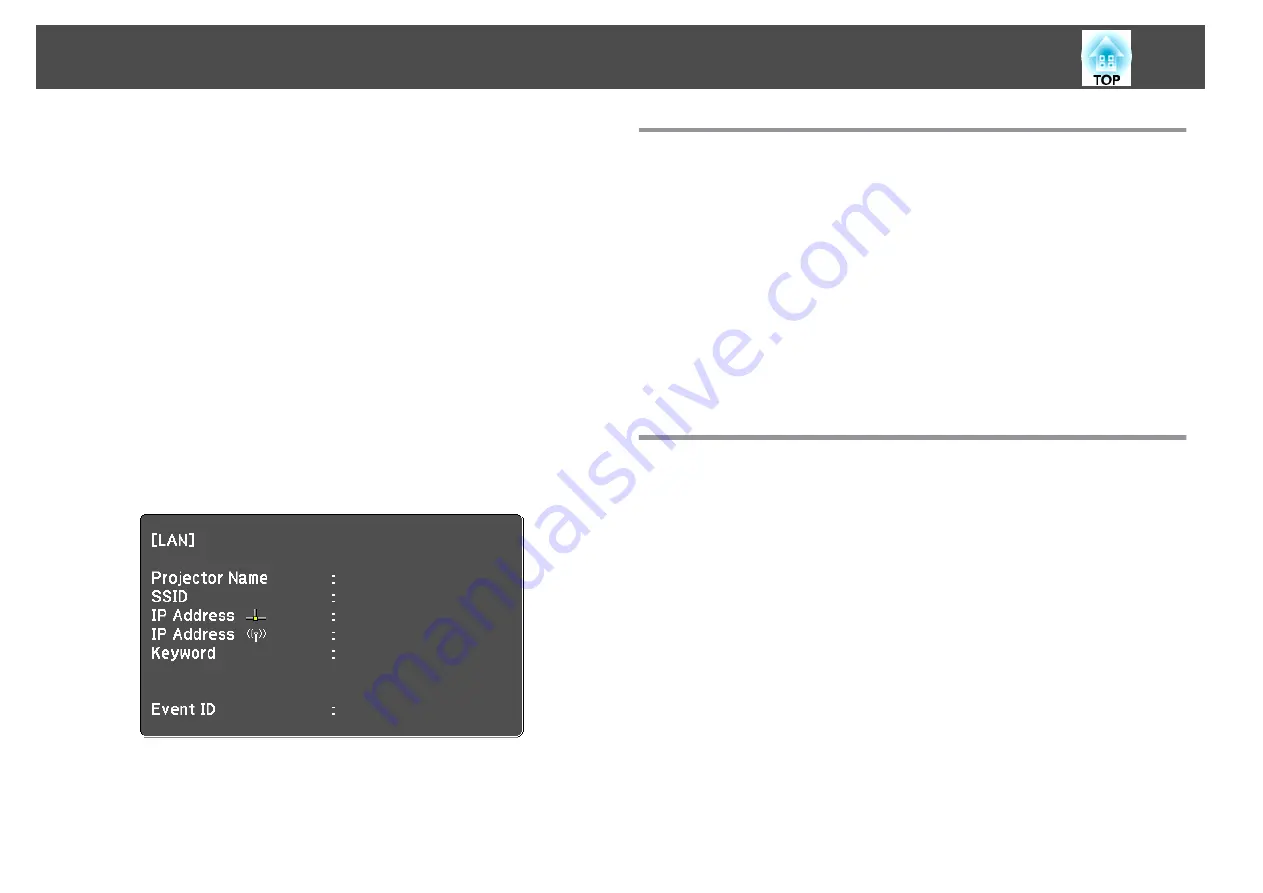
If you must set addresses manually, select
IP Settings
to set the
DHCP
setting to
Off
, and then enter the projector's
IP Address
,
Subnet Mask
, and
Gateway Address
as necessary.
If you want to connect the projector to the network using IPv6,
select
IPv6 Settings
.
s
k
To prevent the SSID or IP address from being displayed on the
LAN standby screen, set the
SSID Display
setting or the
IP
Address Display
setting to
Off
.
l
If you have finished making settings, select
Setup complete
.
Follow the on-screen instructions to save the settings and close
the menu.
m
Press the [LAN] button on the remote control.
The wired network settings complete when you see the correct IP
address on the LAN standby screen.
When you have finished making wireless settings for your projector, you
need to select the wireless network on your computer. Then start the
network software to send images to your projector through a wireless
network.
Selecting Wireless Network Settings in Windows
Before connecting to the projector, select the correct wireless network on
your computer.
a
To access your wireless utility software, double-click the network
icon on the Windows taskbar.
b
When connecting in Advanced connection mode, select the
network name (SSID) of the network the projector is connecting
to.
c
Click
Connect
.
Selecting Wireless Network Settings in Mac
Before connecting to the projector, select the correct wireless network on
your computer.
a
Click the AirPort icon on the menu bar at the top of the screen.
b
When connecting in Advanced connection mode, make sure
AirPort is turned on and select the network name (SSID) of the
network the projector is connecting to.
Wireless Network Projection
126
Содержание EB-L30000U
Страница 1: ...User s Guide ...
Страница 16: ...Introduction This chapter explains the names for each part ...
Страница 29: ...Preparing the Projector This chapter explains how to install the projector and connect projection sources ...
Страница 56: ...Basic Usage This chapter explains how to project and adjust images ...
Страница 120: ...Security Functions 120 ...
Страница 136: ...Configuration Menu This chapter explains how to use the Configuration menu and its functions ...
Страница 173: ...Troubleshooting This chapter explains how to identify problems and what to do if a problem is found ...
Страница 229: ...Appendix ...
Страница 273: ...This product is also designed for IT power distribution system with phase to phase voltage 230V Specifications 273 ...
Страница 275: ...790 395 307 378 5 3 216 5 A Center of lens 754 646 710 775 323 306 5 326 5 59 796 9 790 6 M8x10 5 Appearance 275 ...


