Before turning on the projector, connect your computer or video equipment
to the projector.
s
Attention
•
Install the current breaker for 13 A to 20 A to the wiring in the building that
supplies electricity to the projector.
•
Do not connect other devices to the wiring where the current breaker is
installed, and use the wiring only for the projector.
a
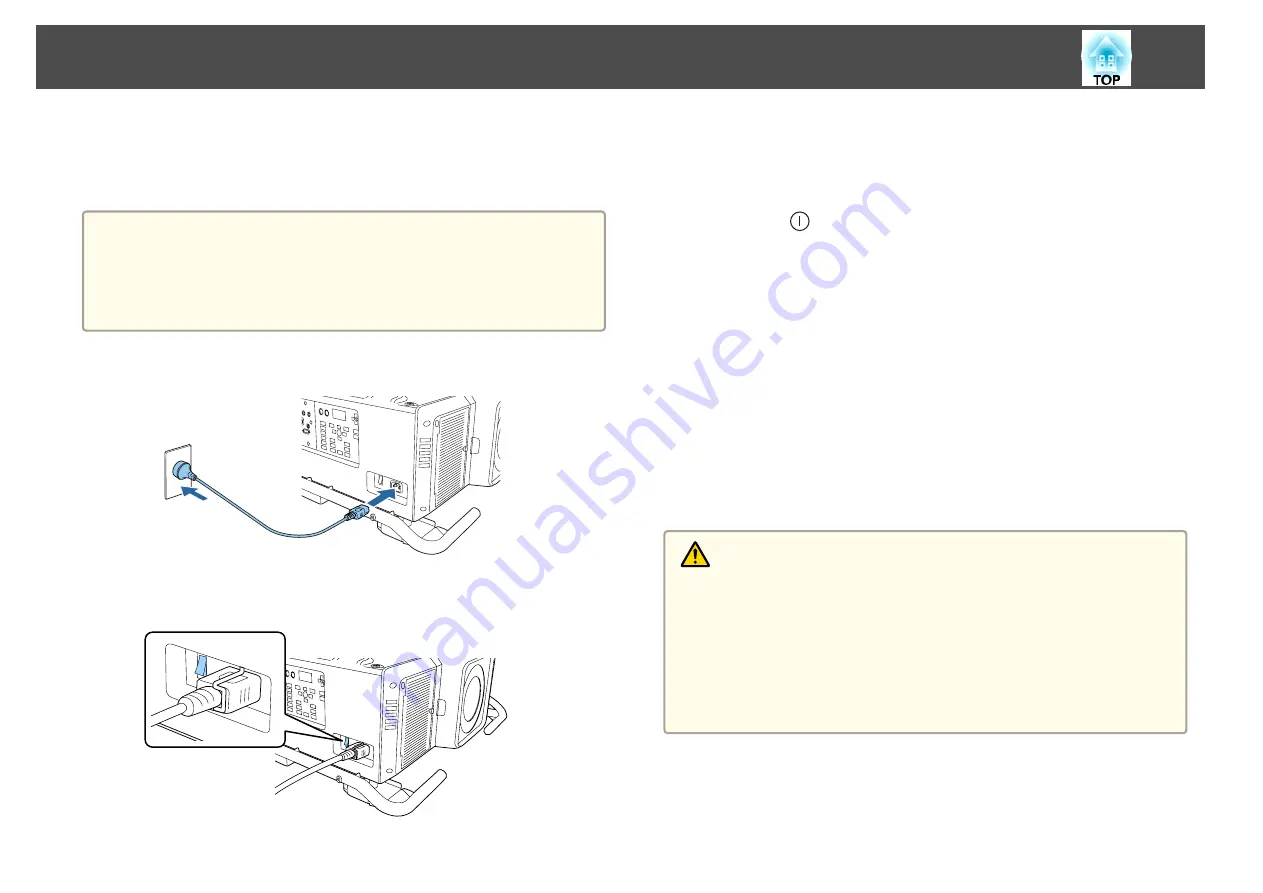
Connect the projector to an electrical outlet with the power cord.
b
Turn on the main power switch on the back of the projector to
supply power to the projector.
The projector's power indicator turns blue (it is in standby mode).
This indicates that the projector is receiving power, but is not yet
turned on.
c
Press the [
] button on the control panel or remote control to
turn on the projector.
The confirmation buzzer beeps and the status indicator flashes blue
as the projector warms up. Once the projector is warmed up, the
status indicator stops flashing and turns blue.
If the image is not projected, try the following.
•
Turn on the connected computer or video equipment.
•
When using a laptop computer, change the screen output of the
computer.
•
Insert media such as a DVD and play it back.
•
Press the [Search] button on the remote control to detect the input
source.
•
Press the button for the input source that you want to project by using
the remote control.
Warning
•
Do not look into the projector's lens during projection. Doing so may
damage your eyes. Be especially careful if children are present.
•
During projection, do not block the light from the projector with a book and
so on. If the light from the projector is blocked for a long time, the area on
which the light shines becomes hot which could cause it to melt, burn, or
start a fire. Also, the lens may get hot due to the reflected light which could
cause the projector to malfunction. To stop projection, use the Shutter
function, or turn off the projector.
Turning On the Projector
50
Содержание EB-L25000U
Страница 1: ...User s Guide ...
Страница 13: ...Introduction This chapter explains the names for each part ...
Страница 24: ...Preparing the Projector This chapter explains how to install the projector and connect projection sources ...
Страница 49: ...Basic Usage This chapter explains how to project and adjust images ...
Страница 114: ...Security Functions 114 ...
Страница 115: ...Configuration Menu This chapter explains how to use the Configuration menu and its functions ...
Страница 146: ...Troubleshooting This chapter explains how to identify problems and what to do if a problem is found ...
Страница 186: ...m To complete the adjustment press the Menu button Image Maintenance 186 ...
Страница 187: ...Appendix ...
Страница 222: ...790 395 146 299 378 5 A Center of lens 860 475 738 754 633 936 646 710 Units mm Appearance 222 ...


