a
•
The
icon is displayed on the right for the first time.
Next time, it is displayed on the side from which you last
opened the toolbar.
•
If the
icon is not displayed, set the
Pen Mode Icon
setting to
On
in the projector's
Extended
menu.
s
Extended
-
Display
-
Pen Mode Icon
p.132
m
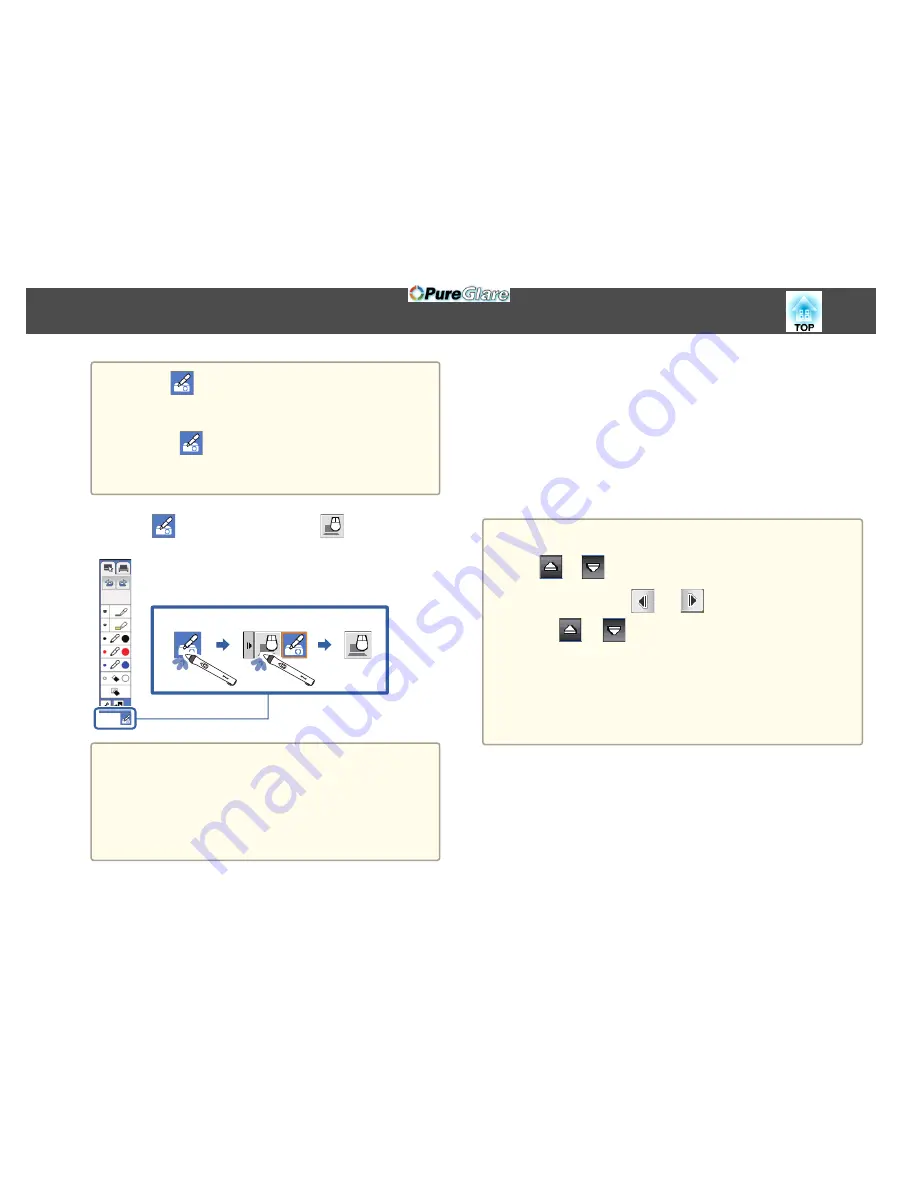
Select the
icon, and then select the
icon.
a
You can also change to computer interactive mode by doing the
following:
•
Pressing the [Pen Mode] button on the remote control.
•
Changing the
Pen Mode
setting on the projector's
Extended
menu to
PC Interactive
.
s
Extended
-
Easy Interactive Function
-
Pen
Mode
p.135
You can now operate the computer using the interactive pen or your
finger.
s
"Using the Interactive Pens"
p.73
s
"Using Your Finger for Interactive Touch Operations (EB-595Wi only) "
p.80
s
"Interacting with the Screen"
p.86
s
"Using the Interactive Features over a Network"
p.92
a
•
You can also control the projector from the projected screen by
using the projector control toolbar displayed on the screen. Tap the
or
icon if the projector control toolbar is not displayed.
•
You can move the
and
toolbar tabs up and down, and
the
or
toolbar tab right and left.
•
You can also do the following in computer interactive mode:
- Use the Tablet PC input panel in Windows 7 or Windows Vista.
- Use Ink Tools for annotation in Microsoft Office applications.
•
Using two interactive pens at the same time may cause interference
in some application software. In that case, move any pen you are not
using away from the projection screen.
Easy Interactive Driver System Requirements (OS X only)
To use computer interactive mode, you must install the Easy Interactive
Driver on your computer. Check the system requirements necessary to run
the software.
Interactive Feature Modes
71
http://www.pureglare.com.au
Содержание EB-570
Страница 1: ...User s Guide http www pureglare com au ...
Страница 10: ...s Optional Accessories p 184 Projector Features 10 http www pureglare com au ...
Страница 44: ...Basic Usage This chapter explains how to project and adjust images http www pureglare com au ...
Страница 124: ...Configuration Menu This chapter explains how to use the Configuration menu and its functions http www pureglare com au ...
Страница 181: ...d Install the new air filter e Close the air filter cover Replacing Consumables 181 http www pureglare com au ...
Страница 183: ...Appendix http www pureglare com au ...
Страница 196: ...Units mm Appearance 196 http www pureglare com au ...
Страница 197: ...Without feet With feet Units mm Appearance 197 http www pureglare com au ...


