


SDI2USB 3.0 User Guide
Record a video
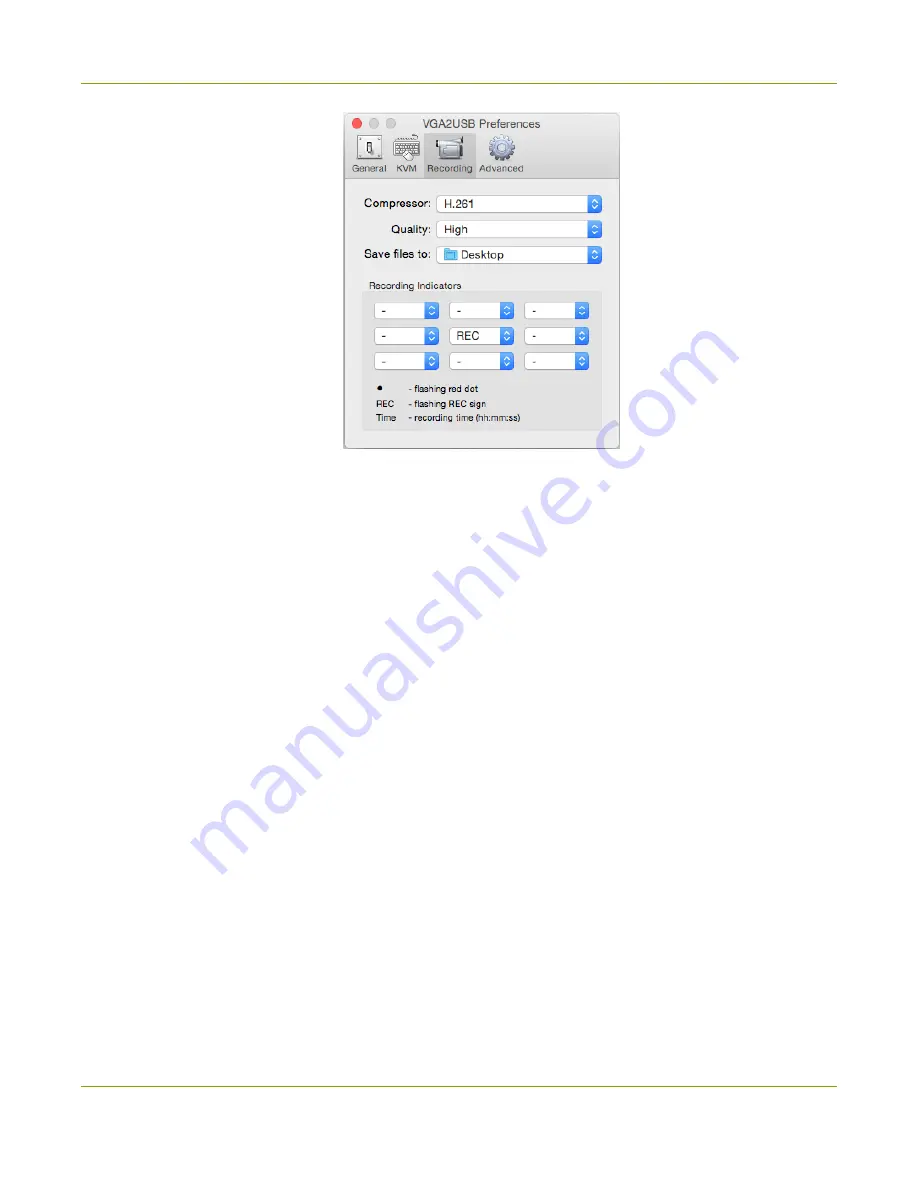
b. Use the
Compressor
drop down to choose from codecs installed on your system.
c. If desired, change the quality of the saved video using the
Quality
drop down.
d. Use
Save files to:
to select a folder for saving the files.
e. If you'd like to have an indicator of your recording, select from the
Recording Indicators
. In
the example above, the word REC will flash in red on the middle of the captured image on the
capture tool. You can also choose from a red flashing dot or the elapsed recording time. Have
more than one visible at the same time, if you like.
f. Close the
Preferences
dialog.
Step 2: Record
With the Epiphan Capture Tool properly configured, all there is to do is record your video!
As images/frames are captured by the video grabber they are recorded to the video file. On Windows, the
status bar displays the name and location of the video file, the elapsed recording time and the number of
frames (or images) recorded. On Mac, if you have configured a recording indicator, it appears as an overlay in
the chosen location in the capture tool.
To record your video:
1. The Epiphan Capture Tool should already be capturing and previewing your video source (if you see a
No Signal message, disconnect and reconnect the cables to make sure they are all seated correctly).
54


